Archives

Catching Up & An Apple Cake Tray Bake Recipe

Before I start today I wanted to remind anyone that is interested, that my usual monthly blog post of

‘What To Do In The Kitchen Garden In November’ can be found here.

There is loads of information in this post e.g. weather conditions expected, what to sow / plant / harvest in November, jobs to do and pests / diseases that you may encounter this month.

I hope it helps someone out there.

SAM_2293

.

This week I have started to get back to normal after decorating my daughter’s bedroom a couple of weeks ago.  It has felt nice making bread and cakes again:

SAM_2232 SAM_2244 SAM_2233

.

I also caught up with a few jobs I have been putting off.

  I started by flushing my plug holes with bi-carb and vinegar to ensue they don’t start to block up.  It’s great for removing food, hair and soap scum from your pipes.  It’s very simple to do:

I put one tablespoon of bi-carb in the plug hole and then I added three tablespoons of white distilled vinegar and left it for a few minutes to fizz away:

SAM_2241 SAM_2242

I then flushed it all down with boiling hot water:

SAM_2243

.

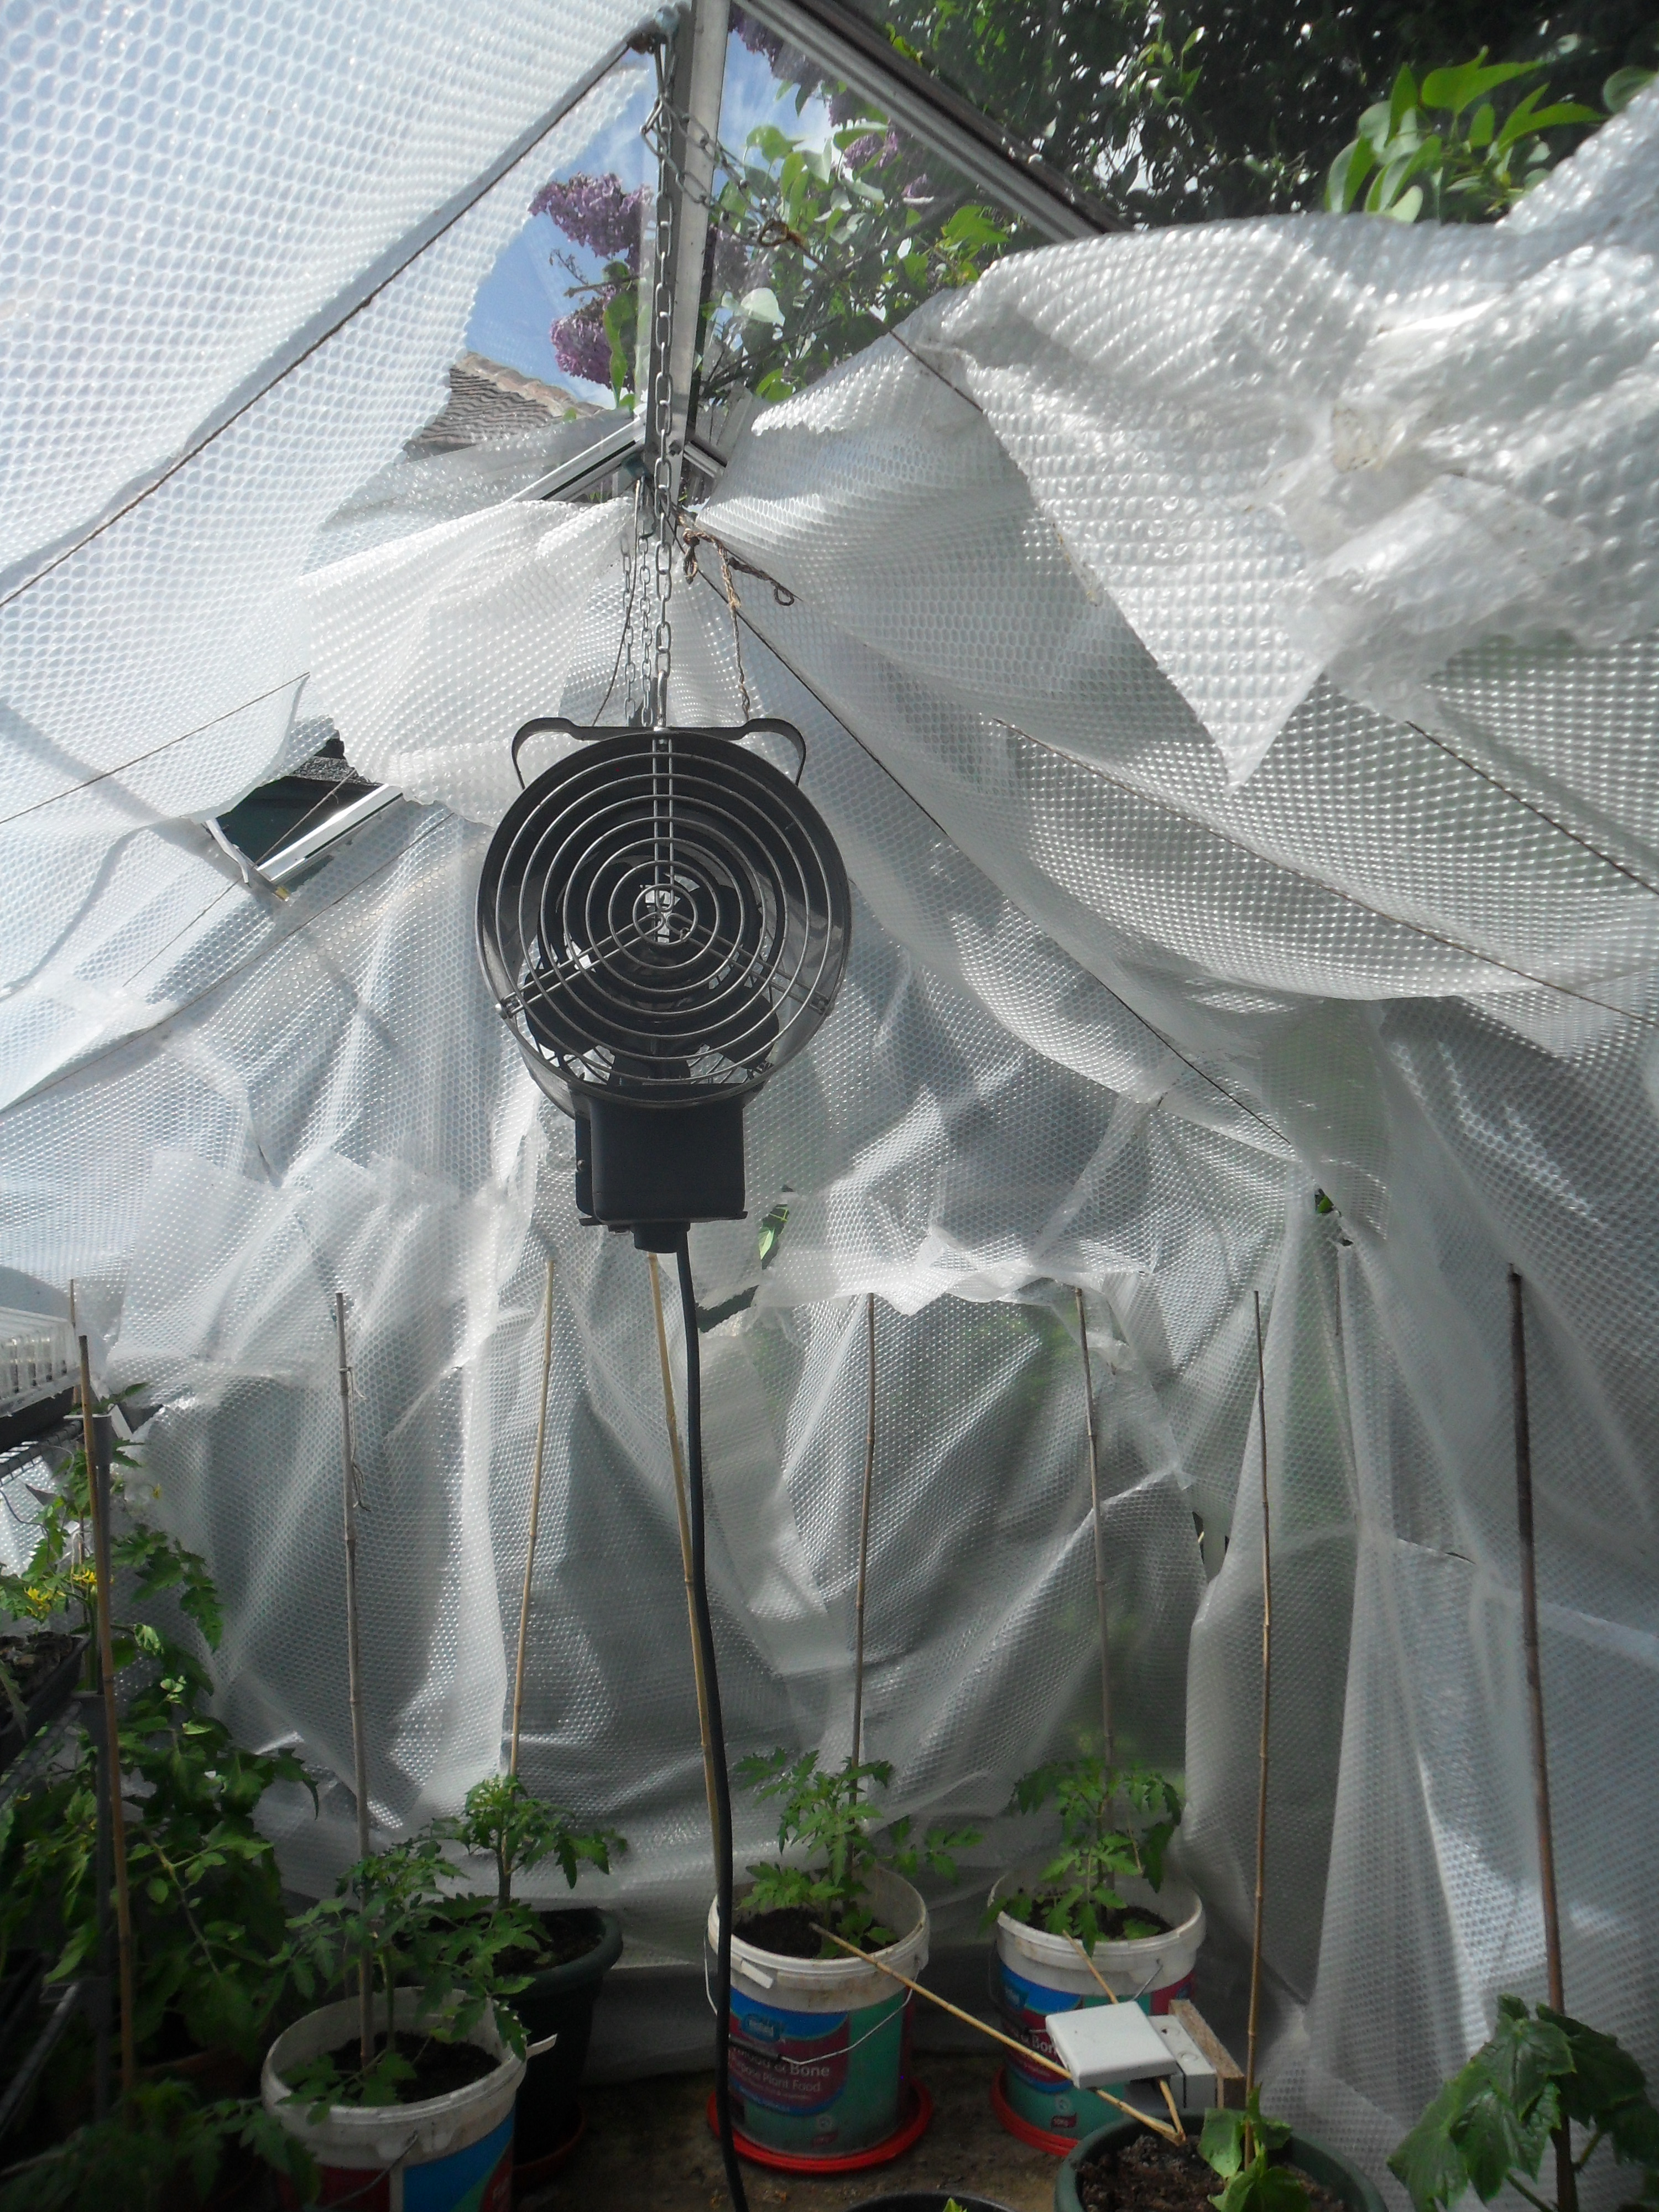
I also finally brought in the tomatoes that were sitting in my greenhouse ripening.  I put them there at the beginning of October and they have ripened well:

SAM_2134 IMG_2801

I left a few on my kitchen window sill to continue to ripen and I have left some out for sandwiches and salads,

SAM_2281 SAM_2280

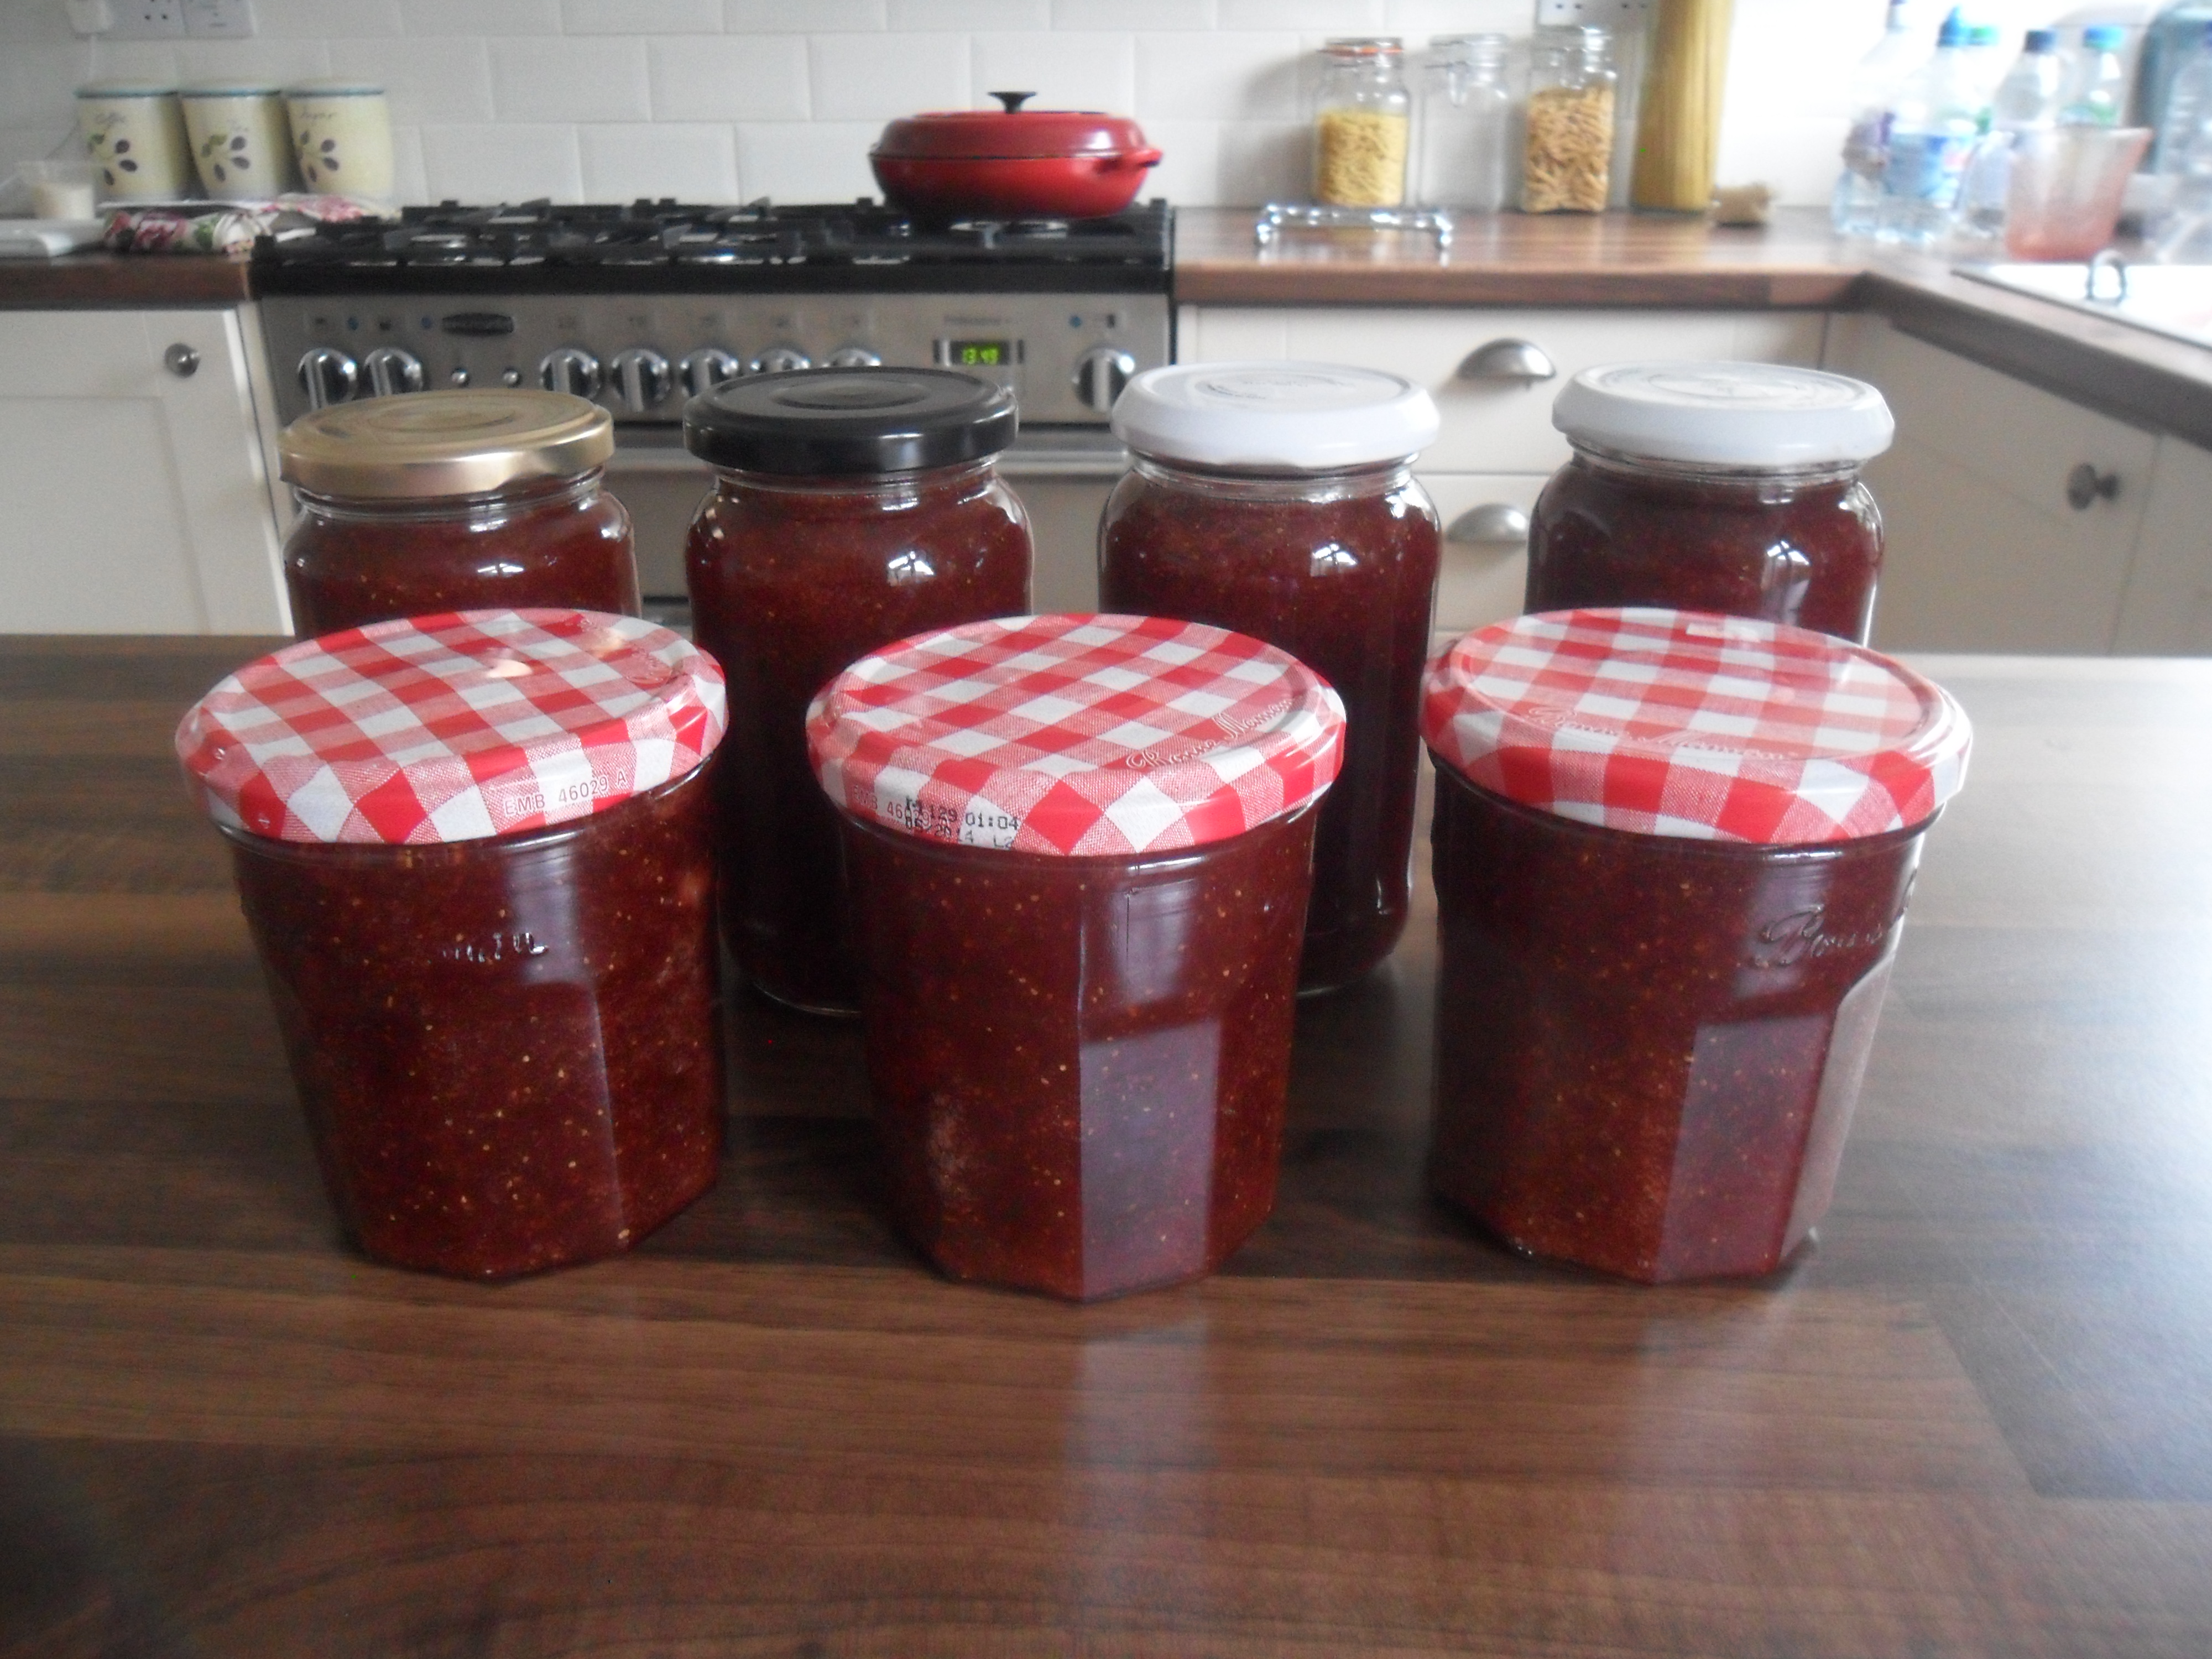
but I have also managed to make some more passatta to freeze:

SAM_2279 SAM_2282 SAM_2286

.

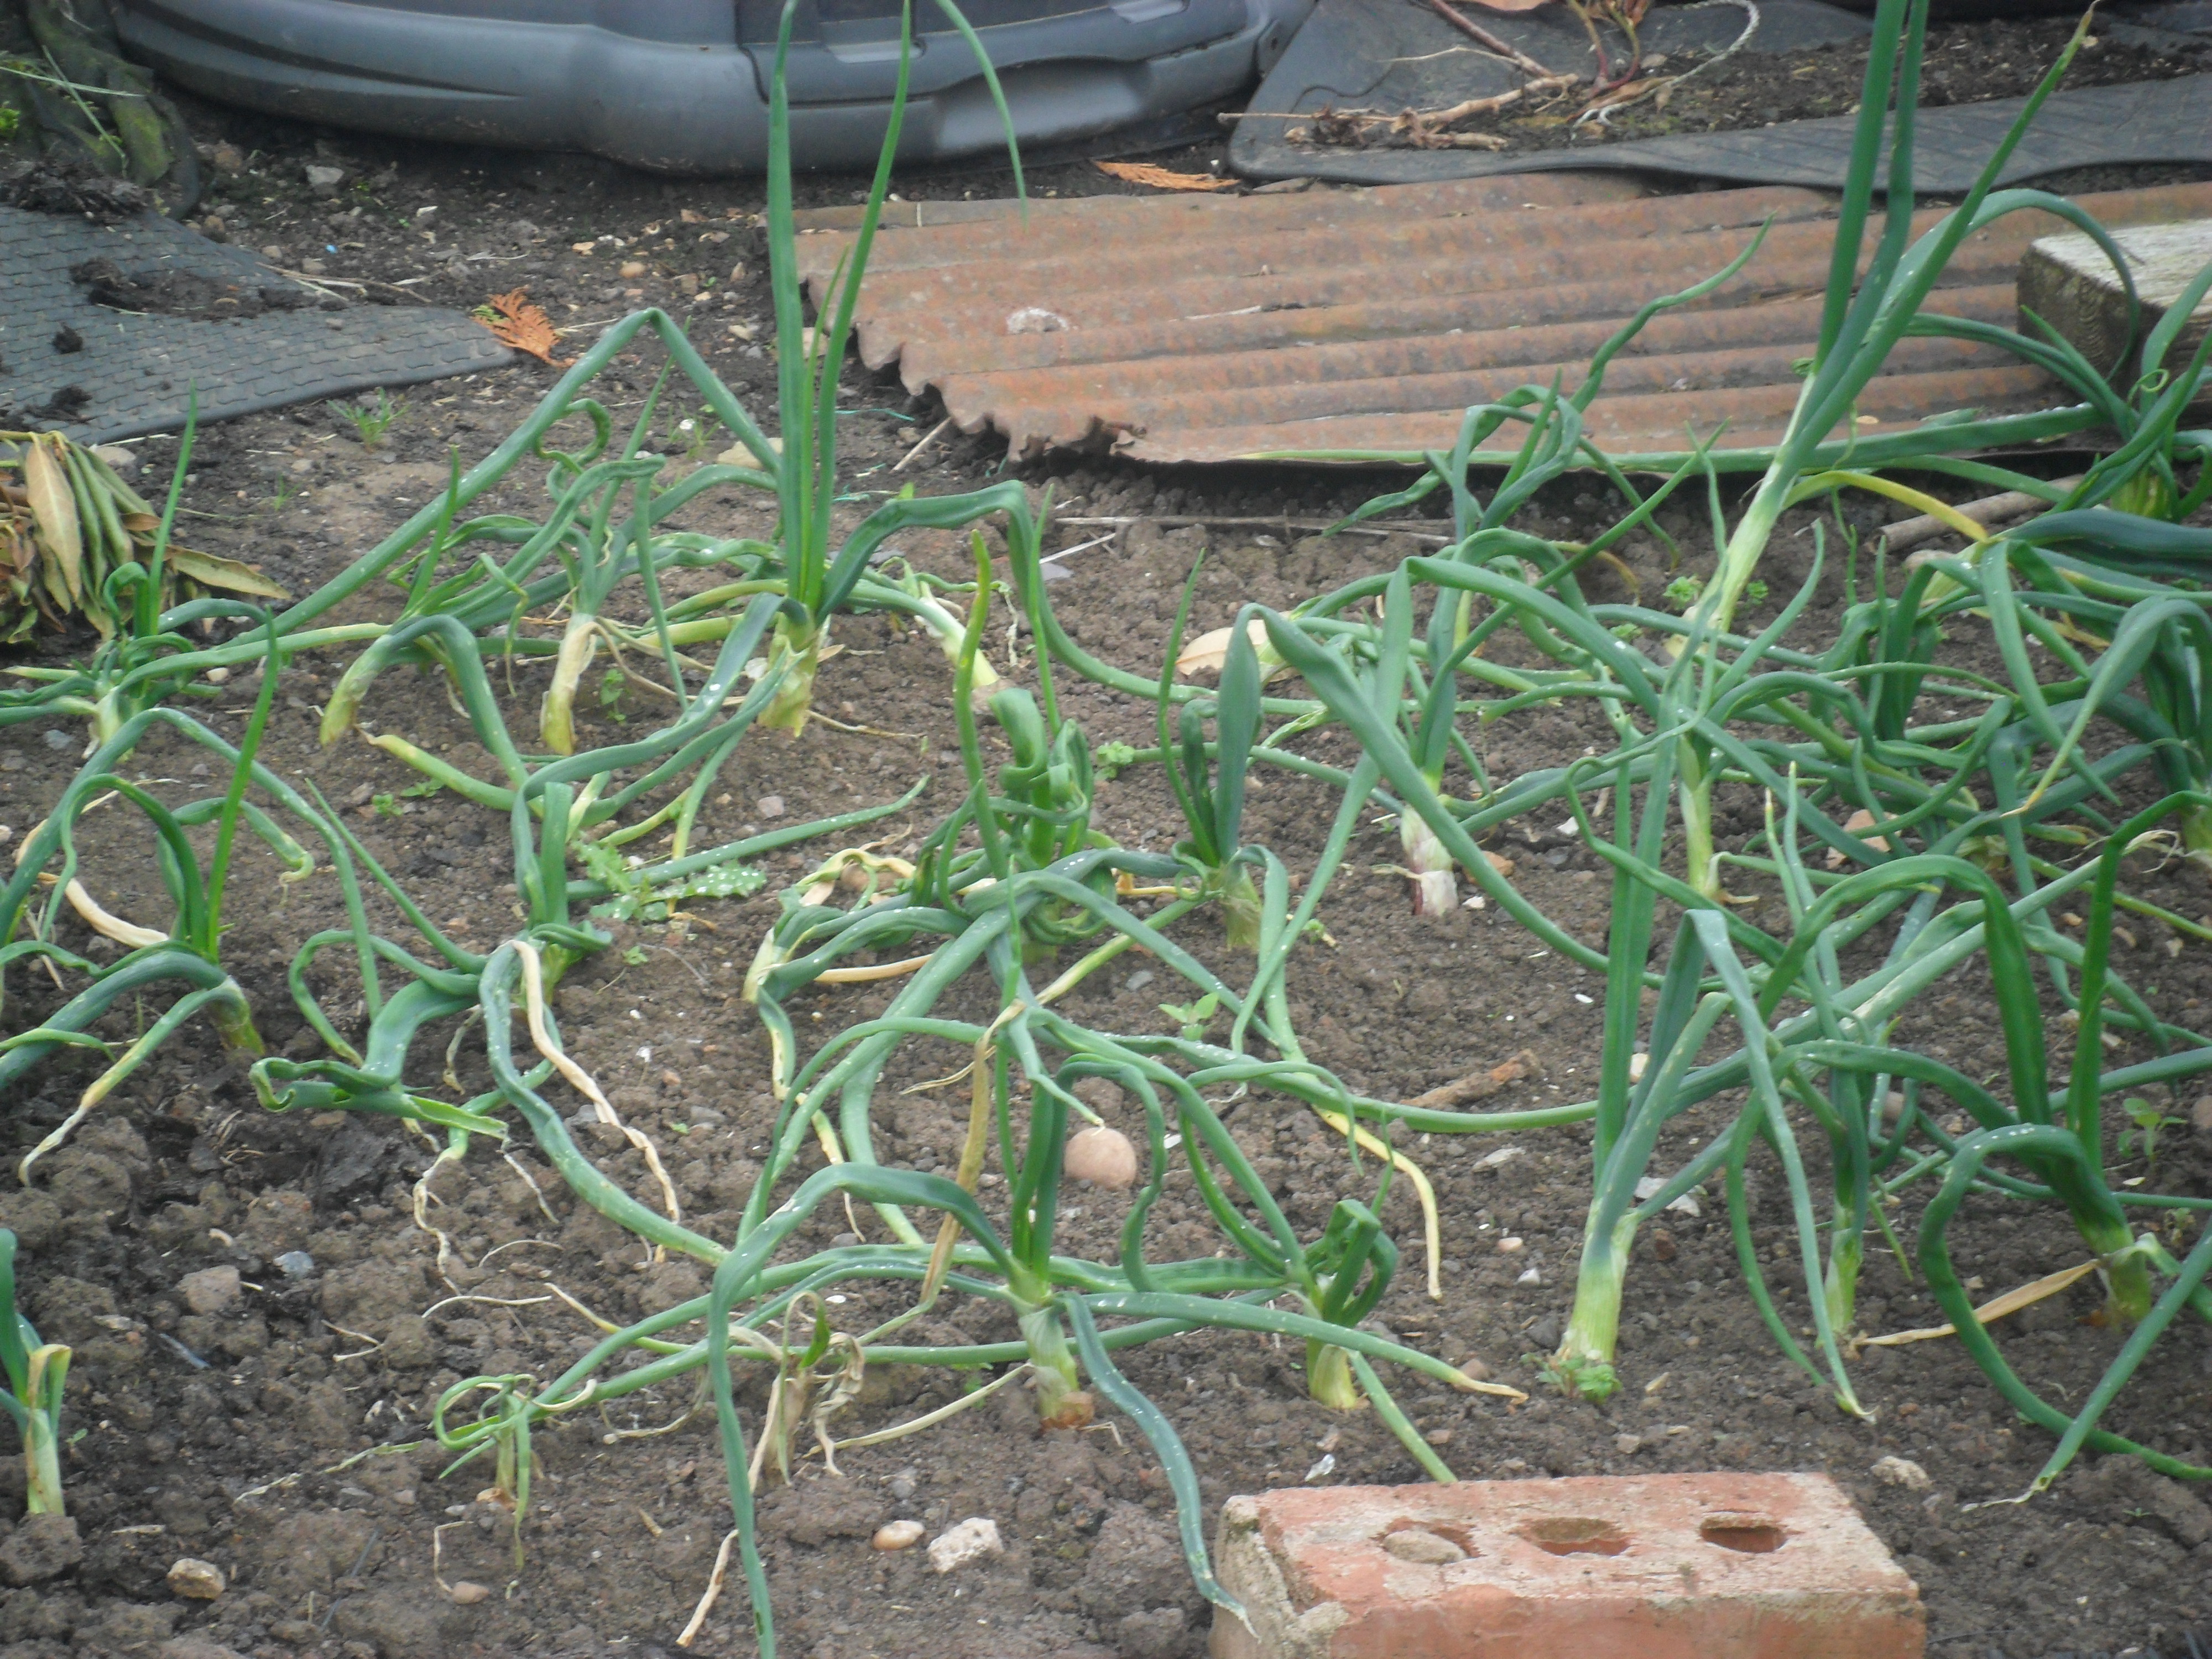
In my garden this week I started to use another batch of lettuces that I have been growing under environmesh….I pick the outside leaves of the lettuces so they continue to grow.  They should be fine growing outside under the environmesh for some time yet, before the harsh winter weather comes:

SAM_2283 SAM_2284

One thing I noticed in my garden is I have somehow managed to grow a clematis.  I do remember that a clemastis used to scramble through the large photinia bush I used to have in the corner, but I assumed this was killed off when I cleared the area at the beginning of the year.

When I first saw it growing in the summer I twisted the growth around my trellis as I really wasn’t sure what it was (though I did suspect it looked like a clematis) and this week it has begun to flower….better late than never:

SAM_2294 SAM_2295

I shall leave the plant where it is as it obviously wants to be there and I will prune it in February.

.

I also finally bottled up the wine I made a few weeks ago.  I had a little taste and it is lovely already, but hopefully as it matures it will get even better.  These bottles will be great in my Christmas hampers:

SAM_2297

.

My lovely sister dropped in this week with some apples from the tree in her garden, as she has had a bumper crop:

SAM_2248

I sorted the apples and I wrapped up those without blemishes in newspaper and placed them in a cool, dark place to store them through the winter:

SAM_2267 SAM_2269

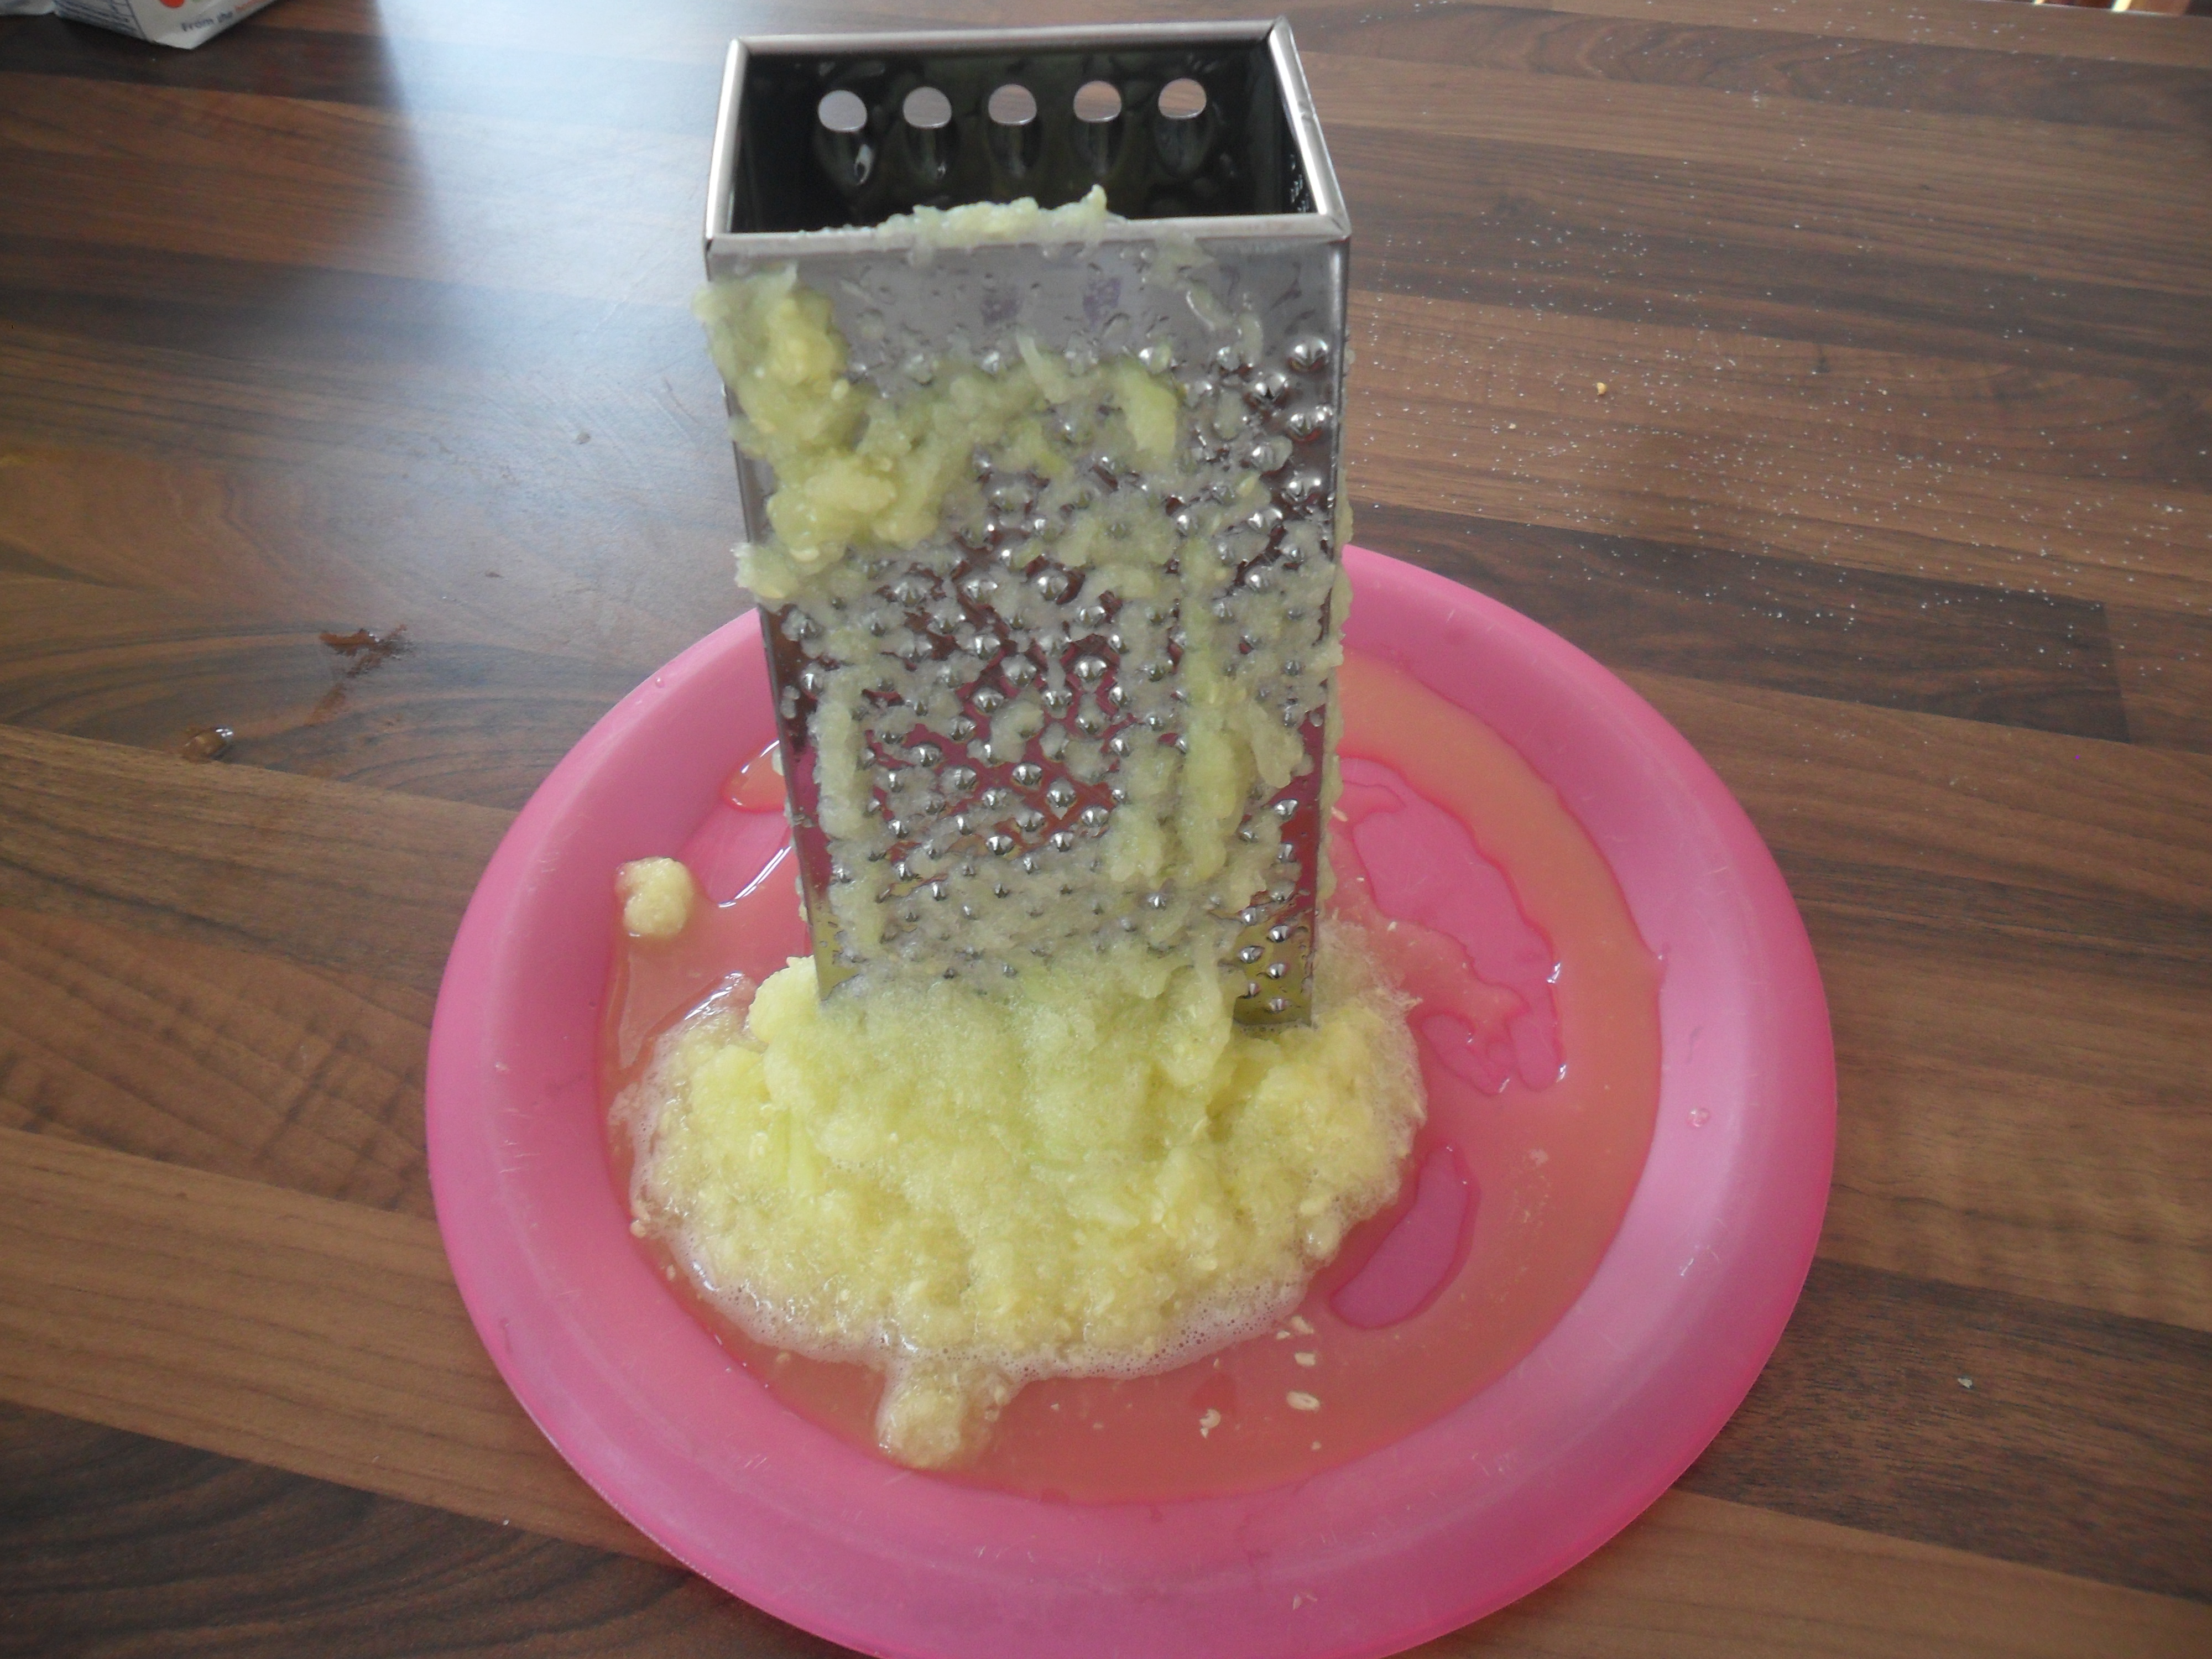
I then decided to juice the remaining apples, so I started by washing the apples and then removing all the bad bits:

SAM_2269

Unfortunately there were rather a lot of bad bits and when I chopped the apples in half I found that loads of them were bad in the middle.  I’m not sure if they are bad due to ‘codling moth’ or wether it is the result of ‘mouldy core rot’:

SAM_2270 SAM_2271

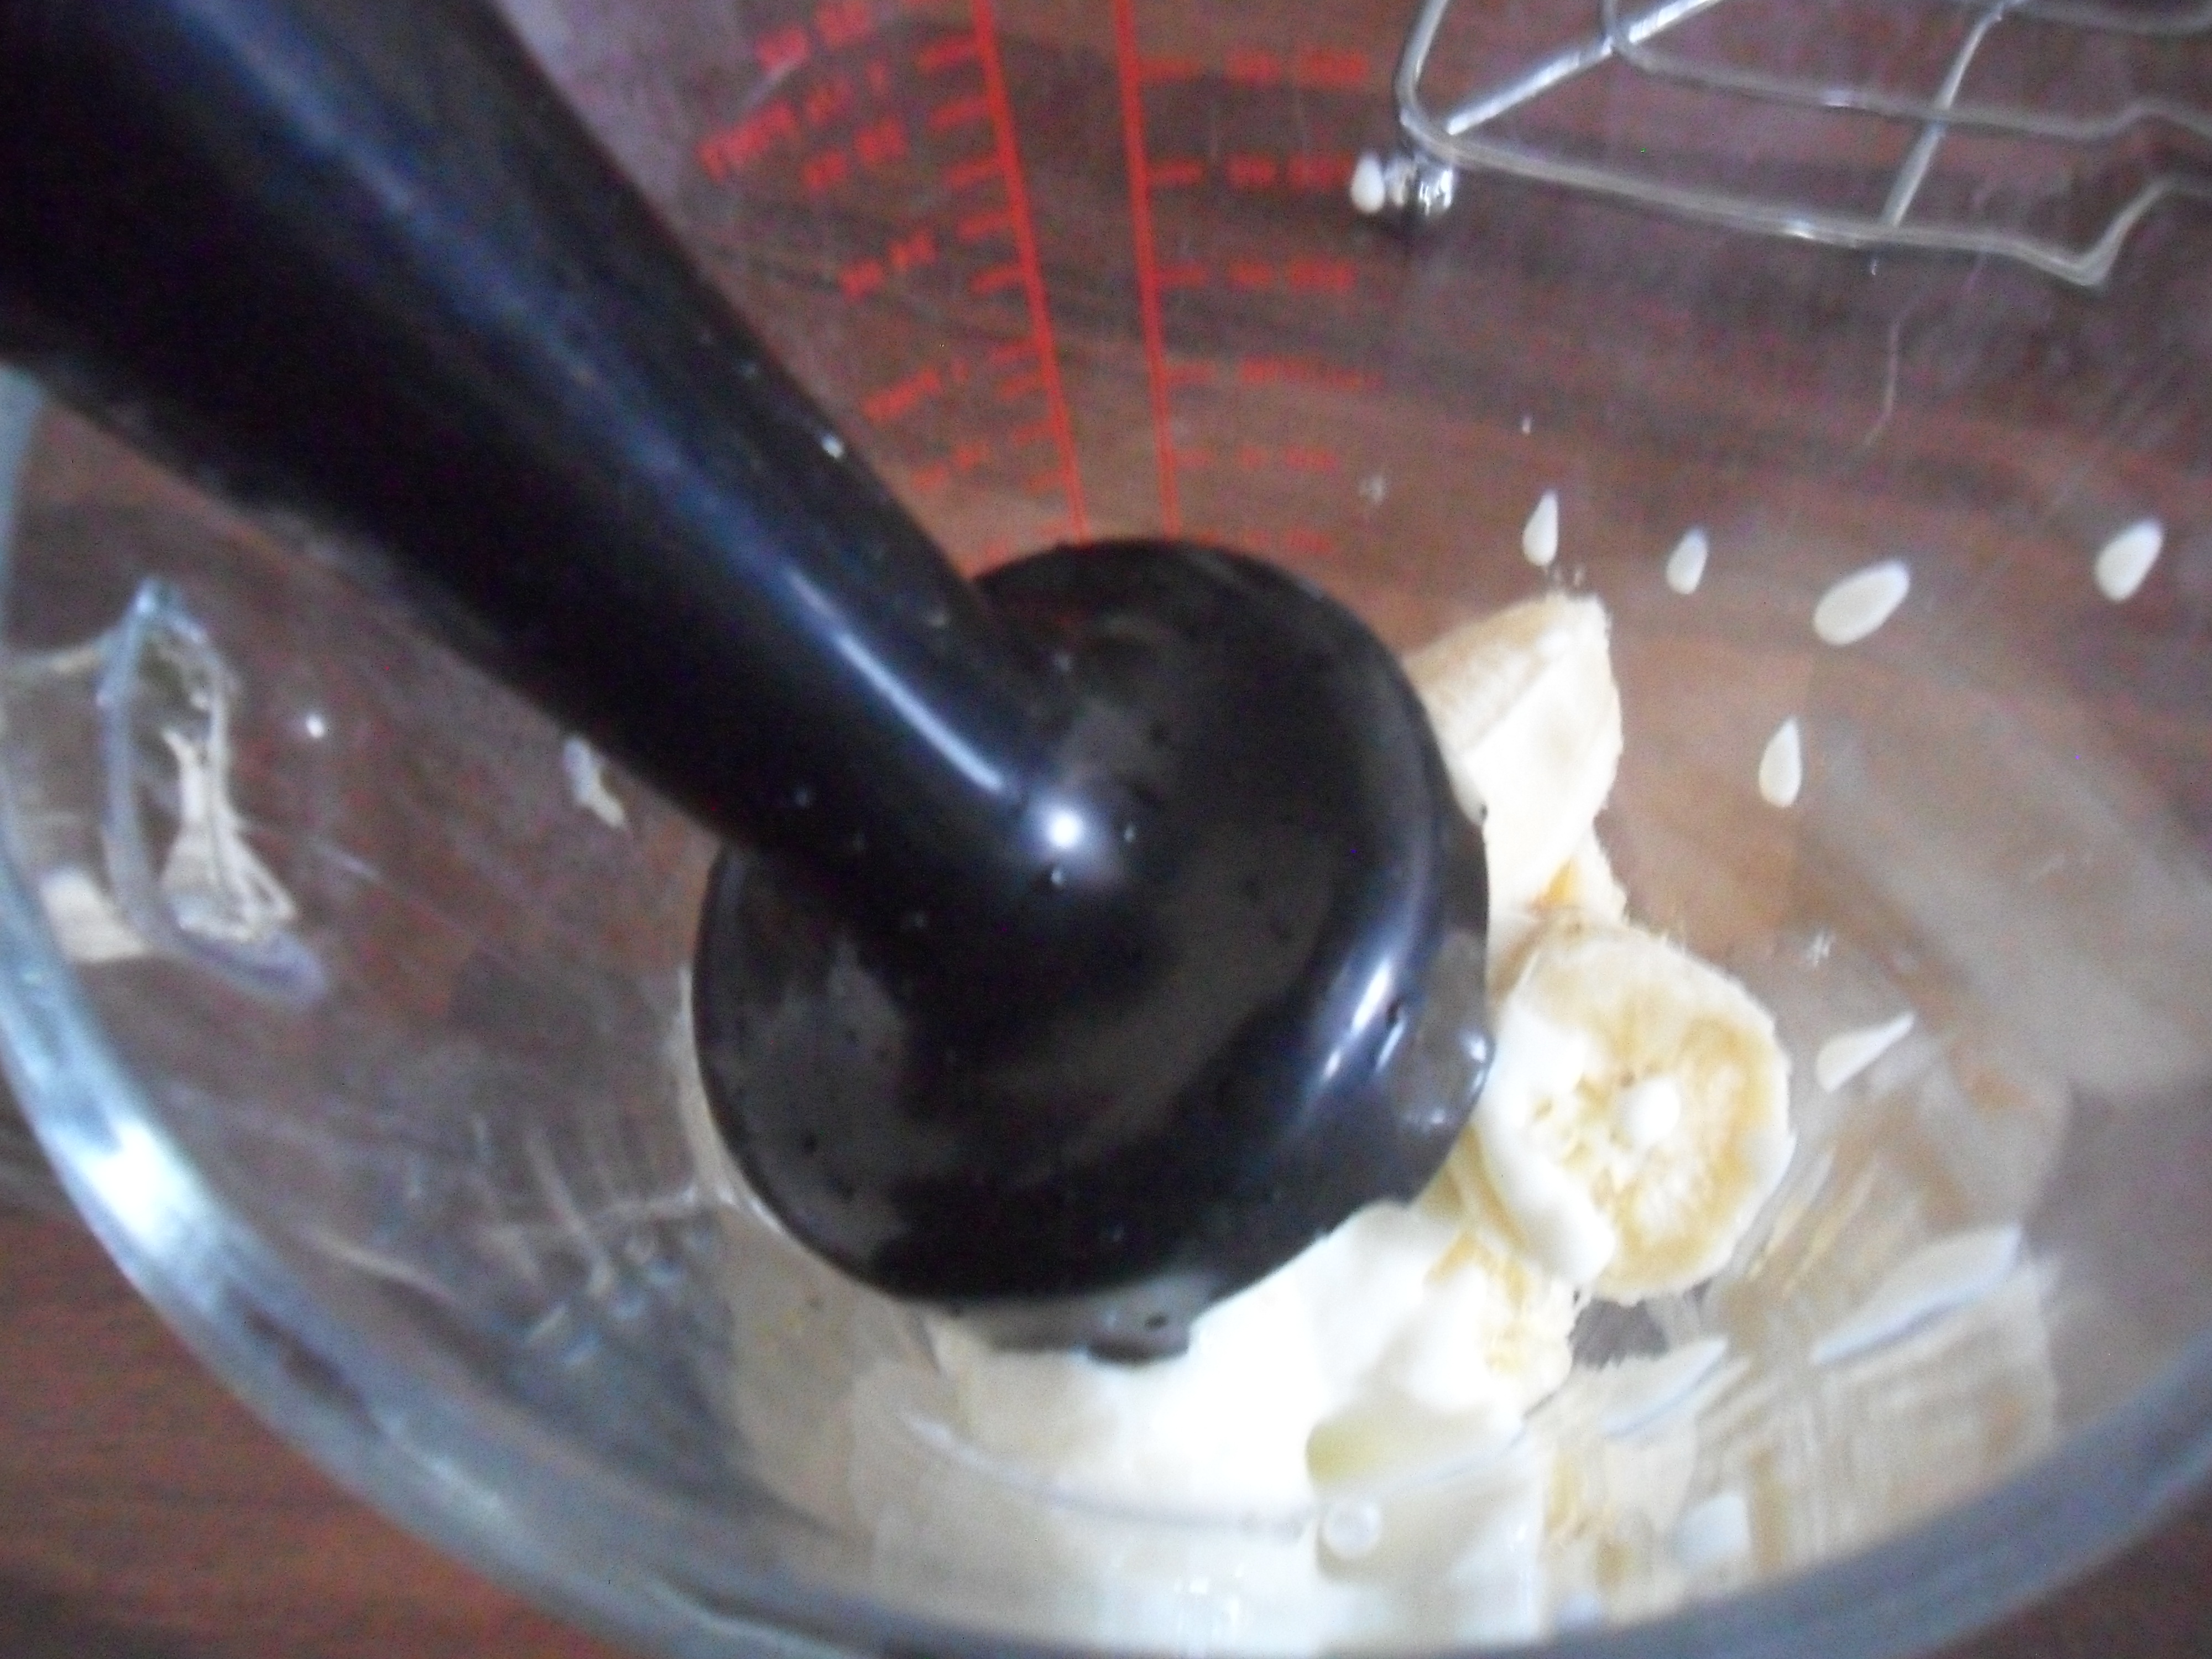
However, I did get enough good apples to do a little bit of juicing:

SAM_2272 SAM_2273 SAM_2274

It was a shame about the rotten apples but the juice we did get was absolutely delicious:

SAM_2277

.

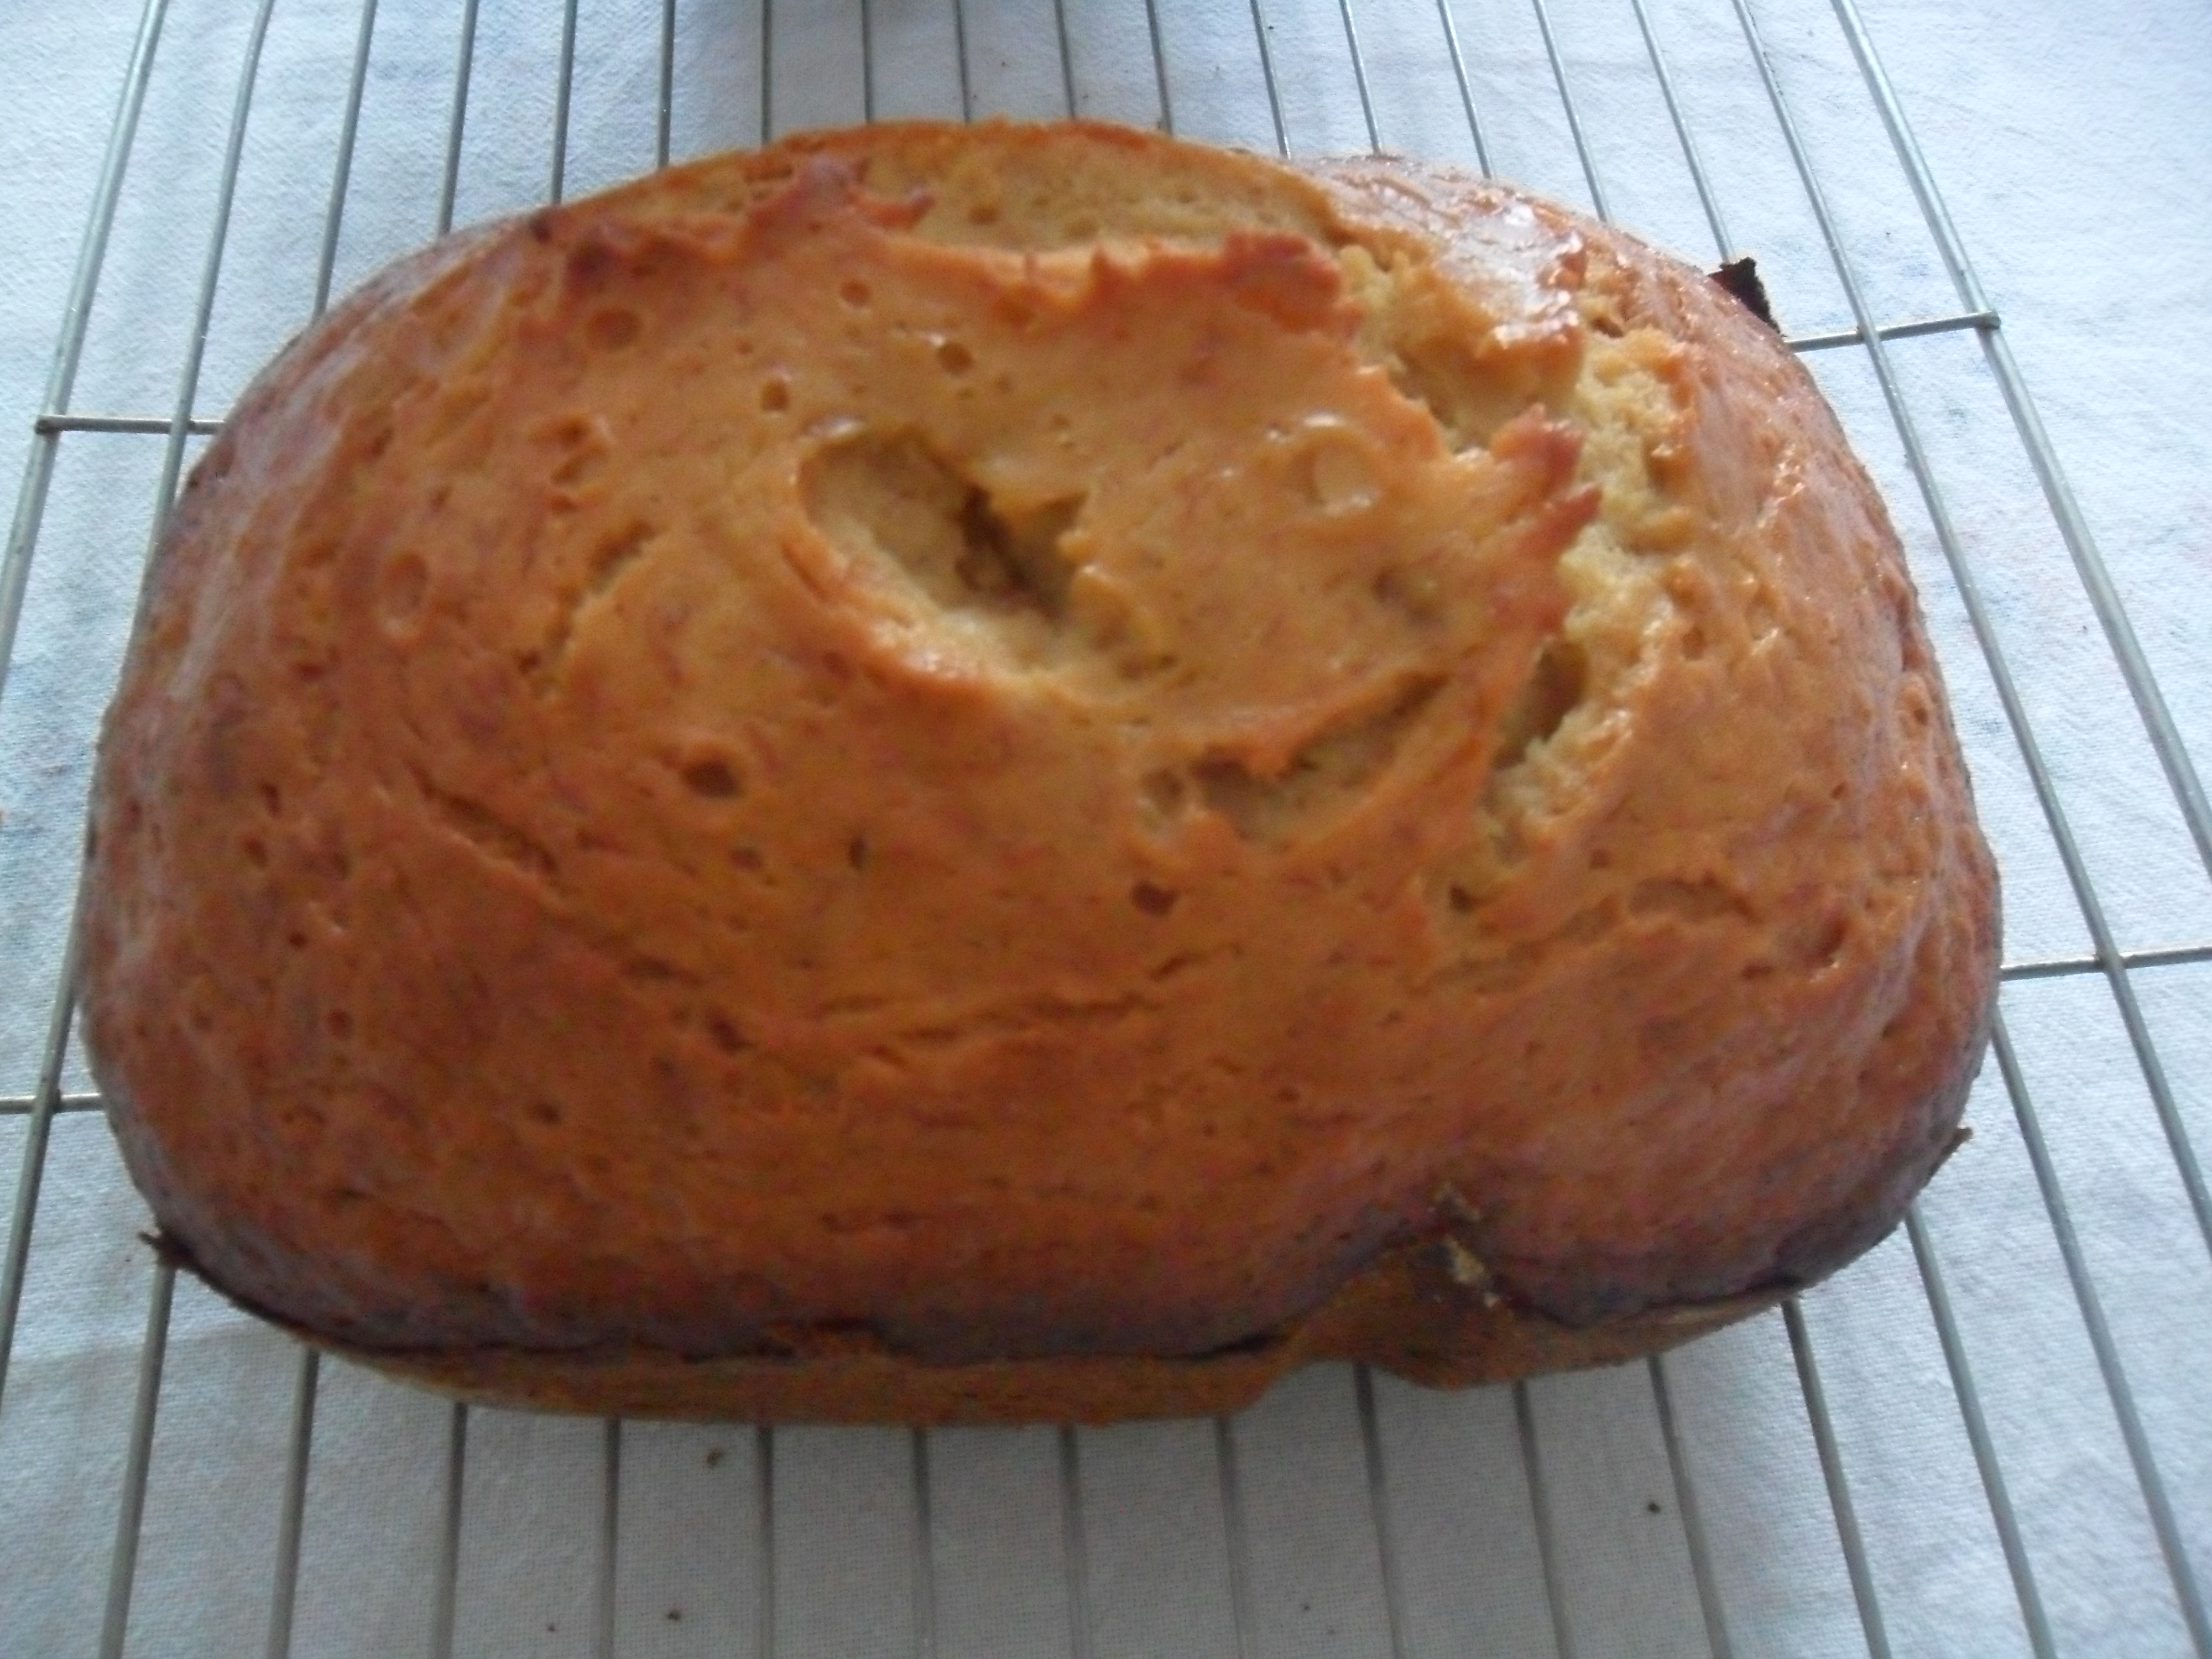
My sister also gave me a few bramley apples, so I made an Apple Cake traybake:

.

An Apple Cake Traybake Recipe:

.

500g Bramley apples peeled, cored and thinly sliced (leave in water to stop them going brown)

350g self raising flour

280g caster sugar

225g soft margarine or butter

4 eggs

1 tsp vanilla extract

2 tsp baking powder

2 – 3 tbsp demerara sugar to sprinkle over the top.

.

.

Preheat your oven to 180C / gas 4 / 350F and line a baking tray with greased, greaseproof paper.

Put the margarine, caster sugar, eggs and vanilla into a bowl and then seive the flour and baking powder into the bowl. 

SAM_2250

Mix until all the ingredients are combined and then add a little bit of water to the mixture if it doesn’t drop off the spoon easily.

SAM_2251

Spread half of the mixture into the lined baking tray and then arrange half of the apples over the mixture.

SAM_2252 SAM_2254

Put the rest of the cake mixture on top of the apples and then arrange the remaining apples again on top

SAM_2255

Sprinkle the apples with demerara sugar

SAM_2257

Bake for 45-50 minutes.  Ensure the cake is cooked by inserting a skewer….it is cooked when the skewer comes out clean.

SAM_2259

Leave to cool for ten minutes and then slice.

Serve hot or cold on it’s own or with cream or ice cream.

SAM_2264 SAM_2261

Enjoy!

.

Thank you for reading my blog today, I will be back next Friday as usual.

Have a good week!


Pumpkin Muffin Cakes With A Mascarpone Frosting

The clocks went back an hour last week and it really feels like Autumn is here.  There have been some beautiful sunny, crisp days this week and there have also been some rotten, wet days too:

IMG_2783 IMG_2789

But the leaves are turning brown and falling and each day looks beautiful wether it is sunny or wet.

.

This week I have been busy catching up in my home after last weeks decorating.  Someone asked me last week how I organise myself so that I do so much…..in truth, if I’m doing something like decorating, then the bare minimum gets done.  We have quick meals or freezer meals which I have cooked ahead of time and I keep on top of the washing, but everything else is put on hold…..as you can see from the mess in our kitchen in the photograph below:

IMG_2765

.

I have concentrated on finishing my daughter’s bedroom this week.  We had ordered some flat pack furniture that was delivered on Saturday.

The furniture is an early birthday and Christmas present for my daughter and she has also paid for some of it from her allowance too.

I have got to say that the instructions for assembling it were terrible and it took me ages to put it together and there was a small piece missing which the shop have promised they will post to us.

IMG_2741 IMG_2744

But when they were finished they did look good and my daughter was very pleased:

IMG_2779 IMG_2778 IMG_2777

I also put her curtain pole back up after painting it, but found that the rings wouldn’t slide across the pole easily when I tried to shut the curtains.  So I used a wax candle to rub across the top of the pole and it now works well (this is something you can do with any curtain track that sticks).IMG_2739 IMG_2776

I am very pleased with the curtain pole, but it will look better when I get around to making the new curtains for her too.

.

This week I also stained the old mirror from my youngest daughter’s bedroom, as she didn’t want it.

IMG_2781 IMG_2782

As you can see in the photograph above, I used my very old tin of left over woodstain.

The mirror now sits in my eldest daughter’s bedroom, matching her furniture:

IMG_2788

Incidentally, my eldest daughter’s old mirror now sits in my bedroom, as the frame on my old mirror had final broken after twenty three years of use).

.

As I still had some woodstain left, I used it to paint the shelves that again my youngest daughter didn’t want in her new bedroom.  The shelves now sit in my kitchen where the old chest freezer used to be before it broke.  These shelves will be great for both my daughters’ school work, to keep it tidy:

IMG_2792

.

Finally, we gave my daughters old desk to ‘Loros’ to resell and I put her old wardrobe onto ‘freecycle‘ and it was picked up by a lovely lady on Wednesday.  This wardrobe was given to us second hand, thirteen years ago and I think it still looked in good condition. So it was lovely to know that it will still be used, rather than ending up in a landfill site.

IMG_2780

.

.

Halloween

.

Tomorrow is halloween and each year many pumpkins are carved and the insides are just thrown away and I so hate waste.  So I thought today I would share a few of my favourite pumpkin recipes with you:

SAM_4355 SAM_4348

.

Pumpkin Recipes:

.

Spicy Pumpkin Soup….the recipe is here.

 Pumpkin and Orange Cake….the recipe is here.

SAM_3677

Pumpkin and Apple Chutney….the recipe is here.

Pumpkin Lasange…the recipe is here.

Pumpkin, Raisin and Orange Muffins….the recipe is here.

.

  Don’t forget you can freeze raw pumpkin.  In the photograph below you can see the frozen pumpkin that I used to make the cake recipe below…..this is raw pumpkin that had been in my freezer since January this year and I cooked it without defrosting it first.

IMG_2762

Also, most recipes ask for ‘pumpkin puree’…..to make this just cook the pumpkin in boiling water until it is soft and then drain the water and mash it.  I have found that you need approximately double the amount of raw pumpkin to make the pumpkin puree i.e 600g of raw pumpkin makes approx. 300g of pumpkin puree.

IMG_2750 IMG_2756

Pumpkin puree can also be frozen in batches, ready weighted out for your favourite recipes.

IMG_2764

.

.

This year I decided to make a different pumpkin muffin with a mascarpone cheese frosting and it turned out well and tasted really nice:

.

Pumpkin Muffins with a Mascarpone Frosting:

.

Pumpkin Cakes:

230g self-raising flour

150g granulated sugar

100g soft brown sugar

100ml sunflower oil

3 eggs

170g of pumpkin puree

½ tsp vanilla extract

1 tsp baking powder

1 tsp ground cinnamon

¼ tsp ground ginger

.

Mascarpone Icing:

250g mascarpone cheese

50g icing sugar

2 tablespoons of lemon juice

Extra bit of soft brown sugar for decoration (optional)

.

Preheat your oven to 180C / Gas 4 /350F

Sieve the flour, baking powder, cinnamon and ginger into a bowl and set aside.

IMG_2751

In a separate bowl mix together the granulated sugar, brown sugar and oil until combined.

IMG_2752 IMG_2753

Beat in the eggs one at a time.

IMG_2754 IMG_2755

Mix in the pumpkin and vanilla.

IMG_2758

Fold in the flour from the separate bowl, a little bit at a time.

IMG_2759 IMG_2760

Half fill muffin cases with the mixture and then bake for 20 minutes or until a skewer comes out clean.

IMG_2761 IMG_2766

Put the cakes on a cooling tray.

IMG_2767

When the cakes have cooled down, mix the mascarpone cheese, icing sugar and lemon juice together and either pipe it or spread it on the cakes. I then put an extra pinch of soft brown sugar on each cake for decoration.

IMG_2768

Enjoy!

IMG_2774

.

Thank you for reading my blog today.

I will be back next Friday as usual.  Have a great week!


Brandied Peaches & A Plum Cake Recipe

I wanted to start today by saying a big thank you to all the lovely people that leave comments on my blog.  Your comments have given me the confidence to continue writing my blog after I gave my four allotments up…..I was absolutely convinced at the beginning of the year that no one would want to read my blog when I started to just grow vegetables in my garden.

SAM_1531

I have always been conscious that my blog doesn’t really fit in with other catergories of blogs, for example it’s not just a vegetable gardening blog, or just a cooking blog, etc. as I cover lots of things that I do in my normal day to day life.

We live in a three bedroom semi-detached house, in a town near a main road…..I would love a small holding in the country, but in reality this will never happen.  So my blog is about making the best of what we have and through your comments I have realised that there are few blogs that do this and I am so glad you can relate to this.

Thank you for your continued support.

SAM_1758

.

This week in my garden I have been picking lots of tomatoes from my outdoor plants and I have got to say that my harvest is so much better on these plants than from the plants in my greenhouse:

SAM_1713 SAM_1715

However, I have found a problem with one of my plants that I have in a pot.  Unfortunately I have found a couple of tomatoes that have ‘blossom end rot’:

SAM_1714

.

‘Blossom end rot’ is caused by a calcium deficiency and it usually seen when plants are grown in pots and growbags.  There is usually enough calcium in the soil, but unfortunately if there isn’t a good flow of water to the plant then it is unable to access it, also if fertilisers are added to dry soil then this can also restrict the uptake of calcium by the plant.

.

My watering system that I use most days (on a timer attached to my hose on our water tap), hasn’t really been working very well this year.  I have found that some plants are getting too much water and some are not getting enough, so I need to be more careful about this.

I can’t save the tomatoes that are already suffering from blossom end rot, but I can pay more attention to my watering so I can correct the problem.

SAM_1394

.

My cherry tomatoes have now started producing tomatoes too and I am picking a few each day.  They are lovely and sweet and usually get eaten by my daughters in seconds….but that is fine by me:

SAM_1710 SAM_1709

This week I have managed to make some passatta with the spare tomatoes and I have frozen this to use another time.  I honestly thought I wouldn’t be able to grow enough vegetables in my small garden to be to have some left over for freezing…..I have been pleasantly surprised.

SAM_1719

.

I am harvesting a lot of perpetual spinach from my garden now too (which Mr Thrift absolutely loves) and this week I made one of his favourite meals with it…..Spinach and Poached Egg Florentine:

SAM_1637 SAM_1761 SAM_1763

.

I was also given some more produce this week…..some apples from my husband’s aunt and some courgettes, beetroot, and plums from my eldest sister.  I am very grateful for these, so if you are reading this…thank you so much!

SAM_1734 SAM_1735

.

.

I made some courgette chutney with the courgettes my sister gave me:

SAM_1767

And I made two ‘plum cakes’ with some of the plums (one to eat and one to freeze):

.

A Plum Cake Recipe:

.

150g caster sugar

115g margarine or butter

140g self raising flour

1 teaspoon of baking powder

2 eggs

Approx. 10 plums, pitted and halved

Icing sugar for sprinkling on the top

.

Preheat your oven to 180C/ gas 4 / 350F and grease and line a cake tin:

SAM_1749 - Copy

Beat the caster sugar and margaine until fluffy:

SAM_1743 - Copy

Sieve the flour and baking powder into the butter / caster sugar and mix until combined:

SAM_1744 - Copy SAM_1745 - Copy

Add the eggs and mix:

SAM_1746 - Copy SAM_1748 - Copy

Pour the mixture into your cake tin and then top with the plums.

Put the cake in the oven for 35-40 minutes:

SAM_1751 - Copy

Check your cake is cooked by inserting a skewer and if it comes out clean it is cooked.

SAM_1753

When it is cool, sprinkle with icing sugar and serve with ice cream, custard, cream or some nice homemade natural yoghurt as I do:

SAM_1756 SAM_1766

Enjoy!!!

……………..

This week I started to think about Christmas and decided to make some brandied peaches for one of my Christmas hampers.  They take three months to mature, so it’s a good thing to do now whilst peaches are fairly cheap.  I found peeling them a bit fiddly, but I think they are worth it:

.

Brandied Peaches:

.

6 normal sized peaches

100 grams of caster sugar

Enough brandy to cover the peaches (approx. 600 ml)

1 litre sealable jar

.

Start by slicing a small cross in the bottom of each peach and placing them in a bowl of boiling hot water for approx. 3 to 4 minutes:

SAM_1723 SAM_1724

Take the peaches out of the water and place them immeadiately in a bowl of ice cold water for a couple of minutes and then start to peel the skin back.  I found it difficult to remove the skin on some of the peaches so I used a peeler on the more difficult ones:

SAM_1725 SAM_1726

Cut the peaches in quarters and then slice each quarter in half again.  I discarded the stones and cut off any hard bits on the peach slices where the stones had been attached:

SAM_1727 SAM_1728

I sterilised my jar (gas 4 / 180C / 350F for five minutes) and when it had cooled down I arranged the peach slices in the jar in layers, alternating with layers of caster sugar:

SAM_1729

I then poured the brandy into the jar making sure the peaches were covered.  I sealed the jar and gave it a gentle shake:

SAM_1731 SAM_1732

I placed the jar in a cool, dark place and from now on I will shake it gently every week until it is ready in three months time.

SAM_1733

.

I think that is enough for this week, so thank you for reading my blog today.

  I will be back as usual next Friday.

Have a lovely week!

Greenhouse Shading And Banana Recipes

There has been some really miserable weather this week and it’s been hard to get into the garden to do any work.

SAM_1010

However, in between the showers I did manage to plant my mange tout, in front of my strawberries.  I am trying very hard to use every bit of space I have to grow vegetables.

This really is a trial year for my kitchen garden and I’m not sure yet if things will grow well or not.  I was hoping that I will have picked the strawberries before the peas grow taller and take away some of the sunlight….however due to the miserable, cool weather we have been having this may not work, as there are no sign of flowers on my strawberries yet.

SAM_1012 SAM_1014

You can see in the second photo, I have put wire over the peas to stop the birds from eating them and my dog from destroying them (as she still goes mad when my neighbours dog is out).

I grew the monge tout in small lengths of guttering, which I ‘slide out’ into prepared soil when they have germinated.  I find this gives me a better germination rate.

You can read exactly how I grow peas in guttering here.

.

SAM_0986 SAM_0988

I also planted out a few of my outdoor tomatoes that I sowed on the 5th April.  You can see in the photo above that I am leaving some glass over them because the temperature outside is still quite cool for this time of year.

The tomatoes are a variety called ‘Outdoor Girl’ and I have grown them now for many years outside.  One seed company describes them as follows:

“Tomato Outdoor Girl is a really tough outdoor tomato, very easy to grow and tolerant to low temperatures. Early to fruit producing medium sized fruits of good flavour and colour

I think they are spot on with this description, as they really do give a good supply of tomatoes early on, so I get a good harvest before blight hits.

SAM_0989

In between my tomatoes I have planted some Tegetes as they look lovely when they are in flower and they also confuse the white fly with their smell, so this will stop them from attacking my plants.

.

SAM_0994 SAM_0995

In my greenhouse this week I took the bubble wrap down that provided a layer in insulation over winter, (before it actually fell down on its own).  I have left it in place over the last few years and it was now brittle and tore very easily.

I replaced it with shading netting that will help my plants on hot sunny days.  I bought my shade netting from Wilkinsons as I found it cheapest from there:

SAM_0997

Last week I planted my basil in bags in my greenhouse and this week I sowed a catch crop of radish in between them and amazingly the radish germinated in just five days.  I also sowed a row of radish outside on the same day and they are nowhere to be seen yet.

SAM_0991 SAM_1015

.

This week I harvested my first radish from the garden.  These were sowed on the 10th April:

SAM_0981

 I also picked a few of my everlasting onions:

SAM_0982

And I had my third cut of mixed salad leaves that I sowed in a pot in March:

SAM_0977 SAM_0976

.

(Next year I am hoping to be havesting more things at this time of year, now my kitchen garden is up and running).

The aim of my kitchen garden is to harvest as much as possible from a small space.

.

.

At home this week:

I made a big batch of tomato and basil soup from tomatoes I grew at my allotment last year and froze (I just chop the fresh tomatoes in half and place in a freezer bag and then into the freezer).

SAM_0975

When the soup was ready I then froze it in portions, so I can defrost a bowl full for lunch when I want to:

.

Top Tip:

This week my daughter brought some plastic cups from the ‘pound shop’ and she couldn’t get the sticky labels off:

IMG_2392

So I put a drop of olive oil on the sticky labels and then I used a scrubber to easily remove the sticky label and residue remaining:

IMG_2393 IMG_2394 IMG_2396

This also works for removing the sticky residue on jam jars when most of the label has been removed.

.

And finally I made some banana lollies and some super quick and easy ‘breadmaker’ banana bread from the ‘whoopsied’ bananas that I bought at the end of last week and I have written bothe of these recipies below for anyone that is intersted:

SAM_0944

.

Super Quick And Easy Banana Bread In A Breadmaker:

.

3 over ripe bananas mashed

200 grams granulated sugar

3 tablespoons sunflower oil

2 eggs

270g self raising flour

1 teaspoon of baking powder

.

Put all the above ingredients into your breadmaker pan and put it on a ‘pizza dough’ setting for 5 minutes.

Stop the breadmaker half way through and scrape down the sides of your pan with a spatula to ensure all the flour is mixed in well,

SAM_0966

When there is no trace of flour left, set your breadmaker on a ‘bake’ setting for 55 minutes:

SAM_0969SAM_0970

The result is lovely banana bread

(which incidentally can be sliced and frozen for another time):

SAM_0971 SAM_0973

.

.

Banana Ice Lollies:

.

2 Ripe banana’s

3 tablespoons natural yoghurt

1 teaspoon vanilla extract

60 grams chocolate

2 tablepoons of milk

.

Use a hand blender to combine the banana, yoghurt and vanilla until they are smooth:

SAM_0956 SAM_0957

Pour the resulting mixture into four lolly moulds, leaving a slight gap at the top for the chocolate:

SAM_0960

Put the chocolate and milk in a microwaveable jug and microwave on full power until the chocolate has melted (this only takes a couple of minutes so keep checking it).

SAM_0959

Let the chocolate mix cool down for a few minutes and then pour it over the banana mixture:

SAM_0962 SAM_0963 SAM_0964

Put the lollies in the freezer overnight:

SAM_0965

And then enjoy:

SAM_0974

.

Thank you for reading my blog today, I will be back next Friday at my usual time.

Have a good weekend!

King Richard III & A Quick Microwave Syrup Sponge Recipe

Because I live in Leicester, I couldn’t start my blog today without mentioning King Richard III.

For those that haven’t seen the news over the last week, the bones of Richard III were found buried deep under a car park in Leicester some time ago, and on Sunday a cortege carried King Richard III’s mortal remains from Market Bosworth (where he died in the battle of Bosworth) across Leicestershire into Leicester city centre.

We were all very excited as the A47 at the bottom of our road was closed for an hour as the cortege was to pass by.  So we all walked down to see a part of history, as Richard III was the last King to actually die in battle.  There were hundreds of people lining the road waiting when we got there.

SAM_0629SAM_0631

Well I can only say it was very dissapointing for everyone, as the cortege sped by so fast that if you blinked you would have missed it.  I had my camera ready in my hand and I still only managed to take the back of it as it shot by.

It was such a shame for everyone, especially as some people has white roses to throw, but there wasn’t time.

SAM_0632

There had been so much news coverage over the week leading up to the day, which is why so many people turned up to see him being driven past and everyone was under the same impression it would drive past at least a little bit slower.

However, it did all look amazing in the city centre when they showed the coverage on the news…it’s a shame we weren’t in town to see it.

.

.

This week at home I realised that my butternut squashes were beginning to go over and I didn’t want to waste them.  We love butternut squash in our house and I grew loads last year at the allotment.

My last butternut squashes from 2014

My last butternut squashes from 2014

 I really didn’t want to waste the squashes, so I chopped them up ready for roasting and then popped them into the freezer on a tray and then bagged them up when they were frozen.

When they were frozen I tried roasting a few of them straight from the freezer, by just increasing the roasting time and I’m very pleased to say they were as good as they normally are.

SAM_0628

So I now have butternut squash, celeriac, jeruselum artichokes and parsnips, that I just take out of my freezer and roast from frozen (it makes Sunday dinner much easier).

.

This week I decided to buy some trellis for my back fence.  The fence was looking very bare, as my cordon fruit trees haven’t grown any leaves yet.

I have been looking for trellis for a while, but what I wanted was always over £10 and I needed four pieces which would make it expensive.  However, I managed to find an expandable trellis in Wilkinsons this week for just £2 each and it matches my fence colour quite well so I won’t even have to paint it:

SAM_0633

It easily screwed onto the fence and I am very pleased with it:

SAM_0636 SAM_0673

I shall be planting sweet peas up three of them, but I’m not sure what I will grow up the fourth one yet as this one is in the shade….I will let you know when I decide.

.

I had a quick wander around my local nursery last weekend and I found a pot of Tegete seedlings for 60p.  I had already decided to grow some of these plants for my new kitchen garden as they are great to attract beneficial insects to the plot, but as yet I hadn’t managed to find the seeds in the shops.  I’m sure a packet of seeds would have cost me more than 60p.

So I brought the seedlings home and pricked them out.  There were enough for me to grow on and give to my family too.

(You can read how to prick out seedlings here).

SAM_0642 SAM_0644

I also bought a tomato plant that was also 60p, but it was a lot further forward that the ones I am growing.  I have potted it up, by planting it deep in the pot, as new roots will then form from the stem and make the plant stronger:

SAM_0645 SAM_0650

It will be interesting to see how much sooner I will have tomatoes ready to eat.

My tomatoes sown on the 3rd March

My tomatoes sown on the 3rd March

  .

This week my broad beans were ready to plant out. They are a variety called ‘Aquadulce’ that I sowed on the 11th February, which was really a bit late as they are an overwintering variety.

I do have a few spare plants that I can pass on, as I am not yet used to sowing seeds in such small amounts.

SAM_0639 SAM_0641

It felt very nice to finally be planting something in my new kitchen garden at last.

.

I noticed that the ground must be beginning to warm up as weeds are starting to grow, so I hoed for the first time this year.  It was very nice as it only took just a few minutes to hoe the whole plot – this job would have took a whole morning at my old allotments due to the size of them.

SAM_0663 SAM_0664

.

I also decided to tidy up my strawberry patch, that was already in a mess from fallen leaves.  This is the only raised bed I have because this area is full of roots from the Viburnum tinus and Photinia bushes behind it.  The raised bed has been placed over weed suppressant as it was impossible to plant directly into the soil.

I used my homemade compost from my allotment compost bins and the small amount of compost I had made at home to fill the raised bed, so I could plant the strawberries in January that I also brought home from my allotment.  It was the wrong time really to plant them, but they seem to have survived.

SAM_0668 SAM_0671

I also removed any of the dead leaves on the plants and gave them a good watering as the ground was fairly dry – I suppose this is one of the drawbacks with raised beds, especially ones that are situated under bushes as well.

(Incidentally, the raised bed will have plenty of sunshire as it faces south, so the bushes are not a problem as far as light is concerned).

Another thing I did was to cut the bushes back a little bit, so it was easier to walk around the raised bed.  I need to give some thought on how to stop the leaves from falling onto the bed and also more importantly, how to stop the bird muck falling onto my strawberries from the birds that sit in the bushes above….I’ll let you know when I’ve thought of something.

SAM_0672

.

Around my new kitchen garden my daffodils are flowering nicely and I had a nice surprise when I saw an aquilegia was growing next to one of them too.  These are one of my favourite flowers and I can’t quite understand how I missed it when I was digging my plot over.  It obviously is determined to stay and it’s ok for it to grow in the spot it is in, so I’m going to leave it there.

I like nice surprises like this.

SAM_0660

.

The rhubarb is growing nicely now and the comfrey is just starting to poke it’s head up from under the ground.

SAM_0661 SAM_0662

Some of my raspberries are showing growth, but some aren’t yet, so I am keeping my fingers crossed that they show soon and they have survived the move from my allotment.

.

So the kitchen garden is coming along nicely.

.

.

Finally I though I would share another pudding recipe that I cooked for my family on Sunday.  It is really quick to cook, taking just eight minutes in my 700W microwave and tastes absolutely lovely (no one ever knows it has been cooked in a microwave either):

.

Syrup Sponge Pudding Recipe:

.

100g margarine, plus some for greasing the bowl

100g granulated sugar

2 eggs beaten

100g self-raising flour

2-3 tablespoons of milk

2 tablespoons of golden syrup

.

Beat the margarine and sugar together.

Mix in the beaten egg then fold in the flour.

Then add enough milk to achieve dropping consistency (so it falls off the spoon easily).

Grease a microwave bowl with margarine and then put the golden syrup in the bottom.

IMG_2299

Pour the sponge mixture on top of the syrup.

IMG_2300

Cover the bowl with a plate and microwave on high for 8 minutes (based on a 700w microwave).

IMG_2301

Leave it to stand for a couple of minutes before turning in onto a plate. 

Serve with custard, cream or ice cream – or on it’s own if you prefer.

IMG_2302 IMG_2303

Enjoy!

.

Thank you for reading my blog today.  I will be back as usual next Friday.

Have a good week!

Introducing Judy Thrift And Some Pumpkin Recipes…

Last week it was half term here and we all went to Portsihead, near Bristol for a few days.  We stayed in a Travelodge and just across the road was a lovely marina, full of boats of all different sizes.

We used Portsihead as a base and spent a day in Bristol and another day in Weston-super-mare and I have got to say we were really lucky with the weather as it was so dry and mild for this time of the year.

Weston-super-mare

Weston-super-mare

The main reason for a visit to this area was so we could take a trip to a little place call ‘Clevedon’.

I had never heard of this place until a few months ago and it was a lovely, small seaside town with a wonderful pier.  You can read about the pier here if you are interested in finding out more about it.

There was a special reason we visited this pier and that was because my eldest daughter is a massive ‘One Direction’ fan and they recorded the video for one of their songs on this pier, so it made her very happy to tread on the same pier as they did.

SAM_0216

Clevedon really was a beautiful, quiet seaside town…just right for eating an ice cream whilst sitting watching the sailing boats on the sea…

SAM_0214 SAM_0215

.

Introducing Judy:

.

Our holiday was lovely but we all couldn’t wait to come home as we had a very special lady coming to live with us…….

I would like to introduce ‘Judy’, our wonderful rescue dog:

SAM_0227

We had been talking about getting a dog for a while now, but had decided to wait until after our October holiday.  However, a couple of weeks ago myself and Mr Thrift decided to go and ask the RSPCA what the proceedure was for re-homing a rescue dog and we both fell in love with this quiet, timid dog wagging it’s tail at us.

This is the photo that was displayed on the RSPCA website

This is the photo of Judy that was displayed on the RSPCA website

Poor Judy had been very frightened when she first came to the kennels at the beginning of October and was also very anxious.  All we know about her is she is a Jack Russell, Terrier Cross that is three years old and her previous owner was poorly and had to go into hospital, so I think the whole experience has been traumatic for her and she is a little bit underweight.

After we found her, I visited her twice a day at the RSPCA and took her for a walk and by day three I sat down and she jumped on my lap for a cuddle and I knew then that she was definately the right dog for us.

My daughters also visited her after school each day to make sure they took to her too.  She didn’t jump up or bark at my daughters when she first met them, she just wagged her tail which was great for my eldest daughter who has always been a bit scared of dogs.

So on the 22nd October we had a home visit from RSPCA (to make sure everything at home was as we said it would be) and last Thursday 23rd October, we brought her home and she has settled really well.

SAM_0225 SAM_0229

She is still a bit anxious (especially of men), but she is having a great time with all the attention she is getting from the ‘Thrift’ family and she now jumps up all of us when she wants some ‘fuss’ and barks at passers by.

We all adore her!

.

So I’m sorry to say that this week I haven’t been to my allotment, as I am only leaving Judy on her own for very short periods of time so she can get used to it.  But two things I did before our holiday was I added a new compost bin for my perrennial weeds at the back of my plot:

SAM_0210 SAM_0211

As usual, I used strong string to tie the pallets together and lined it with old bits of weeds suppressant.

.

I also managed to plant my winter onions which were sown in August.  I covered them in environmesh to stop the allium leaf miner laying their eggs at the base of the allium stems (the second generation lay their eggs between September and November).

SAM_0206 SAM_0208

.

At home I had been drying a heritiage bean called ‘Carters Bean’ that I grew this year and this week I took all the dried seeds out of the pods and popped them into an envelope to store / share them ready for next year:

SAM_0161 SAM_0224

.

Halloween

.

I couldn’t finish today without mentioning Halloween.  So many pumpkins are carved and the insides are just thrown away, so I thought I would share a few of my favourite pumpkin recipes here with you:

***Don’t forget the pumpkin flesh can be frozen to use another day****

SAM_4355 SAM_4348

.

Spicy Pumpkin Soup….the recipe is here.

.

 Pumpkin and Orange Cake….the recipe is here.

SAM_3677

.

Pumpkin and Apple Chutney….the recipe is here.

.

Pumpkin Lasange…the recipe is here.


 .

And Finally……

.

A Pumpkin, Raisin and Orange Muffins Recipe:

.

600g self-raising flour

220g soft brown sugar

3 teaspoons baking powder

1 teaspoon ground cinnamon

1 teaspoon ground ginger

300g raisins

2 eggs

400g pumpkin puree

150ml sunflower oil

The zest of 3 oranges

200ml of orange juice

A sprinkling of muscovado sugar for the top of each muffin

.

Preheat your oven Gas mark 5 / 375F / 190C

Sift the flour, baking powder, cinnamon, ginger and sugar into large bowl and stir in the raisins.

In a separate bowl beat the eggs and then mix in the pumpkin, oil, orange zest and juice.

Add the wet ingredients to the dry ingredients and stir just until there is no flour visible. There will be still lots of lumps left (this is the secret of good sized muffins.


Half fill muffin cases with the mixture and sprinkle each muffin with a little muscavado sugar.


Bake for 25 minutes until the cakes are firm to the touch and golden brown.


Enjoy!

 .

.

And don’t forget, with a little bit of imagination you can make some spooky treats for your children and grandchildren:

SAM_4466 SAM_4420 SAM_4406

SAM_4413

I hope you enjoy some spooky Halloween treats tonight.

Thank you for reading my blog today.

Courgette Sponge Cakes With Mascapone Cheese & Lemon Curd

Just wanted to say a big ‘thank you’ to ‘Argiolus‘ who identified the caterpillar I mentioned on my blog last Friday.  It is in fact an Elephant Hawk Moth and he has kindly given a link to some more interesting information about the moth here.

SAM_9804

I love receiving comments on my blog, so please keep them coming with your views, questions and answers, etc. which are great for everyone who reads them.

Thank you

.

At the weekend Rowley fields allotment society in Leicester had an open day, so we went along.  We saw a wonderful plot (or should I say garden), so I took a photo to show you:

SAM_9856

How beautiful it was!

.

This week at home I have once again been thinking about storing my crops, by putting my onions away.  They have been drying nicely for the last three or four weeks in one of my mini-greenhouses.

SAM_9692

I put them in a large netted bag in my storage boxes with my potatoes and they will store nicely over winter, provided I check them every so often for any that have begun to rot.

SAM_9889 SAM_9891

.

At my allotment, my cucumelons are taking over my tomato plants and my poor tomatoes are struggling to ripen!…but dispite this, my polytunnel is heaving with produce:

SAM_9873 SAM_9876

.

This week at my allotment I have been pruning my golden gage tree.  I don’t think it has been pruned for a long time and as a result I found there were a lot of dead, diseased and crossing branches to prune away.

SAM_9882 SAM_9886

.

Also, I have been pruning my lavender bushes that looked so beautiful at the beginning of summer and attracted lots of beneficial insects.

When I attended horticultural college I was told that the council parks department use strimmers to prune their Lavender and after planting my hedge a few years ago, I also use a strimmer to prune my lavender and it works a treat.  Provided I make sure that I leave approximately one inch of the current years growth on the plant, then it grows back lovely the next year:

SAM_9885 SAM_9887

.

I have also been picking lots of tomatoes from my allotment.  I am still expecting ‘blight’ as they succumb to it each and every year unfortunately… but as yet they are still blight free for the moment.  You can read about ‘tomato blight here.

SAM_9843

As well as making tomato and basil soup (the recipe is here), I have been making passata.

Passata doesn’t usually have any seeds in it, however I think life is too short to sieve the seeds out of the sauce, so I don’t.

All I do is wash and chop them in half and then cook them in a large pan with a cup of water.  When they are soft I use my stick blender to liquidise them until there are no lumps.

SAM_9842 SAM_9844

I then poor 500 grams worth of sauce into bags in plastic pots and when it is cool I freeze the portions.  When it is frozen I remove the bags from the pots and put the nice rectangular shaped sauces in my freezer ready to defrost and use when it is needed.

I use the sauce in recipes like pasta sauce, pizza sauce or spaghetti bolognaise.

SAM_9892 SAM_9893

.

 This week I have once again been busy making jams and chutneys.  I started with a beetroot chutney to use up the last of my beetroot.  My daughter and sister love this chutney, so I make it every year.

The recipe is here.

SAM_9824 SAM_9833

I continued to use up the plums I picked by making more plum jelly and I also made plum ice cream sauce.  I made the ice cream sauce in the exact way that I made crab apple ice cream sauce here, but I just substituted the crab apples with the plums.

It is delicious drizzled over ice cream (especially the home made vanilla ice cream here).

SAM_9832

.

Unfortunately, I then realised I had nearly ran out of jars and I still have loads of fruit in my freezer to make different jams, etc.  I know if you buy new jam jars they can cost quite a bit of money, so I buy the cheapest jars from the supermarket, use the contents and then re-used the jars.

(Incidentally, I don’t buy pickle jars as the smell is hard to remove).

In the past I found ‘value’ marmalade was the cheapest, but this week the cheapest jars I could find contained ‘lemon’curd’ at just 22p per jar.

SAM_9837

I gave the contents of a couple of jars to a friend and I have been madly using the rest of them myself.

I started by making mini lemon meringues:

SAM_9834 SAM_9836

My eldest daughter made a lovely victoria sandwich with lemon curd in the middle:

SAM_9862

And finally, we went to a friends house at the weekend and I took some little lemon curd cakes and I even managed to hide a courgette in the mixture too.  They did taste good, even though I do say so myself.

You can find the recipe below:

SAM_9871

.

Courgette Sponge cakes with Mascapone Cheese and Lemon Curd:

.

6 oz of Margarine

6 oz Caster sugar

6 oz Self raising flour

3 Eggs

A few drops of Vanilla Extract

1 teaspoon of baking powder

1 medium courgette

½ Jar of lemon curd

250g tub of mascapone cheese

20g icing sugar, plus a small amount for dusting

The juice and zest from one lemon

.

Preheat the oven Gas Mark 5 / 375F / 190C

Peel the courgette, top and tail it and then grate it very finely.

Place the courgette in a sieve just to let any excess water drain away while you are making the cake mix.

SAM_9846 SAM_9848

Sieve the caster sugar, flour and baking powder in a bowl and then add the eggs, margarine and vanilla extract.  Mix until they are combined.

SAM_9849 SAM_9850

Add the courgette and mix until combined.

SAM_9851

If the mixture falls off the spoon easily (dropping consistancy), then half fill muffin cases with the mixture.

(If the mix doesn’t fall off the spoon easily then keep adding a tiny bit of water and mix until it does).

SAM_9853 SAM_9854

Bake for 20 minutes and then leave to cool.

SAM_9855

Remove the cake from the cake case and slice it in half and put a teaspoon of lemon curd in the middle

SAM_9863

Mix the icing sugar, mascopone cheese and lemon juice together and then spread it or pipe it onto each cake.

Top each cake with a small amount of lemon zest.

SAM_9861 SAM_9864

Sprinkle with a dusting of icing sugar to finish off the cakes

SAM_9869

 Enjoy!

Thank you for reading my blog today.

I will be back at my usual time next Friday.

Cucumber Sorbet and Allotment ‘Catch up’

 Thank you for all your kind words last week, after my father-in-law passed away.  It was lovely to know so many people were thinking of us.

We had the funeral on Monday and the church was full, as he was a very well liked and respected man in our community.

We found the day exhausting and we felt very drained at the end of it.

SAM_9639 SAM_9641

Unfortunately we were away on holiday in Scarborough when we received the call that he had passed away.  This was devastating for us as we couldn’t be with him during his final hours.

We obviously cut our holiday short and drove home that day, so we could be with my husband’s family.

SAM_9611 SAM_9610

We are all missing my father-in-law very much.

.

This last two weeks have been very hard on us all and I must say I have really had to push myself to do anything at the allotment…..but nature doesn’t stand still and things need to be picked (though I haven’t been keeping on top of the weeds as I would normally do).

Amazingly the allotment is looking good even though it hasn’t had much attention for three weeks now:

SAM_9704 - Copy

Things are growing well:

SAM_9721 - Copy SAM_9718 SAM_9717 - Copy SAM_9715 - Copy SAM_9713 - Copy SAM_9711 - Copy SAM_9709 - Copy SAM_9708 - Copy

SAM_9720

I also have melons growing in the polytunnel which I really need to support and I have little cucamelons which are about ready to eat:

SAM_9723 SAM_9722

.

Since coming home I have been picking my produce by the basket load and using it up or freezing it, pickling it or preserving it…

SAM_9700 SAM_9699 SAM_9697 SAM_9696 SAM_9693 SAM_9691 SAM_9665 SAM_9658 SAM_9656 SAM_9648 SAM_9647

.

I have dug up my onions and garlic and they are currently drying in my mini greenhouse and I have begun digging up my potatoes, which I dry for a few hours before putting them in sacks to store for the winter:

SAM_9692 SAM_9662

.

The shallots have now all been pickled, together with my gherkins and my pantry is bulging, even though some have already been passed onto family and friends.  However, the first jars to be opened are already half empty as my family love them, so they won’t last long:

SAM_9732 SAM_9733

.

CUCUMBERS GALORE…

SAM_9717 - Copy SAM_9731

As it has been a very dry summer here, my indoor and outdoor cucumbers have done exceptionally well and I have so many of them.  They will store in a fridge for a few days, but there are only so many cucumbers that you can eat!

I read if you peel them and then puree them, they can be frozen in portions and then added to spag bogs, pasta sauces, etc. so I have given this a try and I’ve found it’s a great way to add a few vitamins without the family knowing:

SAM_9671 SAM_9729

.

Also, I made a very easy Cucumber and Mint Sorbet.  It sounds horrible, but it is quite a surprisingly refreshing taste.  I must admit I couldn’t eat a whole bowl of it, but a scoop served with another pudding, e.g. meringues, is really lovely and it will impress friends at a dinner party.

.

Cucumber amd Mint Sorbet:

.

800 grams of cucumber that has been peeled and the seeds scooped out

5 – 10 grams mint leaves (I used apple mint from the garden)

2 tablespoons lemon juice

130 grams icing sugar

.

Start by putting the cucumber, mint, lemon juice and icing sugar into a food processor:

SAM_9676 SAM_9678 SAM_9679

Blend until the mixture is runny, but still a bit course (see the photo below):

SAM_9681

Chill for a few hours in the fridge.

Then pour the mix into an ice cream maker and let it do the hard work for you.

SAM_9682

When it is ready, transfer the sorbet to an ice cream tub and pop into your freezer until required.

(If you haven’t got an ice cream maker, just put the blended ingredients into a container and freeze.  Remove from the freezer every 1-2 hours and mash vigourously with a fork to break up the ice crystals).

Decorate the sorbet with some fresh borage flowers from your garden if you have them.

.

And Enjoy!

SAM_9687

.

I just wanted to finish by saying a big ‘thank you’ to those of you that voted for my blog in the ‘easyshed.co.uk’ competition.  I am amazed that I received so many votes and even more amazed to have won – thank you so much.

.

I will be back next Friday at my usual time.

Thank you for reading my blog today.


Two ‘Trials’ & An Easy Vanilla Ice cream Recipe

This week at my allotment I decided to trial two different things:

1) Nemaslug Slug Killer:

The first is ‘Nemaslug Slug Killer’, which apparently controls slugs naturally and is harmless to children, pets and wildlife (inc. birds and hedgehogs), even if they eat the infected slugs.

They seemed pretty easy to use from the instructions that I read before I ordered them, so I thought I would give them a go as they are a natural organic way to fight slugs.

SAM_9322

Apparently this pack can treat upto 40 square meters and it gives six weeks of protection.

I particularly wanted to use the slug killer around my potato patch as I seem to suffer regularly each year from slug holes in them.  After researching the best way to use the nematodes, I found it was best to use them six to seven weeks before I plan to harvest my potatoes, which was this week.

As the product only has a shelf life of four weeks, I ordered them a couple of weeks ago and when I received them they had to be stored in the fridge.

SAM_9323

The instructions said that you needed to apply the nemotodes on a dull day or in the evening….so I waited for a dull day.  It also said the ground must be moist before you apply them, so I had to use my hosepipe to wet 40 square meters!

I split the packet into four and poured each quarter into a watering can (with a course spray as advised) filled with clean water.  I then set about watering the area where my potatoes are growing…..I found I almost had to run along to make sure the watering can didn’t empty before I had covered the desired area!

I then read that you need to keep the area moist for the next two weeks, which means using more water from a hosepipe.

My first impressions are that it’s all a lot of messing around and an awful lot of watering (unless you apply them in a wet period which is no good for me at the moment).  However, I will follow the instructions and see if my potatoes have fewer slug holes this year…..The cheapest price I could find was £9.44 (incl postage), so I will let you know at the end of my trial if it is worth spending this money.

.

2) The second trial is ‘Tagetes minuta’

SAM_9317

I go to a wonderful garden forum that used to be held at the ‘Eco House’ in Leicester (which sadly closed down last year), but we managed to keep the forum going.  We decided to trial these plants together as according to Sarah Raven:

“Tagetes minuta is an extraordinary plant that isn’t a looker, but its roots kill perennial weeds such a ground elder and couch grass.

Height: 180cm”

I sowed my seeds on the 30th April and they were ready to plant out this week:

SAM_9316

I planted them right at the back of my plot which is covered in all sorts of perennial weeds such as couch grass, dandelions, brambles, buttercups, nettles and even some Ivy:

SAM_9318 SAM_9319

To be honest you have to look really hard to see where the plants are in the photo below.

SAM_9321

I did give them some slug pellets to start them off as I know slugs love to eat tagetes and I wanted to give them a chance to work their magic.

.

I will let you know the results of both trials.

.

.

This week at the allotment I cleared the poached egg plants away as they had finished flowering and had shed most of it’s seed.  They gave a wonderful display last month and they brought lots of beneficial insects like ladybirds and bees to my plot:

SAM_9294SAM_9297

I then replaced them with some marigolds that I grew from seed in March and hopefully they will look great in a few weeks:

SAM_9305

I also gave my flower patch a good weed and removed the forget-me-nots that also gave such a good display this year.  I cut back my hardy geraniums to encourage a second flush of flowers too:

SAM_9309 SAM_9310

  I then planted some dhalias, petunias and antirrhinums that I had also grown from seed.  Hopefully these will give a good display all summer:

 SAM_9307

.

Elsewhere on the allotment I have sown some more radish and I have been watering my celeriac at least twice a week to encourage bigger roots.

I have also been hoeing to keep the weeds down.

SAM_9295 SAM_9304

.

Harvesting:

This week I have been harvesting lots of wonderful salad leaves, radish, spring onions, coriander and also watercress (which incidentally is grown in a large pot of compost that is watered only once a week):

SAM_9334 SAM_9311

And also lots of broad beans that I have been blanching and then freezing on trays before putting them into a freezer bag, to stop the beans from sticking together in large lumps:

SAM_9329 SAM_9333

And strawberries…what a wonderful crop this year.  In total I have harvested four baskets full so far:

SAM_9301 SAM_9332

So we have eaten loads, I also made some more jam and I froze the rest.

SAM_9303 SAM_9339 SAM_9313

.

At home my hanging baskets are looking beautiful so far and I have started to feed them with a high potash liquid feed….the same one I use for my tomatoes at home

SAM_9342 SAM_9343

And I have my first flowers on my ‘poundshop’ dhalia’s.  These were a bargain as there were three tubers in a pack for £1.00 and I didn’t really think they would be up to much….but all three have grown.

SAM_9345

.

I love receiving comments on my blog and this week ‘Angela’ asked me for the recipe that I use to make vanilla ice cream.  I don’t bother messing around with vanilla pods, I just use ‘madagascan vanilla extract’ which seems to be a bit thicker than ordinary vanilla extract and can be bought from your local supermarket, however normal vanilla extract should also work.

SAM_9354

.

A Very Easy Vanilla Ice cream Recipe:

(With or without an ice cream maker)

.

165 grams caster sugar

240ml double cream

500ml  milk (I use semi skimmed)

2 teaspoons Madagascan vanilla extract if possible (or normal vanillia extract)

.

Put all the above ingredients into a bowl and mix until combined with a hand blender or a spoon:

SAM_9355 SAM_9356

Add the mixture to your icecream maker to do the hard work

SAM_9357

(If you haven’t got an ice cream maker, just put the blended ingredients into a container and freeze.  Remove from the freezer every 1-2 hours and mash vigourously with a fork to break up the ice crystals)

SAM_9358

As there are no chemicals in the ice cream, the ice cream will be quite hard when you take it out of the freezer to use, so it is better to take it out for 10-15 minutes before you eat it.

Then enjoy it!

SAM_9269

.

.

Altogether it has been a good week in the ‘Thrift’ household and to top it off, my good allotment neighbour gave me some ‘Sweet william’ flowers to take home and they look beautiful.

SAM_9336

Thank you for reading my blog today.

I will be back next Friday at my usual time.  I hope you have a good week.

A Strawberry Ice Cream Recipe & My Allotment This Week

Before I start, I don’t usually advertise anything on my blog, but I thought I would make an exception for this:

Transition Leicester are holding a ‘Leicester Green Open Homes And Living’ event….

Their website says “Would you like some ideas about making your home and/or life greener? Come and look around the homes of people who are changing their homes and lives to reduce their carbon footprints and talk to them about what it is like”.

For details on the houses, their availability and features, click here I can imagine it will be a real eye opener.

.

————————————————————————————————————————–

What a busy week it has been at the allotment.  Due to all the rain we had last week I have had to work twice as hard to catch up with my planting.

First though, I had to dig up my old spring broccoli and curly kale before I could even start planting:

SAM_9209

I then planted my outdoor cucumbers (burpless tasty green), leaving them under glass to give some protection for a couple weeks as it has been really cold and wet and they do not like these conditions:

SAM_9232

My runner beans and tomatoes were planted out:

SAM_9202

And my sweetcorn, butternut squashes, patty pans and courgettes:

SAM_9210 SAM_9231

And more spring onions and lettuces:

SAM_9224

And some more cauliflowers under environmesh and I planted cabbages under bottles as they were small and I wanted to give them a bit of protection from slugs and the cold

SAM_9201 SAM_9218

I also planted my leeks that were sown way back in January.  If you haven’t planted leeks before, it is a bit unusual the way they are planted.  You can read how to plant them here.

SAM_9222 SAM_9220

I also planted my celeriac, which like plenty of water and they certainly had plenty of rain on Wednesday this week…

SAM_9223

…and I finally got round to planting some flowers- sweetpeas, nasturtiums and tagettes.

SAM_9214 SAM_9215

I also planted some nasturtiums around my runner beans as a sacrificial plants.  The blackflies prefer nasturtiums to the beans and so they leave my runner beans alone.

.

I also invested in a very large net from ebay this year to stop the pigeons from eating my peas.  I hope to be able to use it for years to come as it wasn’t the cheap sort that you can buy.

A few years ago I didn’t need to net my peas as the birds never bothered with them, but they seem to eat everything these days, including my lettuces which I still find strange.

SAM_9212

.

Also, I finally got round to nipping the top couple of inches off my broad beans to stop the blackflies as they love the top growth.  The best time to do this is when the first beans start to develop on the plants, but as you can see in the photo below, I was a little bit late on one or two of them, but I’m sure they will be fine.

SAM_9203 SAM_9206

.

Finally at my allotment, I have had loads of people ask me what is wrong with their onions this year and I have said the same thing over and over again….it’s the allium leaf miner, which is a fairly new pest.  You can find information about it here.

My onions have been hit too and I will be covering them with environmesh next year:

SAM_9234

.

.

During half term when it was raining nearly all week, it was lovely to have some time to catch up at home.  Especially as my daughters were off school, as I love spending time with them.

One of the things we did was toasting marshmellows over a candle.  I had forgotten how good they taste and they took me back to when I was a Guide (many years ago).

I absolutely love the melted marshmellow taste:

SAM_9192SAM_9193

.

During the week I also managed to catch up on some long overdue jam making sessions with leftover fruit in my freezer.

I made rhubarb jam and strawberry jam:

SAM_9186 SAM_9188

SAM_9189 SAM_9191

I find jam making quite thereputic and it is so easy to do.

If you haven’t made jam before, you can find a strawberry jam recipe and some jam making tips here if you are interested.

.

I also managed to give my drains a bit of a clean  by pouring 1 tablespoon of bi-carbinate of soda down the drain, followed by a cup of white vinegar.  It bubbles up like a volcano for a few minutes and then I flushed it all down by running the hot tap for a few moments….the result was clean smelling, unblocked drains!

SAM_9187

.

I was also able to take time to make some nice salads from my polytunnel and some nice meals for the family without rushing….it was such a pleasure:

SAM_9179 SAM_9195 SAM_9184 SAM_9182

The last photo is homemade shortbread, which is one of the simplist recipes I have.  You can find it here.  I use pure margarine as my daughter is lactose intolerant, but you can use normal margarine or butter and they taste even nicer.

.

The photo my daughter took as we picked them

The photo my daughter took as we picked my strawberries

This week I made some luxury strawberry ice cream as double cream was on offer at Tesco….and the taste is absolutely delicious!…and yet again so easy to make.

I used my strawberries from the allotment as they are ripening nicely.  These are a very early variety that I planted two years ago:

SAM_9248

.

Luxury Strawberry Icecream Recipe:

300 grams strawberries

300 ml double cream

140 grams of caster sugar

.

Puree the strawberries in a bowl with a hand blender / liquidiser or a fork

SAM_9241 SAM_9242

Add the caster sugar and the double cream to the bowl

SAM_9243 SAM_9244

Give it all a mix with a spoon until it is all combined

SAM_9245

And add it to your icecream maker to do the hard work

(If you haven’t got an ice cream maker, just put the blended ingrediants into a container and freeze.  Remove from the freezer every 1-2 hours and mash vigourously with a fork to break up the ice crystals)

SAM_9246

As there are no chemicals in the ice cream, the ice cream will be quite hard when you take it out of the freezer to use, so it is better to take it out for fifteen minutes or so before you eat it.

Then enjoy it!

SAM_9173

.

I actually made double the amount of ice cream and it filled an old two litre plastic ice cream tub and I worked out it cost me just £1.85 to make.  I’ve checked on the Tesco website and the ‘posh’ ice cream is far more expensive than that!

Within an hour of making the ice cream, some of it had disappeared out of the tub….it must have been the ice cream fairies…so beware of the ice cream fairies if you make it too.

SAM_9249

Thank you for reading my blog today.

I will be back again next Friday

My woodland garden this week

My woodland garden this week

Have a good week!