Archives

A Problem With My Leeks….

This week nature has produced some beautiful sites.  It started with the most beautiful red morning sky last weekend:

IMG_1438

And then a covering of snow that made everything look very pretty:

SAM_2573 SAM_2577

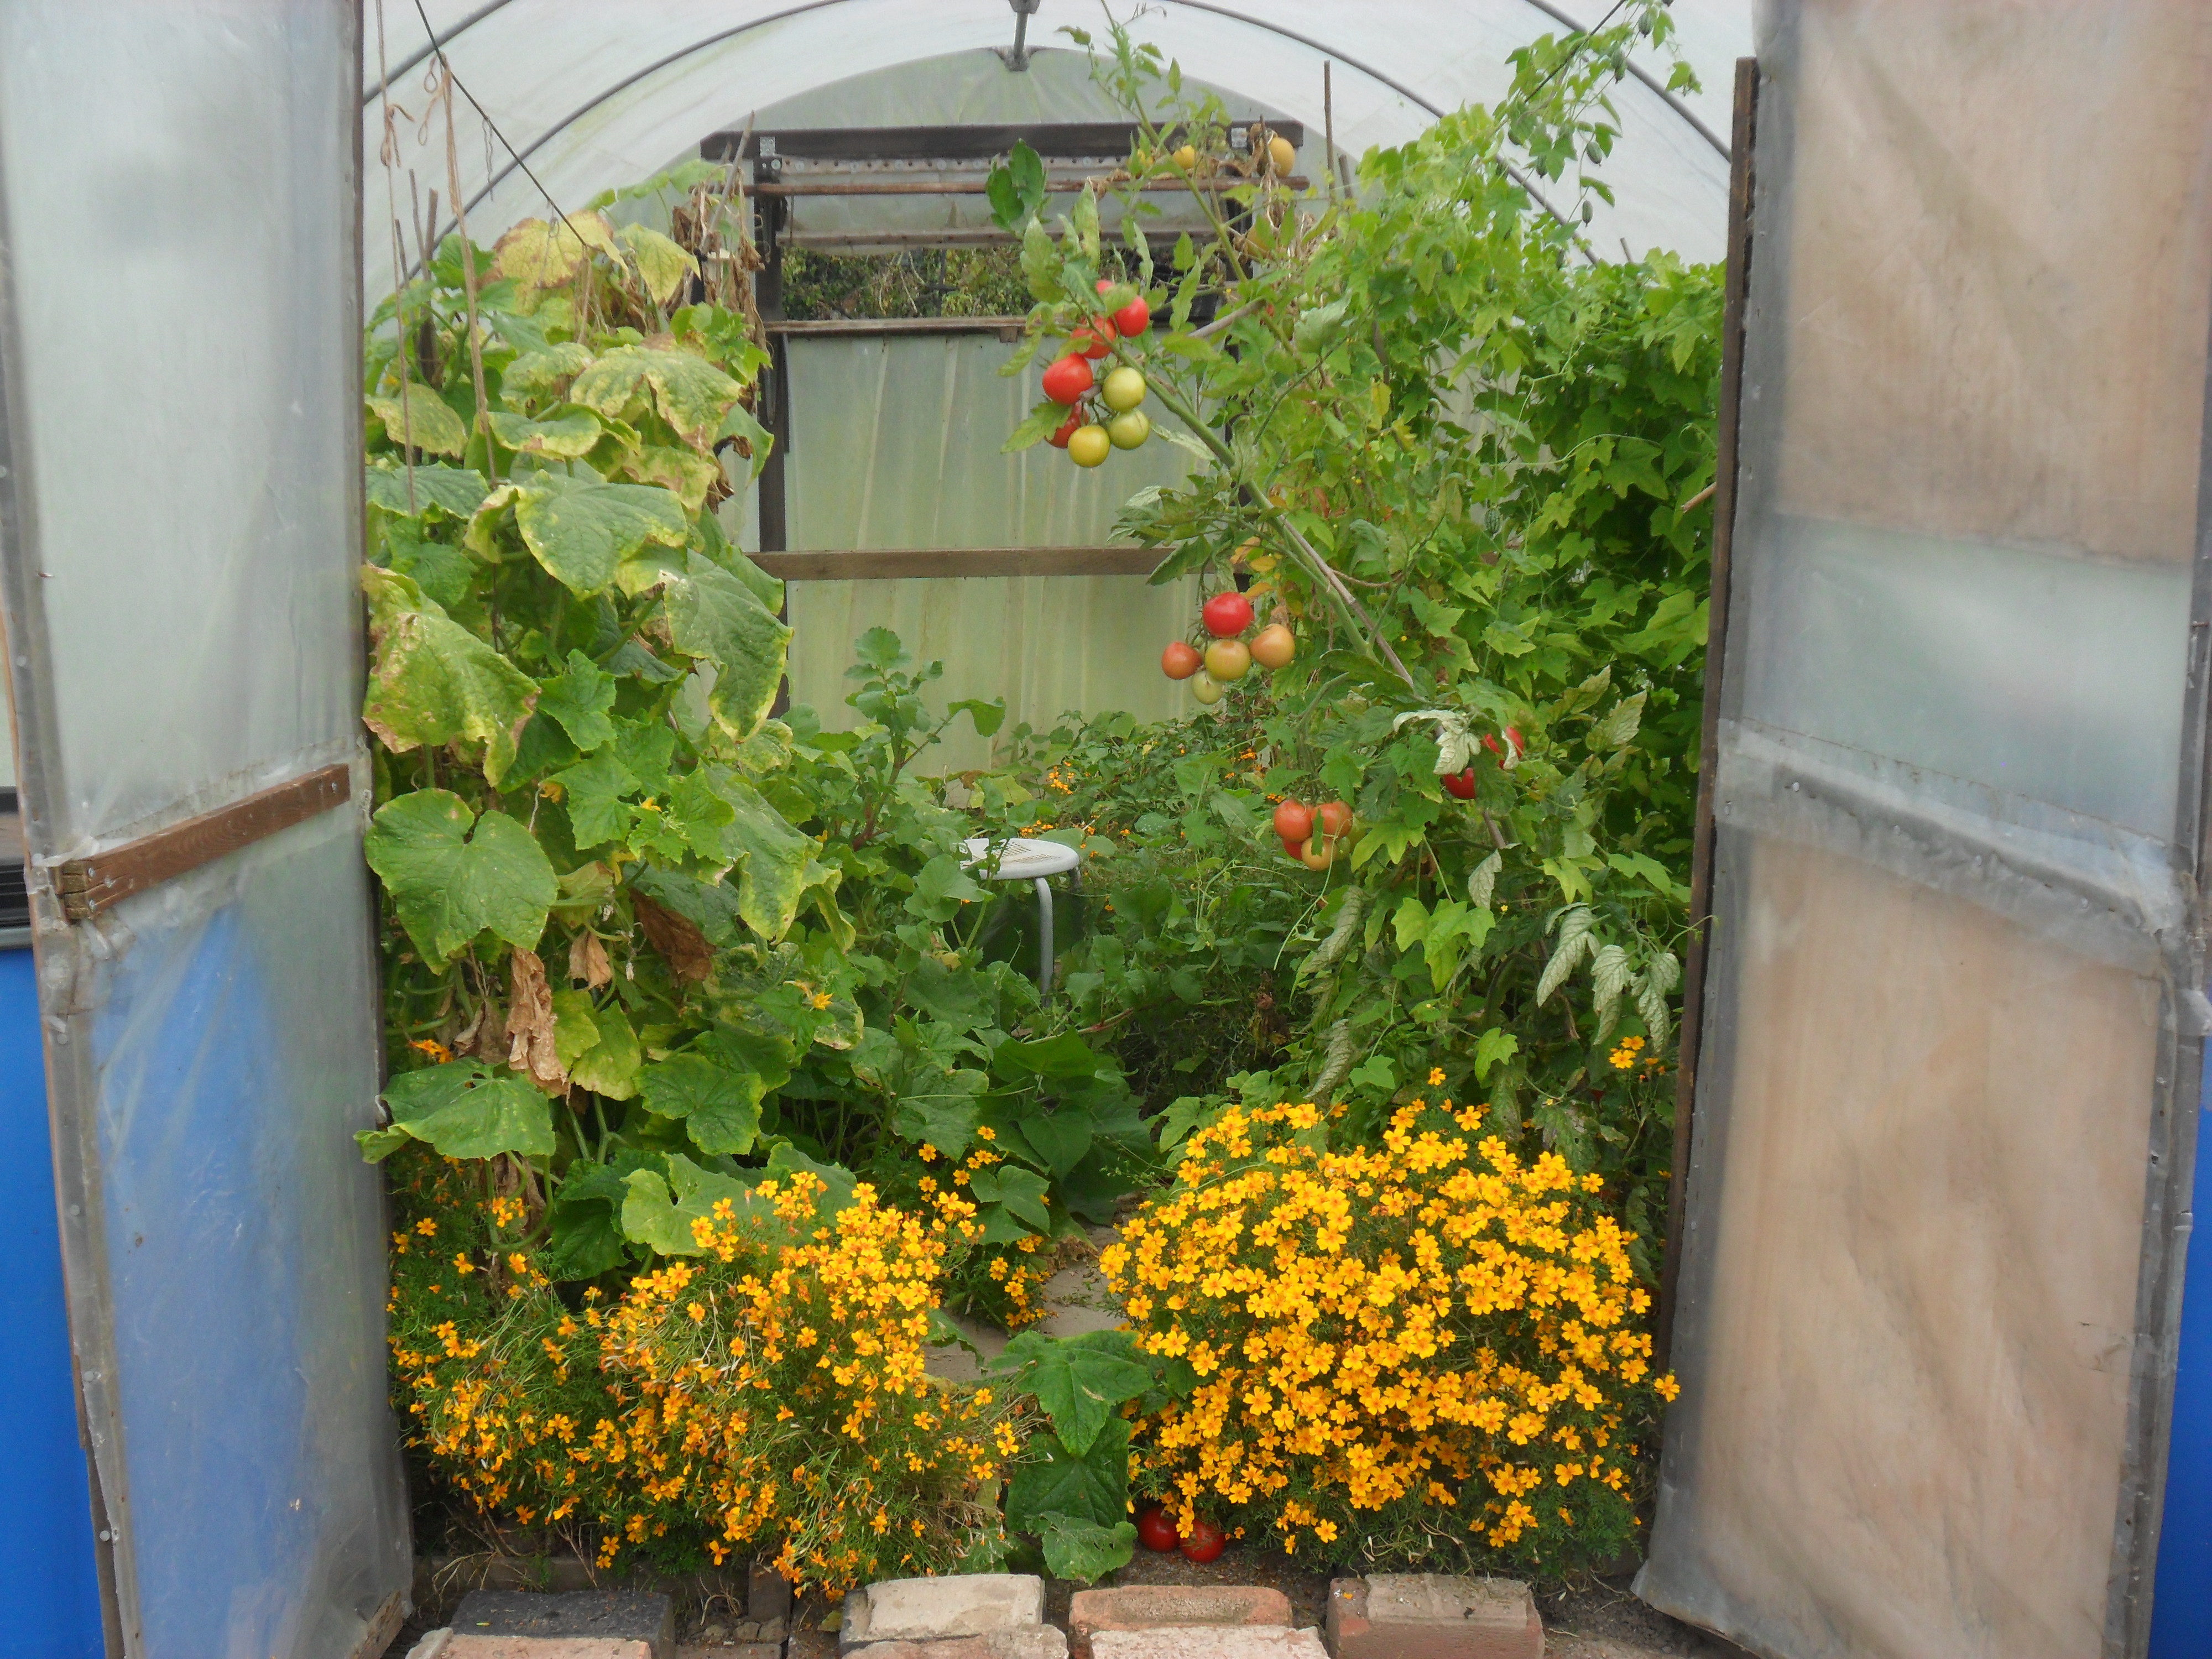
 I’m very pleased to say that the snow disappeared as quickly as it came and this week and I managed to get into my garden to start my winter ‘clean up’ and start my preparation for the new growing season ahead.

I started by emptying the compost bags I had in my greenhouse as I want to clean my greenhouse in the coming week.  Nothing really grew very well in these bags, but I think this was due to my watering system overwatering the compost and the dreadful, dull weather we had last year.

IMG_3041

I spread the compost over two of my beds to help improve the condition of the soil:

IMG_3044

I started to put manure around my rhubarb too, but unfortunately I ran out of it so I need to but some more.  However I did manage to surround one of my rhubarb plants:

IMG_3054

I then cut down my old runnerbeans, leaving the roots in the ground as the nodules add nitrogen to the soil, which will be good for my brassica’s which will follow them:

IMG_3048

Next I cut the tops off my jerusalem artichokes which I grew in a large bottomless pot to contain the roots.  I will dig up them next week to see if I have managed to get a crop:

IMG_3049

So this area now looks better, though I do need to tidy my utility area behind:

IMG_3050

I also turned my attention to my leeks which have been very disappointing:

IMG_3005

As you can see from the photo above they have been targeted by the allium leaf miner and some of my leeks have started to rot.  I have written about the allium leaf miner here, it is a fairly new pest in this country and only appeared in Britain in 2002.

The allium leaf miner only ever affected my onions at the allotment which lulled me into a false sense of security, so I didn’t bother covering my leeks with environmesh…..but unfortunately they were were hit hard this year, so I will have to make sure I cover ALL of my alliums from now on.

leek

I took the photo above of the small brown pupae that I found in some of them to show you.  They are approximately 3-4 mm long, embedded into the stem.The pupae will overwinter in the plant or in the soil.  In the spring, the adults will emerge from the pupae and lay eggs and the first generation of larvae will then feed in April and May. The second generation is likely to feed in mid-September.

But I am pleased to say, some of my leeks were ok, so I did get a amall crop:

IMG_3002 IMG_3004

.

This week I also tidied a bed that I had covered with environmesh in the Autumn, to give a bit of protection for my summer lettuces.  The summer lettuces had been picked a long time ago and I thought there was nothing underneath, but to my surprise I found a row of winter radishes that I had sowed in late summer and completely forgotten about:

IMG_3058 IMG_3057

They have grown lovely and so I picked one straight away and later grated it into the salad we had for tea:

IMG_3060 SAM_2596

I had a quick weed around them and then put a cloche over them to give a bit of protection:

IMG_3059

I also picked some winter purslane (sometimes know as miners lettuce) that I had been growing in a pot in my greenhouse and also added it to our salad:

SAM_2595 SAM_2597

I love being able to pick winter crops to add to salads and I am very pleased that I have acheived this in my new kitchen garden, though I want to do a lot better for next winter.

.

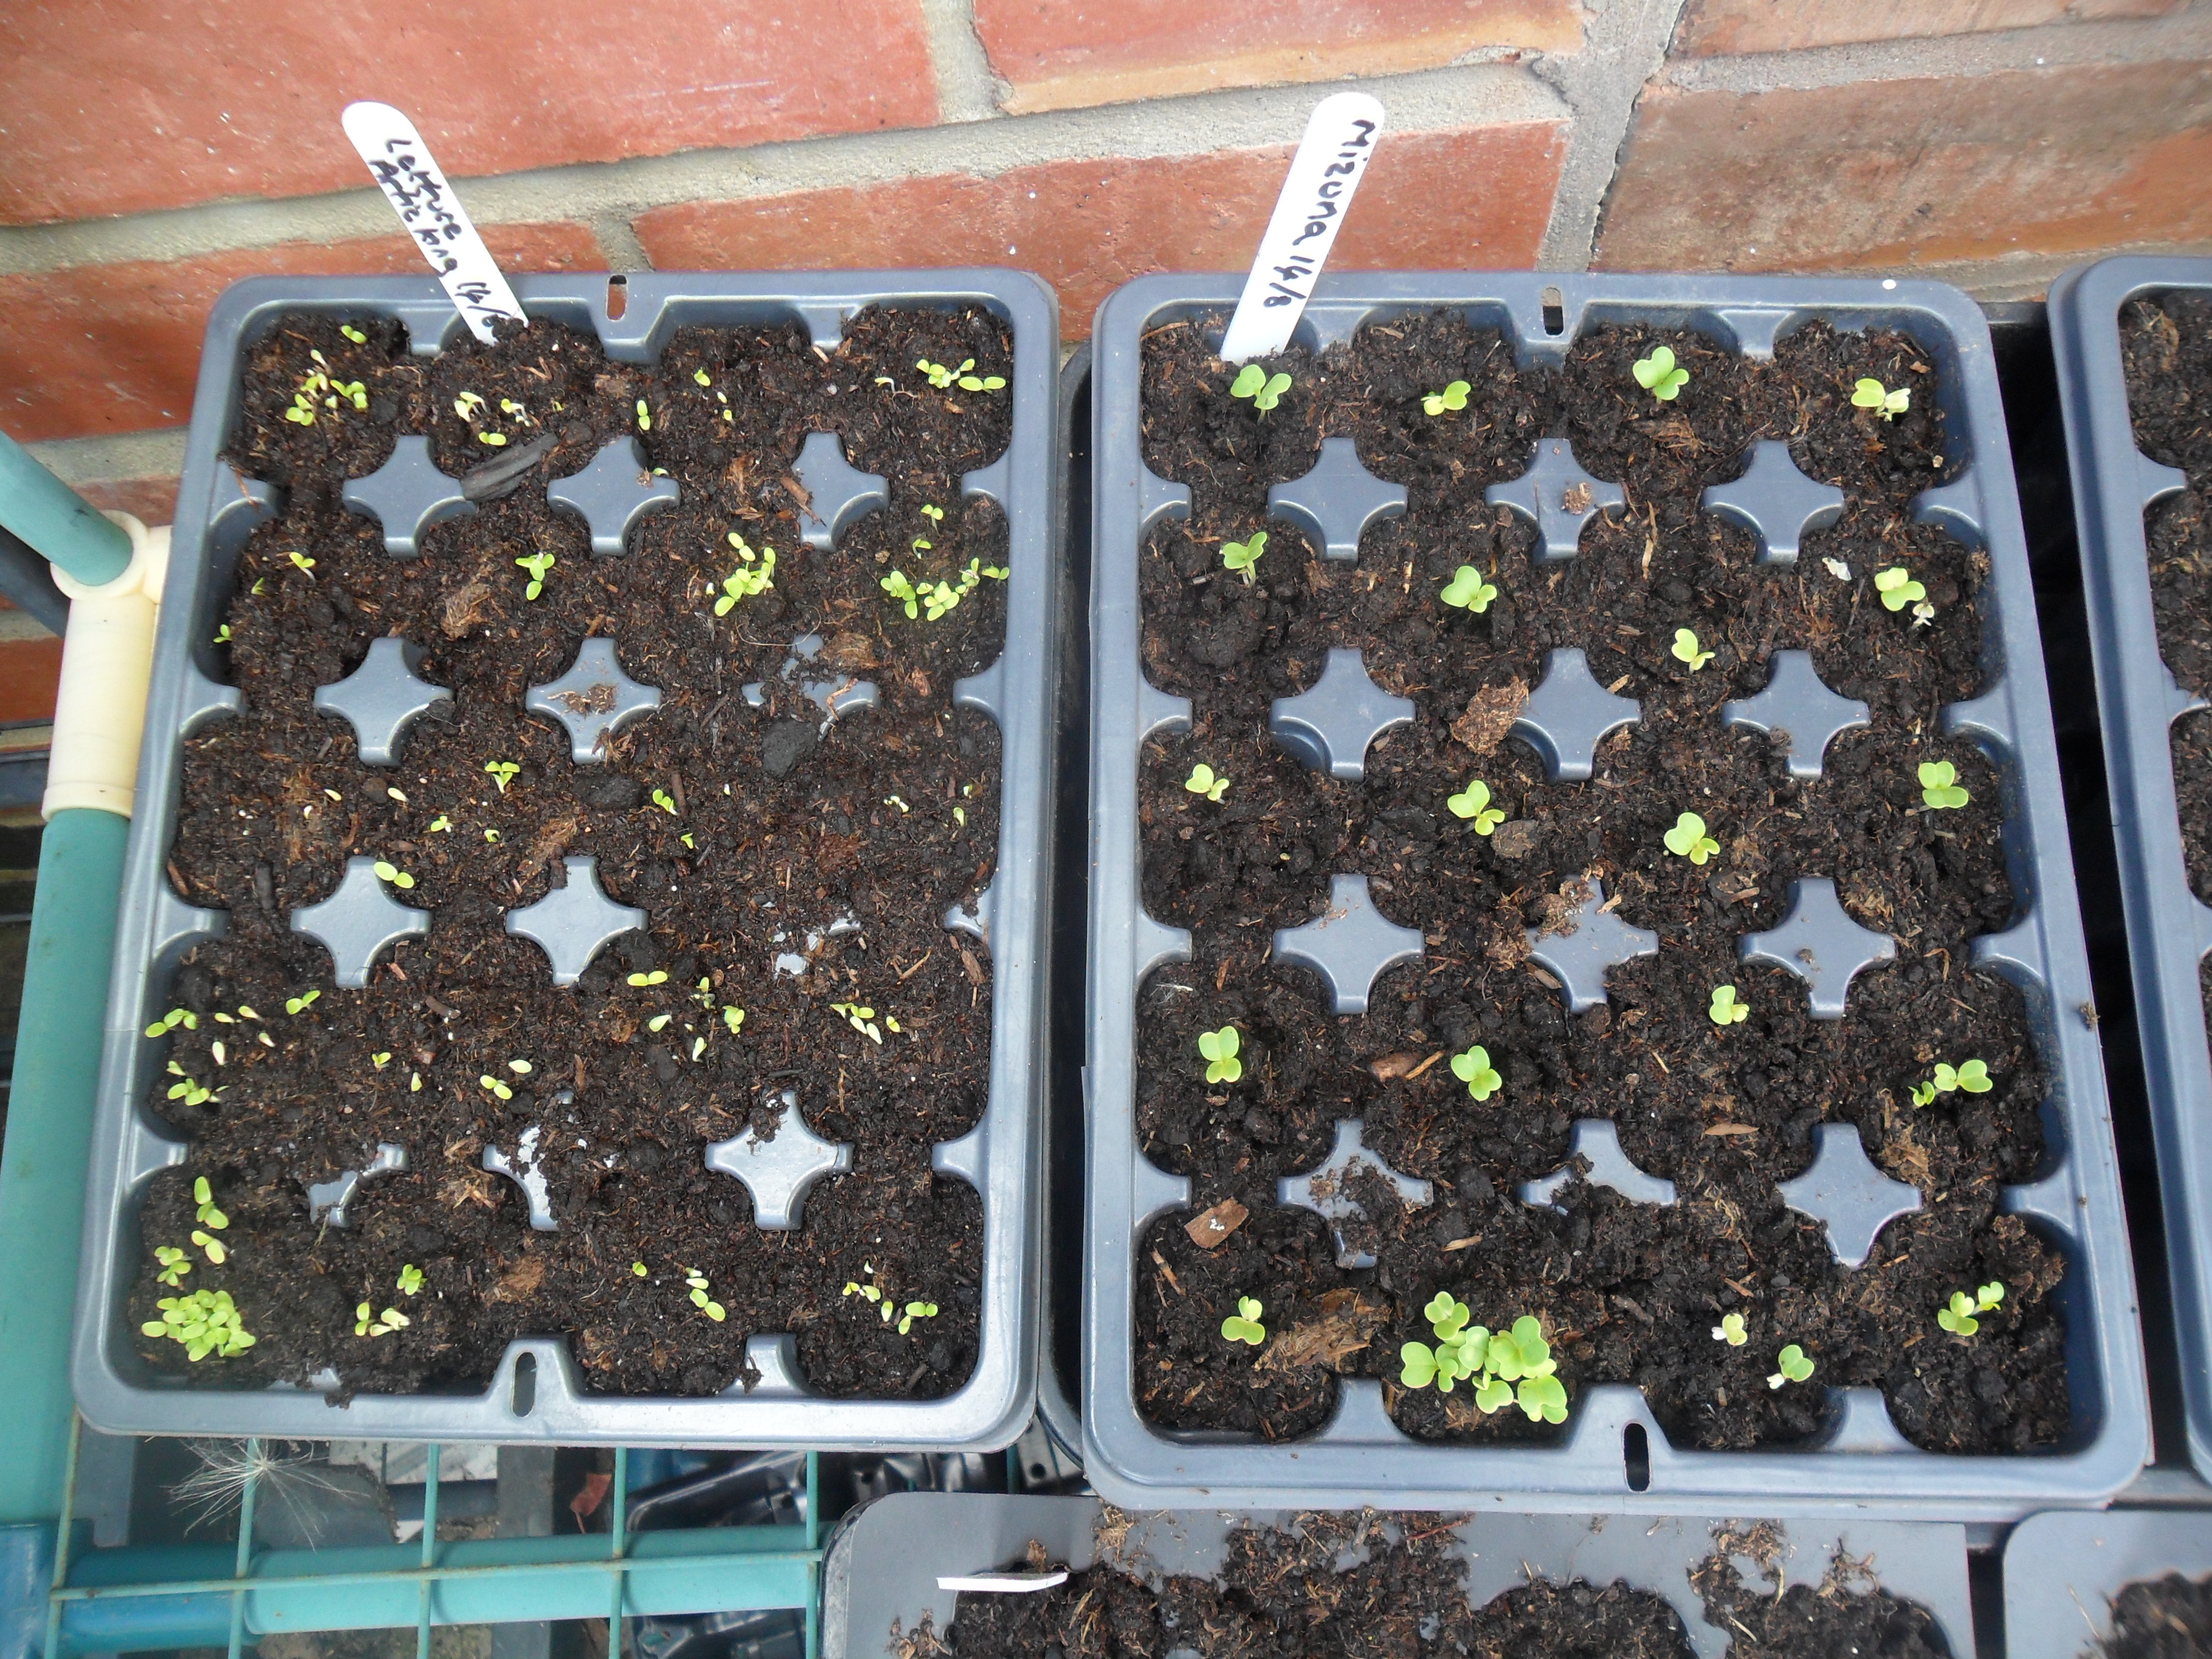
I also sowed my first seeds this year, which I always find exciting:

SAM_2591

I planted overwintering broadbean (Aquadulce), which over the years I have found they grow best in pots planted this month and then transplanted in the spring.  I also sowed leeks and the remaining garlic cloves that I had left over and these wil sit happlily in my cold greenhouse for the moment.  I also sowed my peppers, but these will be kept inside a propagator in the warmth of my house for the time being.

.

This Week In The Home:

.

I sat and finally sorted my seed tin as it was in a bit of a mess.  I listed down exactly what seeds I have and I worked out exactly what I want to grow this year in my garden.

I now have a plan of exactly when I need to sow my seeds and what I still need to buy.

SAM_2587 SAM_2585

I am hoping to grow even more this year in my new improved small kitchen garden.

.

I then caught up with a few things for the freezer…..each are small things that help me a lot to save time:

My daughter wanted some chocolate chip cookies, so I made them and then froze them so that I can take just a couple out of the freeze each day, so she doesn’t eat them all at once:

SAM_2579

I sliced some lemons up and froze them on a plate, ready to put in a freezer pot when frozen.  This way we have a ready supply of lemon slices to add to water when we need a drink.  As the lemons are frozen they also cool your water down without having to use icecubes:

SAM_2583

I then made a double batch of white sauce.  I froze one of the sauces in a freezer bag after it had cooled down.  Next time I need a white sauce I will just defrost it and reheat it in the microwave.  This way it is easy to use it as it is, or just add parsley for a parsley sauce or cheese for a cheese sauce.

SAM_2582

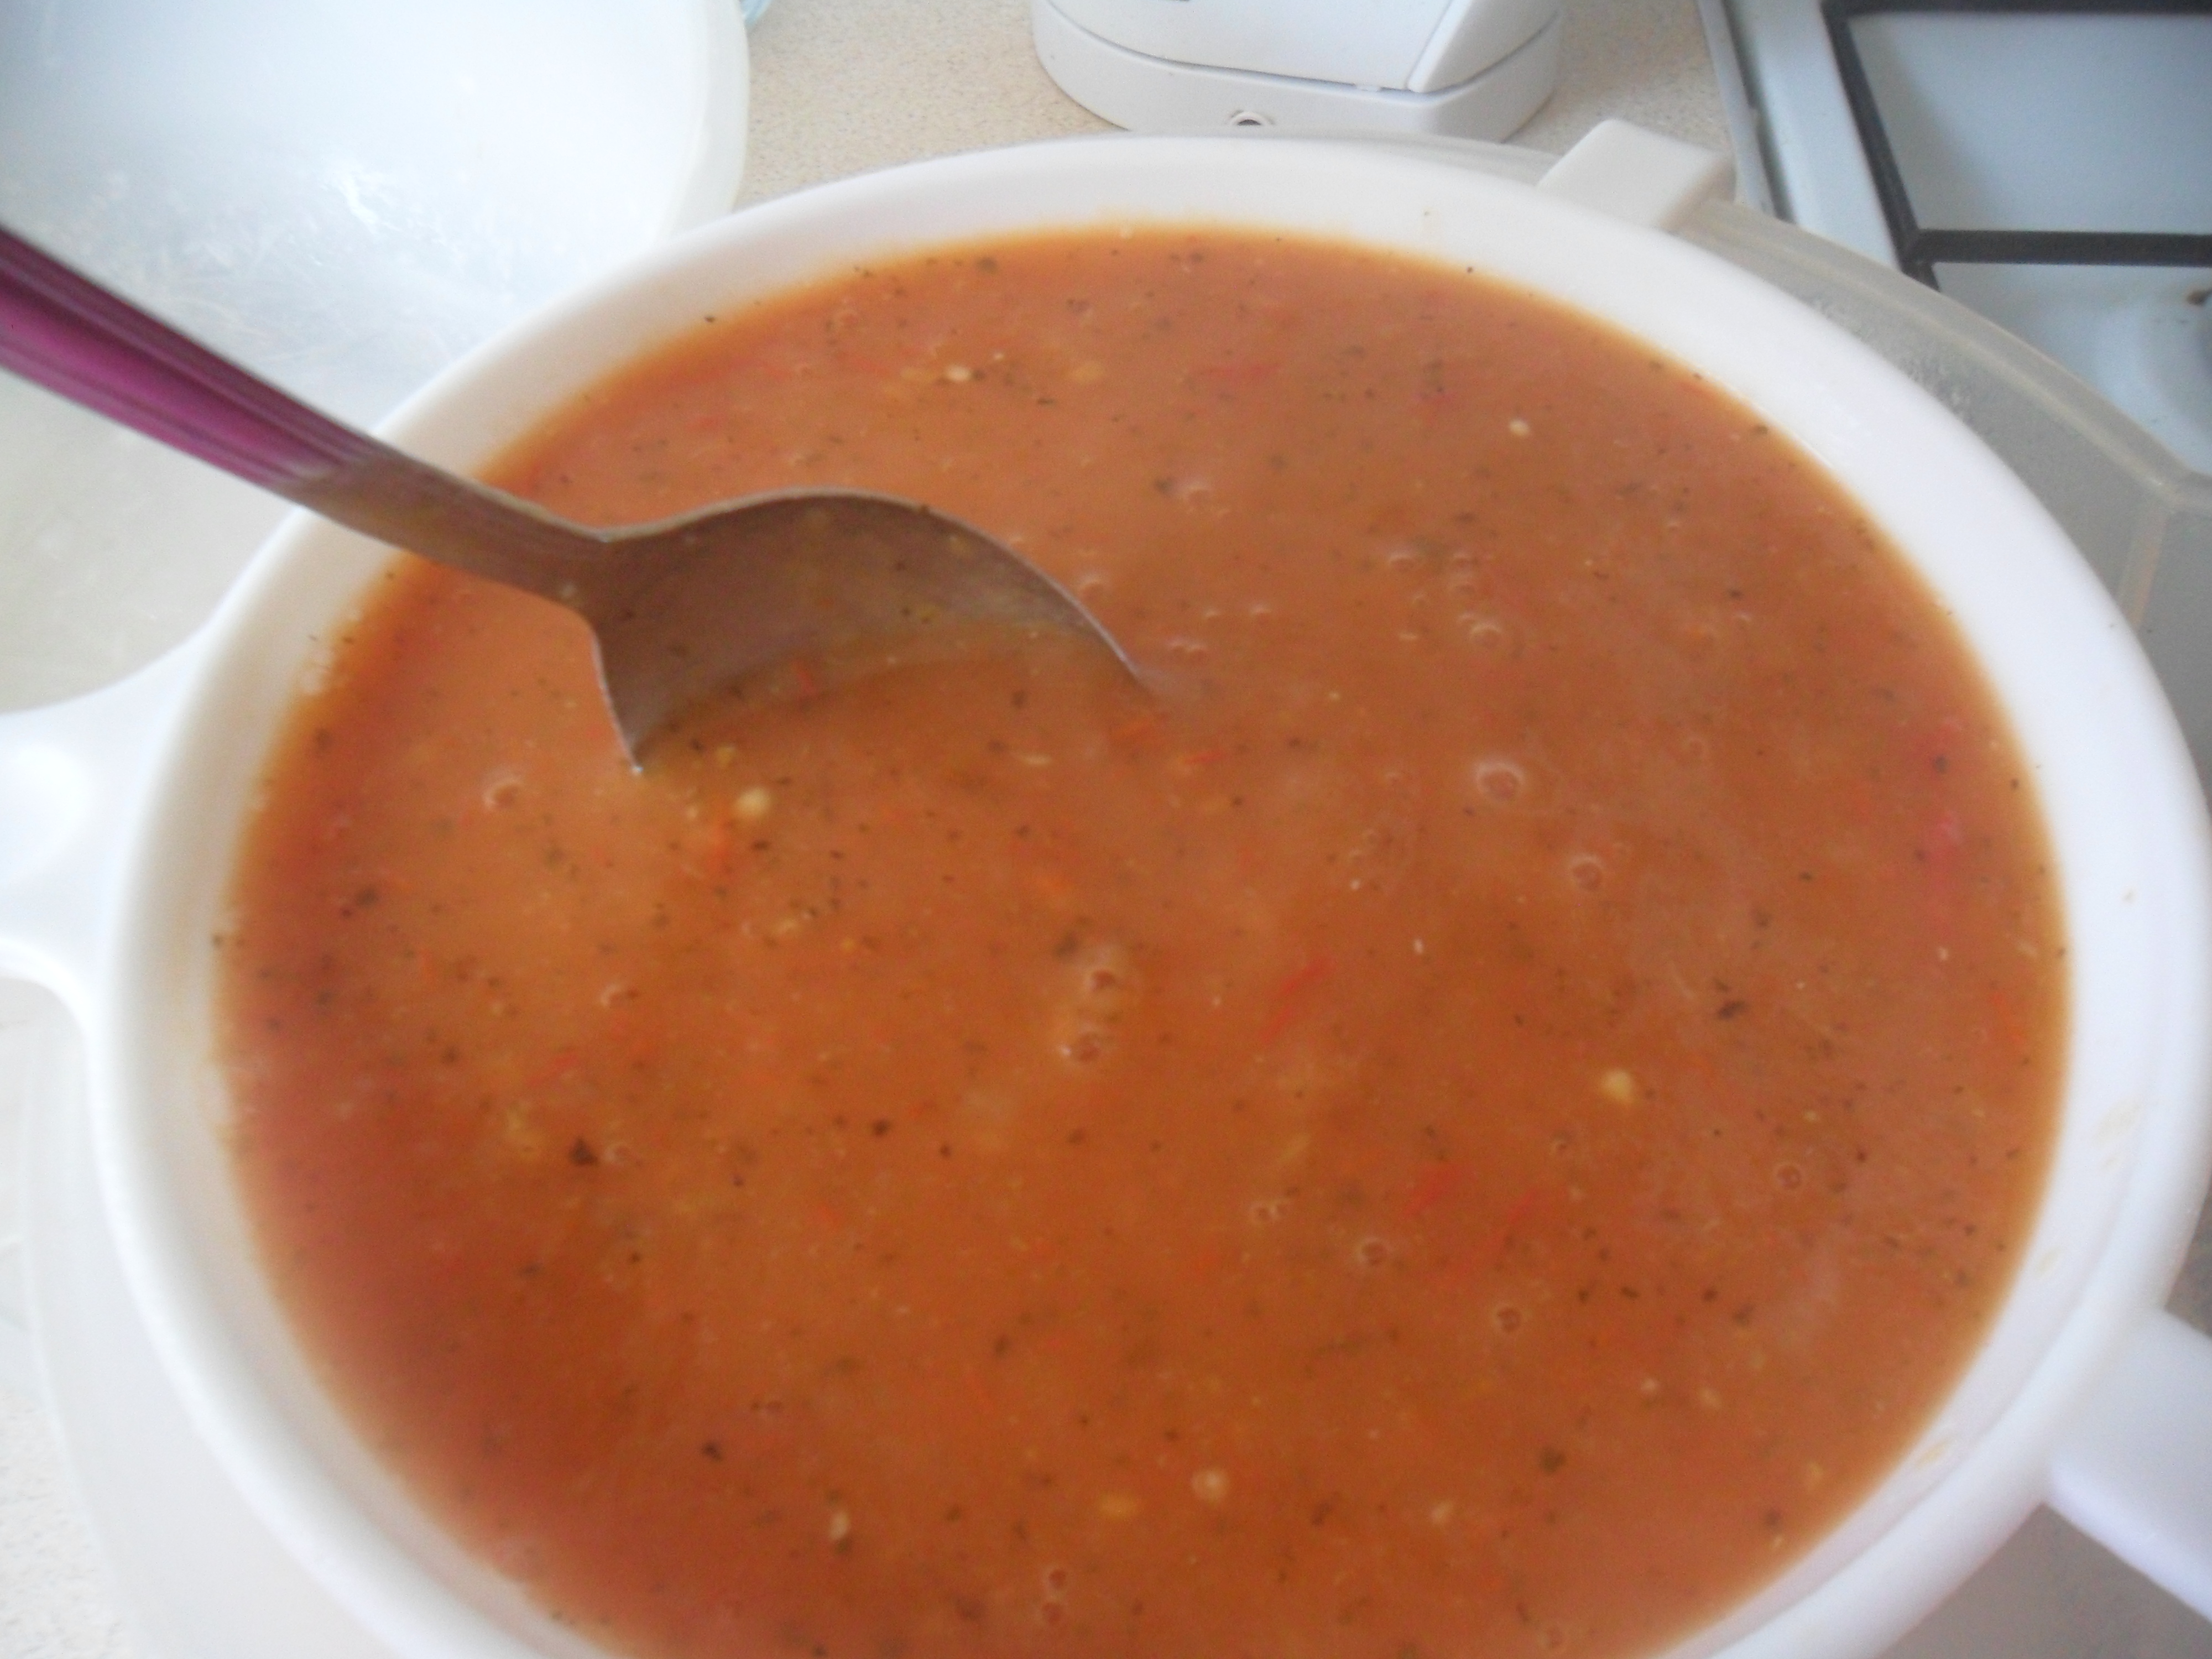
I made and froze leek and potato soup in portions.  Again I can just defrost a portion and then reheat it in the microwave for my lunch:

SAM_2584

I made the leek and potato soup using the leeks that I dug up this week:

.

A Leek and Potato Soup Recipe:

.

800g potatoes peeled and chopped small

800g Leeks chopped

1700 ml vegetable stock

800mls hot milk

.

Add the potatoes, leeks and stock to a large pan:

IMG_3008 IMG_3009

Bring to the boil and then simmer, covered for approximately 30 minutes or until the vegetables are soft.

IMG_3011 IMG_3014

Heat your milk while you use a hand mixer to blend the vegetables to make them smooth and then add the hot milk to the pan.  Bring the soup back to the boil and continue to cook for 5 minutes, stirring all the time:

IMG_3015 IMG_3017

 Serve and enjoy adding salt and pepper to taste!

IMG_3024

.

Thank you for reading my blog today.  I will be back next Friday as usual.

Have a great week!

A Cucamelon Review & Winter Salads

The mornings have been quite chilly this week, feeling very much like autumn is here.

On Wednesday we had some well needed rain overnight and when the sun came out in the early morning it was a beautiful sight, with rains drops glistening around the allotment.

SAM_0105

.

This week I have been concentrating on my polytunnel, getting it ready for winter.

The crops in my polytunnel had just about finished, except for a few tomatoes (which I will ripen at home) and some peppers and melons that were ready for picking:

SAM_0133

….and I mustn’t forget  the thousand ‘cucamelons’ dangling at me, ready to pick.

.

A Quick Cucamelon Review:

Every year I like to grow something different and this year I chose ‘cucamelons’ .  I had read different reports about them and came to the conclusion that they are a bit like ‘marmite’, you either love them or hate them….so I decided to grow them for myself.

  The fruits are grape sized and they are supposed to taste of cucumber with a hint of lime, but I am yet to taste one that actually had the hint of lime in it.  The cucamelon can be eaten whole or chopped up in salads.  The skin has the texture of a sweet pepper, so it has a bite to it….inside it is like a mini cucumber.

They were easy to grow in my polytunnel and after a slow start they started to take over, smothering my tomato plants that grew next to them, but I’ve got to say there were millions of fruits that just kept coming and coming and coming!

SAM_9802

Unfortunately my family didn’t like them and after forcing them at anyone that came into our house, I found that not many other people liked them either.   I didn’t think they were too bad, until I ate quite a few for tea one day and ended up with bad indigestion all night!

SAM_0103

Needless to say, I won’t be growing these again….but we live and learn.

.

Winter Salads:

Last month I sowed some winter salads ready for my polytunnel and they have grown quite well and were ready for planting.   However first I needed to clear the crops that were left in my polytunnel:

SAM_0101

One surprise I did find in my polytunnel when I was clearing it, was some carrots that I had completely forgotten about…and they had grown really well.  Carrots can be stored in compost at home until they are needed, but I know these carrots won’t last long in our house as everyone loves them.

SAM_0104

After I had cleared the crops, I forked the soil over and gave the soil a covering of homemade compost.  I also raked in some blood, fish and bone where I would be planting my salads:

SAM_0112 SAM_0119

The winter salads that I chose to grow were mizuna, winter lettuce, corn salad, rocket and perpetual spinach.  I also grew some beetroot as a trial, to see if I could use the small leaves over winter in salads (though I’m not expecting to grow a decent sized root).

SAM_0113

After planting the above crops I gave them a good watering and I must say the polytunnel did look different….another reminder that autumn is here:

SAM_0131 SAM_0132

One of the things I have learnt from bitter experience, whether you grow plants in a cloche, a greenhouse or a polytunnel, you need to provide ventilation during the autumn or winter months.  If you don’t then the humid conditions will be a breeding ground for grey mould, which will smother and kill your plants.  So on fine days I open the doors on my polytunnel throughout the winter months.

“Grey mould is caused by a fungus called ‘Botrytis cinerea’ which can infect plants at any time of the year.  It can enter a plant through a wound or infect a weak  plant under stress.  It will also infect healthy plants in humid conditions”.

.

At home this week I have continued to use up my ripening tomatoes to make soup and passata…

SAM_0041 SAM_0040

 …and I only have a few left to use now, which again shows me that Autumn is here and the wonderful harvest of summer is nearly behind us.

Now it’s the time that the Autumn harvest of pumpkins, butternut squashes, apples etc. begins.  The nights start to draw in and the leaves on the trees begin to fall.

SAM_0143

This is my favourite time of year when I start to reflect on my gardening year and work out what crops have been a success and which haven’t.  It’s the time of the year when things start to slow down slightly at the allotment, giving me time to breathe and admier the late summer flowers on my plot.

When I work my plot on a crisp Autumn morning it makes me feel glad to be alive.

SAM_0109

Thank you for reading my blog today.

I will be back next Friday at my usual time. 


Winter Salads – A Winters Delight

Hi all.

Today I thought I would talk about the winter salads that I grow at my allotment, especially now that Autumn is approaching.

On the 14th August I sowed some winter hardy lettuces, mizuna, corn salad, perpetual spinach and winter hardy spring onions.  As the weather was still warm then, they germinated in just four days which I was quite amazed at:

SAM_7242

This week they were big enough to plant out:

SAM_7376

I cleared away some of my old crops in my polytunnel and then raked in some ‘Blood, fish and bone’ before planting them all out.

SAM_7377 SAM_7378

.

All the above salads are great to grow all through the winter.  All they need is a bit of protection i.e. under a cloche, cold frame, a cold greenhouse or polytunnel.

I tend to treat the salads like cut and come again leaves, as I just pick a few leaves from the outside of each plant each time we want a salad to go with our meal.  This way the plants continue to ‘heart up’ in the centre.

SAM_6253

The photo below shows some different leaves I picked on a winters day at the beginning of the year.  There are two different winter hardy lettuces, corn salad leaves, mizuna, winter hardy spring onions and ‘baby’ perpetual spinach leaves.

SAM_6046

They all make a lovely salad mixed together:

SAM_6252

.

The two photos below show the salads growing last year in my polytunnel:

SAM_5009 SAM_5800

The photo on the right shows the corn salad, mizuna and some younger winter lettuces.

I like growing mizuna as I particularly like the peppery taste of it in a mixed salad and as it’s a brassica, it looks beautiful when it eventually flowers in Spring and attracts the first butterflies of the year:

SAM_6187 SAM_6188

.

Winter salads are usually sown in August and September and grow slowly over the winter under protection.  They have a lower proportion of water than summer lettuces, which is why they survive after being frozen.

A few winter salads you may like to try are winter hardy lettuces (I use a variety called ‘Artic King), mizuna, rocket, corn salad (lambs lettuce), mustards, winter purslane, land cress and winter hardy spring onions.

If you haven’t tried growing winter salads then have a go and I’m sure you will be pleasantly surprised.

SAM_5799

Thank you for reading my blog today.

I will be back on Monday at the usual time.

An Onion Trial, Tomato Soup And Freezing Parsley

Hi all, I hope you had a good weekend.

Since the New Year, I have only been blogging twice a week and I am finding it really hard to cover everything I actually do in just two posts a week.  So I try and cover as much as possible, but I do miss out a lot, so I would like to apologise for that.  If there is anything you would like me to write about, or anything that puzzles you, please let me know.

.

SAM_7234

.

The weather was good here yesterday, so I managed to dig up two more rows of potatoes and dry them ready for storing.  These potatoes are a variety called ‘Piccasso’ which I have grown a lot over the years.  They are great for roasting, mashing and baking and I find they boil and hold their shape well.  So they are a good all rounder, which are great for storing over the winter.

My potatoes drying in the sun

My potatoes drying in the sun

.

A couple of weeks ago, I took up my over-wintering onions.   This is a job I usually do in July, but this is another crop that was behind due to the cold spring we had.

My over-wintering onions last year didn’t do very well at all, due to an attack of the ‘allium leaf miner’.  So in autumn last year, I planted seed sown over-wintering onions (rather than sets), in the hope that they would grow stronger than the sets I usually plant.  I also covered them in environmesh to protect them.

My onions growing under environmesh

My onions growing under environmesh

.

The allium leaf miner is a pest that was only detected in Britain in 2002.  It has been spreading rapidly since and spread to many places in the Midlands for the first time two years ago. 

The allium leaf miner isn’t choosy which allium it attacks.  Alliums include onions, leeks, garlic and shallots.

You can read more about the pest here.

.

I am really pleased with the results, as none of them suffered from the allium leaf miner and this year I have lovely, large onions, which are now drying in my mini greenhouse ready for use:

My onions drying in my mini-greenhouse

I will use my over-wintering onions first, as they don’t store for as long as summer onions do.  I usually chop them up and freeze them, ready to use when my summer onions have ran out.  However, as it’s been such a good growing year, I am struggling with space in my freezers.

.

Yesterday, I also managed to pull up my summer onions.  I planted a variety of onions this year so I could compare them and find out if one variety was more resistant to the allium leaf miner than the others, as my summer onions also suffered badly last year from this new pest.

  I sowed some seeds back in January called Bedfordshire Champion and in March I planted two different varieties of onions sets, one variety called ‘Sturon‘ and another called ‘Turbo‘.  Incidentally, both of these onion sets have been awarded the RHS Award of Garden Merit (AGM).

My onion patch at the beginning of July

My onion patch at the beginning of July

The results (drumroll please)…..

I didn’t suffer very badly this year at all with the allium leaf miner, even though my summer onions weren’t covered in environmesh.  However, a few onions were affected on all three varieties, so I can safely assume that the allium leaf miner is not fussy about which onion variety it chooses and it didn’t make a difference whether the onion was grown from a seed or sets.

I don’t know yet which onion I prefer, as I need to taste them first and I would like to see how well they all store over the winter.  But on first impressions, it’s definately ‘Sturon‘ that has given me the biggest onion.

I have now set out my onions to dry for a few weeks, ready for storing over the winter:

SAM_7239 SAM_7240 SAM_7241

.

Last week I sowed a green manure called ‘Phacelia’ and I am pleased to say that it has germinated and growing well now.  I like using this particular green manure as I don’t need to worry about my rotational beds as it isn’t a brassicca, legume, allium or part of the potato family.  I usually sow it at this time of year in any areas that become available.

SAM_7197SAM_7237

.

‘Phacelia tanacetifolia’ is good for sowing between March and September and it takes between one and three months to grow depending on growing conditions.

It is a green manure that tolerates most soils, which is why I chose it, as I have a heavy clay soil.

If you leave phacelia to flower, it is a beautiful lavender colour that the bees absolutely love, which is why I grow it in my wildflower area.  The one drawback is that if you leave it to flower it self seeds like mad.

As I am sowing it as a green manure, I will chop it down and fork it in to the soil before it flowers, so it doesn’t grow and become a weed to me next year.

Phacelia in flower

Phacelia in flower

.

I just thought I would tell you about the winter salads that I mentioned on Friday’s blog post.  I am amazed to tell you that the winter lettuce (arctic king) and my mizuna have germinated in just four days!  I am amazed by this.  These will go into my polytunnel when I have a space in a few weeks time:

SAM_7242

.

I’ve been busy in my kitchen this week too, blanching and freezing my crops.  One of the things I have frozen is my parsley.  I don’t bother drying it, as I only really use it in a handful of recipes, including homemade garlic bread (you can find the recipe here).

It is really easy to freeze parsley:

SAM_7208

Start by chopping all the leaves off the stalks and wash them

SAM_7209

Leave the  leaves to drain so the leaves are not too wet when you freeze them.

Pop the leaves in a freezer bag and put the bag in your freezer.

SAM_7210

Use the frozen parsley straight from the bag.  You will find it crumbles easily ready for use when it is frozen.

.

.

SAM_2975

My tomatoes are ripening well now, both inside my greenhouse and outdoors at my allotment:

SAM_3761

I decided it was time to make my tomato soup as my daughter loves it.  This is how I make it:

.

Tomato and Basil Soup

.

1400g ripe tomatoes cut in half

2 medium onions chopped

2 medium potatoes chopped small

2 tablespoons of olive oil

550ml of vegetable stock

2 garlic cloves chopped

3 teaspoons of dried basil

Salt and pepper to taste

 .

Gently heat the olive oil in a large pan, add the onion and potato and soften for approximately 15 minutes, without it all browning.

SAM_7215

Add the tomatoes and cook for a couple of minutes.

SAM_7216

Add the stock, garlic and basil.  Cover and simmer for 25 minutes.

SAM_7218

Use a hand blender to blend the soup roughly and then pass the whole lot through a sieve to extract the seeds.  Throw away the contents of the sieve.

SAM_7219 SAM_7221 SAM_7222

Re-heat the soup and serve.

SAM_7224

.

I hope you have enjoyed reading my blog today.

I will be back on Friday at approximately 4pm.

Have a good week!

Radio Leicester And A Rhubarb & Ginger Cake

I know I said I wouldn’t be posting this week, but I thought I’d share my visit to Radio Leicester with you.

I was invited into the Saturday morning show again today and I had great fun chatting to Radio Leicester, as usual.

You can listen again to it here, for the next seven days

(approximately 1 hour and 37 minutes into the programme).

.

I took in some winter salads to show and discuss. I just wanted the listeners to know that salads can be grown all through the winter when they are given a bit of protection under a cloche, cold greenhouse or polytunnel.

SAM_6046

You can see in the picture above, I took red and green winter lettuces, corn salad, mizuna and baby perpetual spinach leaves, which were all sown on the 1st September 2012 and I have been picking a few leaves at a time from them all winter.

I also took in some chives which are now growing at my allotment and showed him a winter hardy spring onion that was also planted on the 1st September and they are just about ready now.

.

SAM_6060

I also talked about Rhubarb which is growing well at my allotment now spring is here.

I like to use rhubarb in different ways and Tony, Matt the producer and Ed Stagg (another Radio Leicester presenter) all tasted the rhubarb jam and rhubarb and ginger cake that I had taken in for them.  They seemed to enjoy them, thank goodness!

.

Rhubarb And Ginger Cake Recipe

.

Bottom layer: 

400g fresh rhubarb, washed & chopped into 2cm chunks

100g butter or margarine (I use marg)

75g granulated sugar, plus extra for sprinkling

2 eggs

100g self-raising flour

1 teaspoon baking powder

1 teaspoon ground ginger

.

Top layer:

75g butter or margarine (I use marg)

100g plain flour (I used self-raising as I had run out of plain)

50g granulated sugar

Icing sugar to sprinkle on the top when cool

 .

Preheat oven Gas 4 / 180C / 350F

Prepare an 8 inch cake tin by greasing and flouring it.

 SAM_6047

Cream the butter and sugar together.

SAM_6048

Add the eggs and beat well.

SAM_6053

Sieve the flour and ginger into the bowl.

SAM_6054

Fold the flour, baking powder and ginger into the butter/sugar mixture and put it into the prepared cake tin, smoothing it all around.

Arrange the rhubarb chucks over the sponge in a single layer and sprinkle with the extra sugar.

SAM_6055

In a separate bowl prepare the top layer by rubbing the butter into the flour until it looks like breadcrumbs.

SAM_6050

Stir the sugar into the mixture with a round bladed knife.

SAM_6052

Sprinkle the topping over the rhubarb

SAM_6056

Pop in your oven for 45 minutes and then leave on a baking tray to cool.

 SAM_6057

 When it is cool, sprinkle with the icing sugar and serve.

SAM_6059

Thank you for reading my blog today.

I will be back on Friday with ‘What to do in the kitchen garden in April’