Archives

Path Edging And A Few Odd Jobs

After our fence was blown down in the gales last week, I had to wait until it was fixed by our lovely neighbour before I could continue with my new vegetable patch.

In the mean time I caught up with a few little jobs that I hadn’t quite got around to:

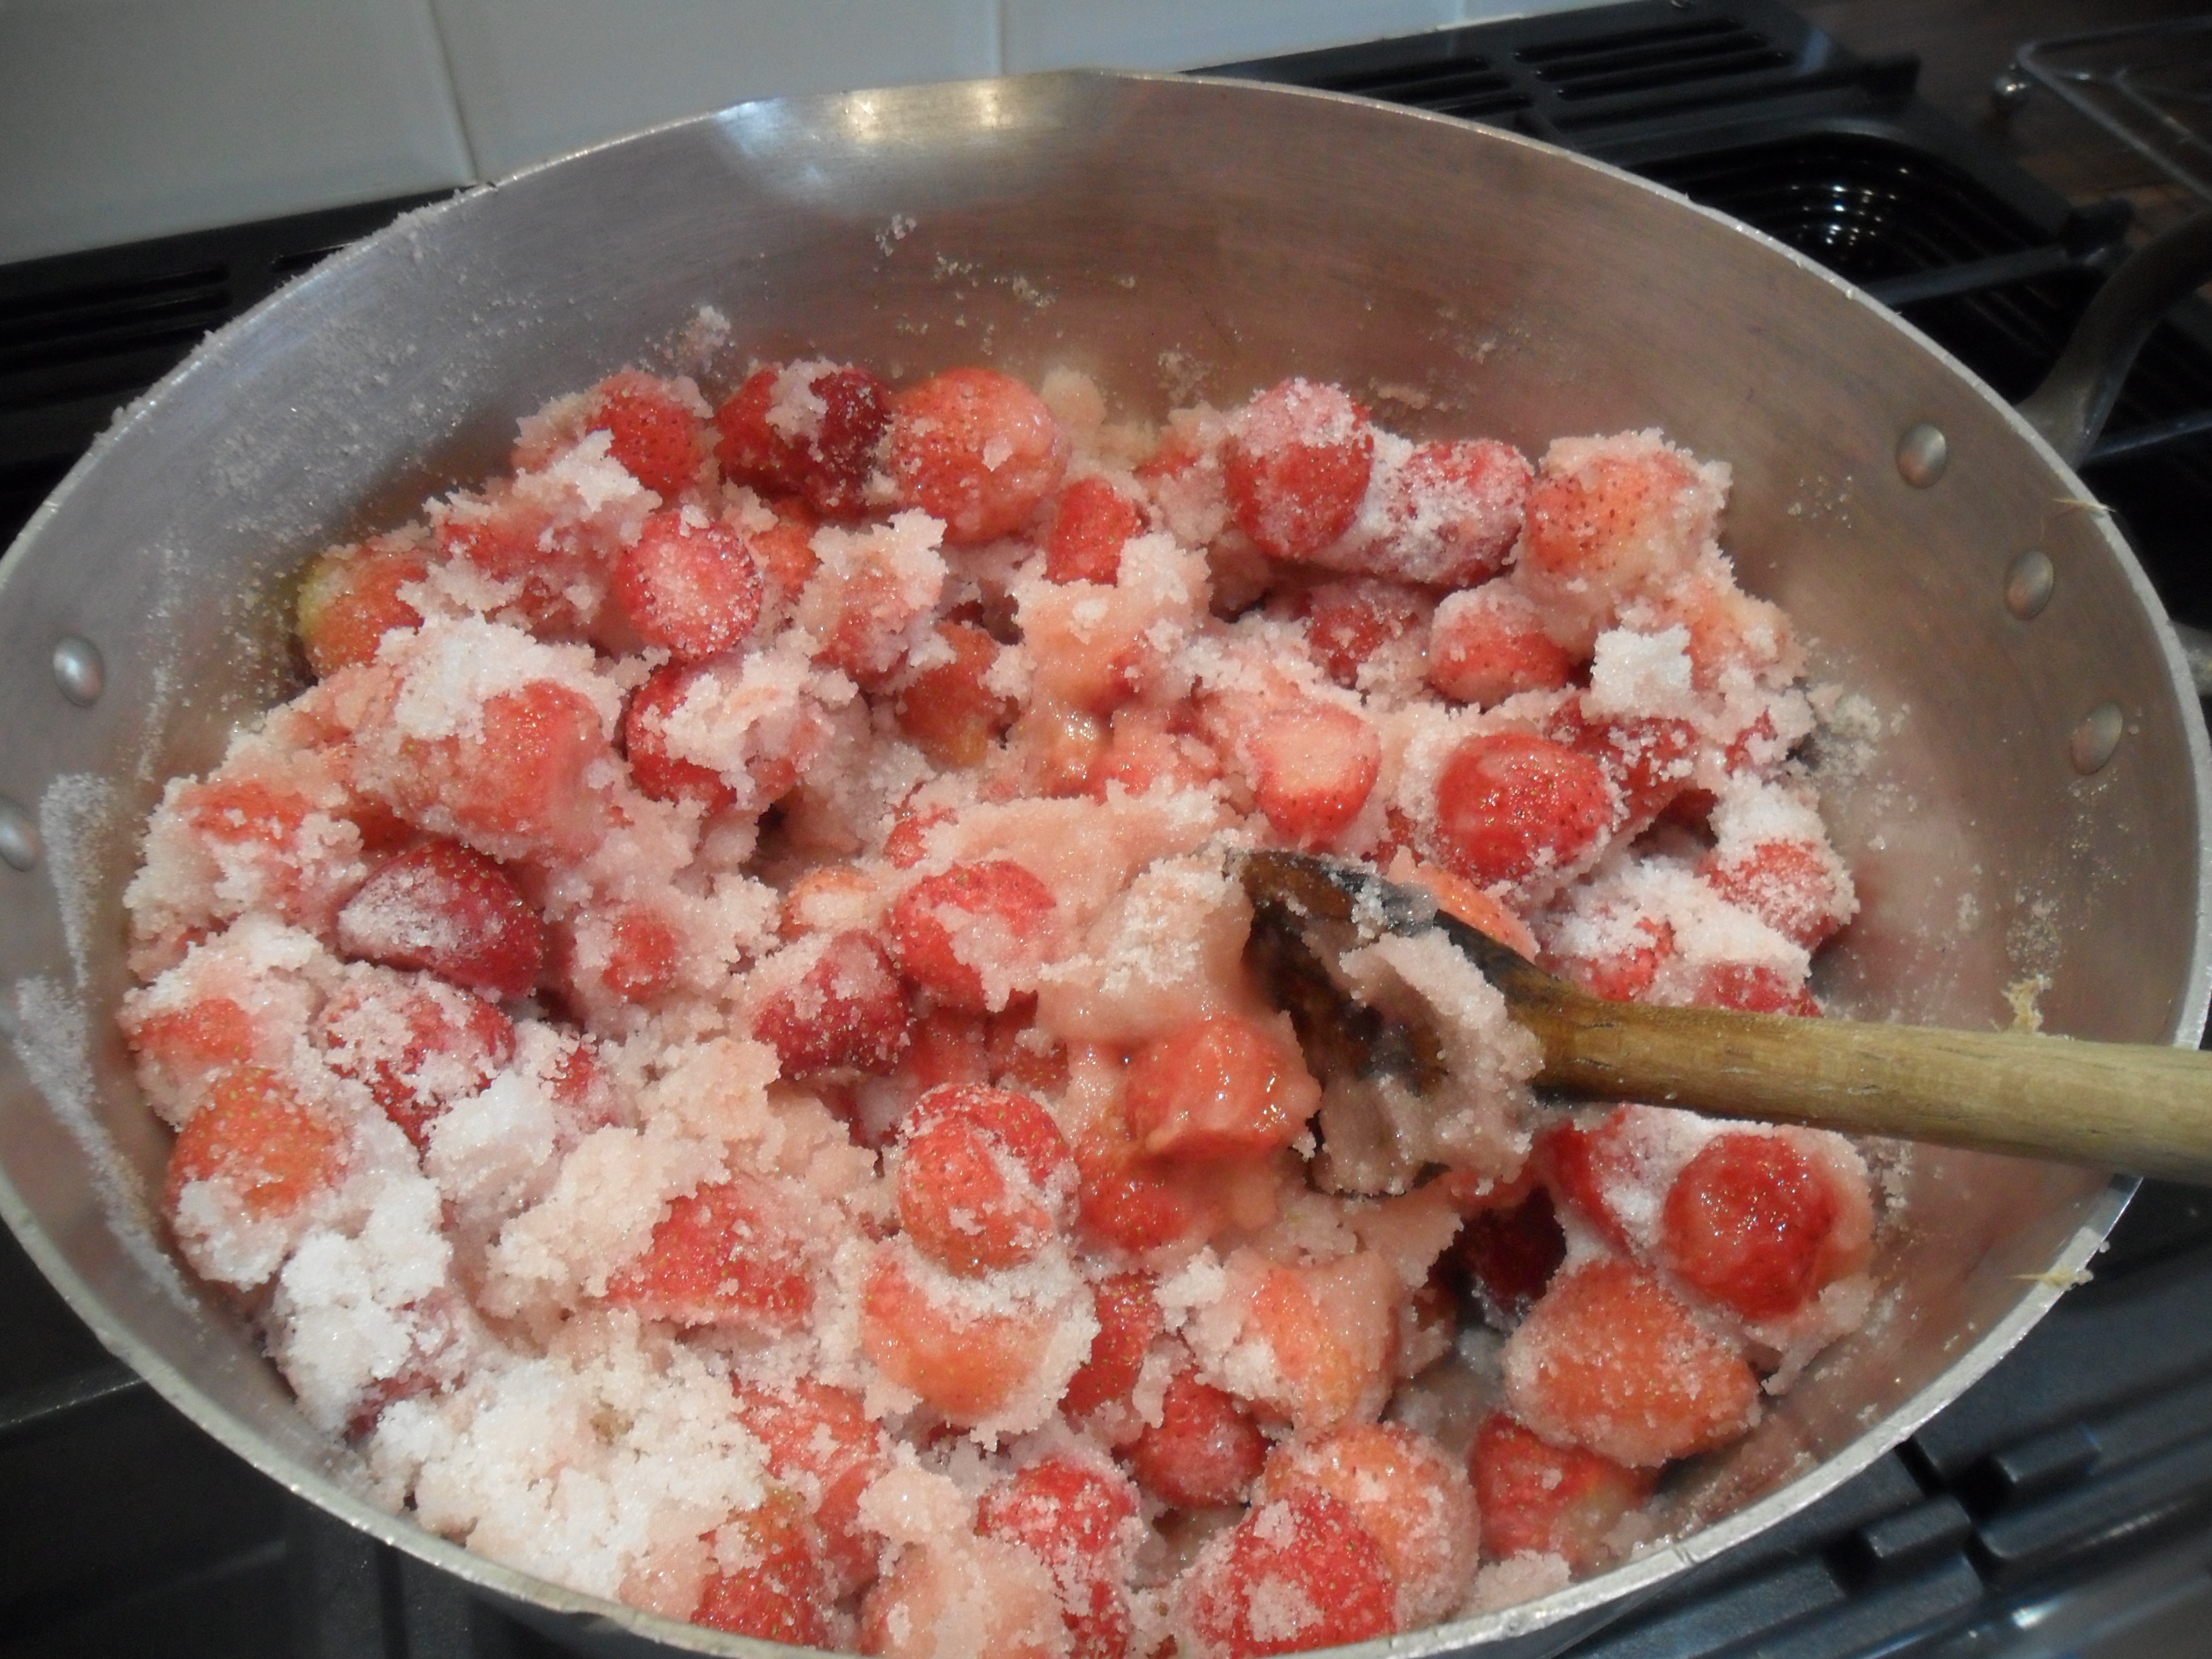
I first labled my homemade wine:

SAM_2375 SAM_2373

I then finally sorted the basil that had been hanging in my kitchen drying for ages:

  In the summer my dad gave me a pot of basil from the supermarket and as I didn’t use it up I hung it in my kitchen to dry.  After a couple of weeks I transferred it into a paper bag so the bits didn’t go everywhere as it dried:

SAM_2205 SAM_2206 SAM_2393

The result was lovely dried basil, which I crunched between my fingers to remove the big stems and then I passed it through a seive to remove any remaining twigs:

SAM_2395 SAM_2397 SAM_2398

As there was only a small amount of dried basil I just topped up the jar of shop brought basil I had in my pantry:

SAM_2400

I also then turned my attention to Christmas and made sure that I had everything I needed for my Christmas presents. I only had the odd thing to buy as I tend to buy presents through out the year, either in the sales or if I find something unusual that I know someone would like.

After this I sat down with some lovely Christmas music in the back ground and wrote all my cards.  I like to take my time to do this as I have a few people that I only write to once a year, so I like to tell them what has been happening in our lifes:

SAM_2378

And finally I sliced an orange to dry, ready for my Christmas decorations. I arranged the slices on a piece of greaseproof paper over my radiator and I find they dry in a week or two without needing to put them in the oven.  I usually put a little hole in each one when they are nearly dry so I can thread some wire or ribbon through it.

SAM_2391 SAM_2392

I absolutely love to see dried oranges around the house at Christmas.  The photo below shows the arrangement I made last year for our mantle piece:

SAM_7938 SAM_7937

.

I was pleased to say that our lovely neighbour finished fixing our fence at the weekend and we now have some concrete posts that have been cemented into the ground, to strengthen our fence.  Hopefully this will withstand any further gales we have:

IMG_2826 SAM_2377

SAM_2389

So I removed the rubble from the old concrete and took it to the tip and then I had a general garden tidy, clearing away the bits and bobs I had laying around.  You can also see in the photo above that I put my old chair back in to position ready for next summer too:

IMG_2829

It’s funny what gets dug up when you have work done in your garden isn’t it…..I found a ‘pig with wings’ that I had completely forgotten about, which must be thirteen years old!….I’ve got to be honest I don’t know how or even why I have him, but I’m sure I’ll find a place somewhere for him to go.

IMG_2830

.

So now the fence was complete I could carry on with my new vegetable patch:

The ground wasn’t very level as I had dumped the old grass in a pile when I laid my new lawn in September, so I had to move that before I could start.  I had covered the grass with weed suppressant back in September to kill it, so I just spread it over my new area and I will just dig this into the soil for now and it will probably be rotted away completely by Spring time:

IMG_2839

I had already decided to have wood chip paths inbetween my new beds, as this would be cheaper than buying slabs.  However, I needed something to stop the woodchips from spreading into my beds…..so I brought some wood sawn treated timber to edge the beds and I set about making them:

SAM_2387 SAM_2385 SAM_2388

I have quite simply screwed them together using corner braces and screwed on bits of wood to secure them into the soil.

I didn’t think there was a need to have raised beds as the soil I have is good and it would just be a waste of money to ship in top soil.

I then forked over the area where the first edging was going to sit, removing any weeds as I dug and then I fitted the first edging making sure it sat level and in the right place:

IMG_2846

I then fitted the next edging and repeated the above to make a third bed too:

IMG_2848 IMG_2851

And that is as far as I’ve managed to get this week.

I have two more beds to complete and unfortunately for Mr Thrift, I have three or four more slabs to lay next week (so I need to sweet talk him into helping me again).

.

I hope you have enjoyed reading my blog today.  I will be back next Friday as usual.

Have a great week!

Christmas Decorations In The ‘Thrift’ Household

This week has been a lovely, creative week for me, but very busy.

.

I started off by making my laundry liquid as I had ran out of the shop bought box that I had to buy when the builders were here.

Incidentally, I never use the amount it says to use on the box, I only ever use half the amount to make it last longer and it always washes well and this saves me money.

SAM_7775

I prefer to wash our laundry using my homemade laundry liquid as I know what goes into it and it is really really easy to make.  It only takes 10-15 minutes to make up a batch and it lasts for weeks.  It is great for every day washing and the last time I worked it out a few months ago, it cost me approximately £1.75 to make and I managed to get 71 washes out of it.  This works out at a staggering 2.5p per wash….the supermarkets can’t beat that!

SAM_7776

I’ve stored my laundry liquid in old ‘pop’ bottles as they fit nicely under my new sink.

You can find the recipe I use for my laundry liquid here.

.

I nipped into the supermarket as well this week and found a lonely pack of bananas in the ‘whoopsie’ aisle for 10p.  They were all nice and yellow except a couple which had started to turn brown (which was probably why no one wanted them)… so I bought them.

After we ate the yellow ones, I made a lovely banana cake with the others.  You can find the recipe I used here.

SAM_7853 SAM_7856

.

I’ve also finally got round to writing and sending my Christmas cards.  I bought my cards in the 2011 New Year sales, for a fraction of the price that they were before Christmas.  They don’t take up much space and it saves me a bit of money.

To save time, I have a Christmas card list that I print off from my computer every year.  The list tells me exactly who I need to send Christmas cards to and if I have any extra people to send cards to I just update the list ready for the next year.  It makes writing the cards so much easier.

SAM_5052.

I also made some strawberry jam this week ready for my hampers.  I didn’t get chance to make it over the summer as I was packing things away ready for the building work, so all my fruit was washed and put straight into the freezer.  I am hoping to make some other things for my hampers during the next week as well.

SAM_7854 SAM_7860

.

I started to put up the Christmas decorations this week too (except the tree, as we are still waiting for our fireplace to be installed).  Our old faithful cheap and cheerful door wreath was looking a bit sad as it had lost it cones, so I replaced them with some more and it looks much better now:

SAM_7849

I hung up our trusty old garland along our stairs too.  I bought this approximately fifiteen years ago from Wilkinsons and it still looks as good as new and makes the hall look lovely and Christmassy when you first come in the house:

SAM_7847

.

Also this week, I continued using my bargain charity shop material that I used to make my curtains and my kitchen Roman blind.  For those reading this that don’t know, it only cost me £16 for 10 meters (a piece four meters long and another piece that was six meters long) and it was brand new, never used…I still can’t get over what a bargain it was, I suppose one mans rubbish is another mans gold.

I have now re-covered our old (and stained) seat pads for the chairs around our table and I am really pleased with the result:

SAM_7770 SAM_7781

And I have managed to make a table cloth and eight napkins out of the remainder of the material.  So I am very pleased as my kitchen looks very co-ordinated now and I don’t think anyone would know that the whole lot cost me just £26 to make (£16 for the material and heading tape and a further £10 for all the other bits,  for the Roman blind and for the cotton).

SAM_7825

.

With some of the little off-cuts I still had left, I made some bows for my Christmas table wreath.  They were really easy to make, I just followed  some instructions that I found on ‘You Tube’  here.  I think they turned out well:

SAM_7793

.

I love Christmas decorations that are made out of things that you can pick from your garden at this time of year, so I went out into mine to collect some holly, bay and conifer leaves.

While I was there I noticed there are some lovely sights in the garden at this time of the year:

SAM_7701 SAM_7700

I even discovered that our Lavatera still has flowers on and my Vinca has a flush of flowers on too:

SAM_7697 SAM_7695

I made a couple of ‘sprays’ with some of the bits I collected and tied them with a spare ‘off cut’ of material I had and hung them in my kitchen.  I was very pleased with the result (especially as it cost me nothing to make them):

SAM_7805 SAM_7806

  .

I then began to make my Christmas Table Wreath.

I openly admit that I’m not very good at flower arranging.  In fact, I was the only Brownie that just ‘scraped’ a flower arranging badge due to ‘Brown Owl’ stepping in and rearranging it all for me.  My arrangement was so bad.

Last year I made my first table wreath and I was very proud of it and couldn’t believe how easy it was to make. So this week I made this years wreath.

.

How To Make An Easy Christmas Wreath:

.

I bought an oasis ring from Wilkinson last month for approx. £4.50

I used bits of old ribbon last year and material bows as above this year

Pine cones from my local park

Shrubs from the garden

(I used conifer and bay this year and Viburnum tinus last year)

Large paper clips or florist’s wire)

.

I started by soaking the oasis ring upside down in water for about 5 minutes, until the bubbles stopped coming out of it.  I have read that you should not press the oasis ring down, as this will cause air bubbles to enter the foam, creating dry spots.

0295958_m[1]

I cut the foliage in lengths of approximately 10cm and striped the leaves so there was about 4cm of stem to push into the oasis.

SAM_5428

I layered the shrubs into the oasis by pushing the stems in at a slight angle, starting at the bottom.

SAM_7817

I kept building the foliage up, so eventually the oasis couldn’t be seen.

SAM_7818

Use big paper clips stretched out or florists wire to secure the ribbons and the pine cones to the oasis.

SAM_7823SAM_7824

I have read that it is best to mist the wreath with water each day so it doesn’t dry out

(I’ve got to admit I didn’t do it last year and my wreath lasted ages).

SAM_7844

I’m very pleased with my table wreath again this year and as an extra bonus, the bows match my table cloth.

.

Finally this week, I sliced some oranges to make ‘old fashioned’ Christmas decorations.  I put the slices on a piece of greaseproof paper and then put it on the top of my radiator.  I have read that they will dry this way without having to use your oven, so I thought I will give it a try.

SAM_7796 SAM_7814

I’ll let you know how I get on with them and if it works.

SAM_7841

Thank you for reading my blog today.

I will be back on Monday at my usual time.

A Free Reply To Your Kids Letter To Santa & UK Posting Dates

There are only 21 nights sleep until Christmas day.

santa6[1]

Leading up to Christmas, I will show you how we celebrate Christmas in this house. I will write about how I prepare, plan and how we enjoy Christmas on a budget. I will also cook Christmas recipes, that not only taste nicer than the shop bought versions, but are far less expensive to make and I will write as many useful bits of information and Christmas tips that I can think of, to help you on your way.

Please remember that Christmas should not be stressful, it should be enjoyable.

mrs-claus[1]

On December 1st I hung up our homemade Advent Calender.  Each day my daughters have to solve a riddle before they are given a clue, which helps them to find where I’ve hidden their advent present for that day.

SAM_4729

You can read all about our advent calender and the little gifts here.

What surprised us this weekend, is my wonderful youngest daughter made an Advent calender for mum and dad too:

SAM_5147

She has also put a clue in each pocket, so we have to find the treasure chest that she has filled with sweets.  We can take a sweet each day.  What a lovely, thoughtful thing for her to do for us.

.

So now it’s the countdown to Christmas:

santa-sled[1]

.

I refuse to let christmas be stressful and I like to plan each christmas task and make sure it is as enjoyable as possible.

You can read about how we budget for christmas presents and your consumer rights here and how to have a perfect ‘realistic’ christmas here.

.

So today I wrote my christmas cards.

I made myself a nice warming hot chocolate, put some lovely christmas music on and I began.

SAM_5050

These cards are actually left over from last year.  I bought them in the 2011 New Year sales, for a fraction of the price that they were before christmas.  I store them in the same place as the birthday cards I buy.  They don’t take up much space and it saves me quite a considerable amount of money.

To save time, I have a christmas card list that I print off from my computer every year.  The list tells me exactly who I need to send christmas cards to and if I have any extra people to send cards to, I just update the list ready for the next year.  It makes writing the cards so much easier.

SAM_5047

When I have finished writing my cards I hand deliver as many as possible as postage charges all add up.

Just before the price of stamps was increased in April 2012, I went out and bought a few books at the lower price, so that I would have enough for the rest of the year and christmas.  So the cards I posted today have a lower priced stamp on.

SAM_5052

.

Last Recommended Postal Dates For The UK:

.

Second Class = Tuesday 18th December 2012

First Class = Thursday 20th December 2012

Special Delivery = Saturday 22nd December 2012

You can find this information and more on the Post Office Website here.

.

Free letters from Santa:

santa-10[1]

When your children write their letters to Santa, where do you send them?

My daughters used to spent hours writing their letters to Santa at the beginning of December.  They would list all the toys that they would like him to bring and they would tell him they had been good all year (which was not always true).  We would then all take a walk to our nearest post box and my very excited daughters would post the letters.

This is such a lovely memory to us all, it is a shame that my daughters are teenagers now and don’t want to do this anymore, but I know that other children will still be writing to Santa this year.

Many companies charge anything up to £8 or £10 to reply to your childs letter to Santa.  I’ll let you into a secret that not a lot of people know:

The Royal Mail will kindly reply to your child’s letter to Santa, for free.

Yes you did read this right,  to get a FREE reply, all you need to do, is post your child’s Santa letter to:

Santa/Father Christmas,
Santa’s Grotto,
Reindeerland,
SAN TA1

SAM_5169

This is what it says on the Royal Mail’s website:

“Santa will respond to as many letters as possible, in between getting the sleigh ready for the long journey on Christmas Eve.

To receive your card back from Santa, please make sure you write to him using the correct address on a stamped envelope. Don’t forget Santa needs to know your full name and address to reply.

Santa is happy to receive your cards and letters now but because of a very busy Xmas ahead could you please write to him by no later than Friday 14th December.

Be good and enjoy your holidays, Santa”

You can find more information here.

SAM_5170

Thank you for reading my blog today