Archives

A Frugal Week And A Mixed Fruit Jelly Recipe

To start with I thought I would mention a report that I read this week from the Soil Association, which I thought was interesting:

My allotment this week

My allotment this week

It states that “new research has found that there are significant differences between organic and non-organic food.  It states that new research from Newcastle University, published on Tuesday 15 July, in the British Journal of Nutrition, has shown that organic crops and crop-based foods – including fruit, vegetables and cereals – are up to 60% higher in a number of key antioxidants than their non-organic counterparts”

A rather large cucmber from my polytunnel

A rather large cucumber from my polytunnel

“In other countries there has long been much higher levels of support and acceptance of the benefits of organic food and farming: we hope these findings will bring the UK in line with the rest of Europe, when it comes to both attitudes to organic food and support for organic farming.”

I have got to say, this is something I have suspected for a long time, especially as organically grown fruit and vegetables taste much nicer too.

If you are interested in the report you can read it here.

From my allotment this week

From my allotment this week

.

It’s been a very frugal week in the ‘Thrift household this week.  I am still picking as much as possible from my allotment….fruit, peas, salads, etc. and now my courgettes plants have started to produce too.  Mr Thrift is looking forward to his first ‘cheesy courgette scones’ of the year:

SAM_9490

I also picked my first shallots this week and pickled a couple of jars of them.  As a family, we love pickled onions.

When I pickle onions, I don’t use a salt water brine as I think this softens the onions.  I use a method that my dad taught me – I cover them in only salt overnight, to draw the water out.  This gives a nice ‘bite’ to your pickled onions.  You can see my dad’s method here if you are interested.

SAM_9511 SAM_9517 SAM_9525

I’ve also been using up leftovers from my freezer.

I made a ‘leftover Chicken and veg pie’, which is just leftover chicken and leftover vegetables mixed together in a white sauce and topped with pastry.  I love using leftovers to make a new meal.

SAM_9475 SAM_9476

When I make a pastry I always make double and freeze it ready for next time.

Also, after I have put the top on my pie I always have a bit of spare pastry, so I roll it out and put a bit of jam in it and make a small jam pasty for a treat.  My youngest daughter loves them and they can be eaten hot or cold.

SAM_9471 SAM_9472 SAM_9474

.

I have also been making some more laundry liquid using soap flakes, borax substitue and soda crystals this week.  You can find the recipe here if you are interested.  It takes just 10-15 minutes to make and it lasts for weeks.

I find it is great for every day washing and the last time I worked it out a few months ago, it cost me approximately £1.75 to make…. I managed to get 71 washes out of it, so this worked out at a staggering 2.5p per wash….the supermarkets can’t beat that!

SAM_9520

.

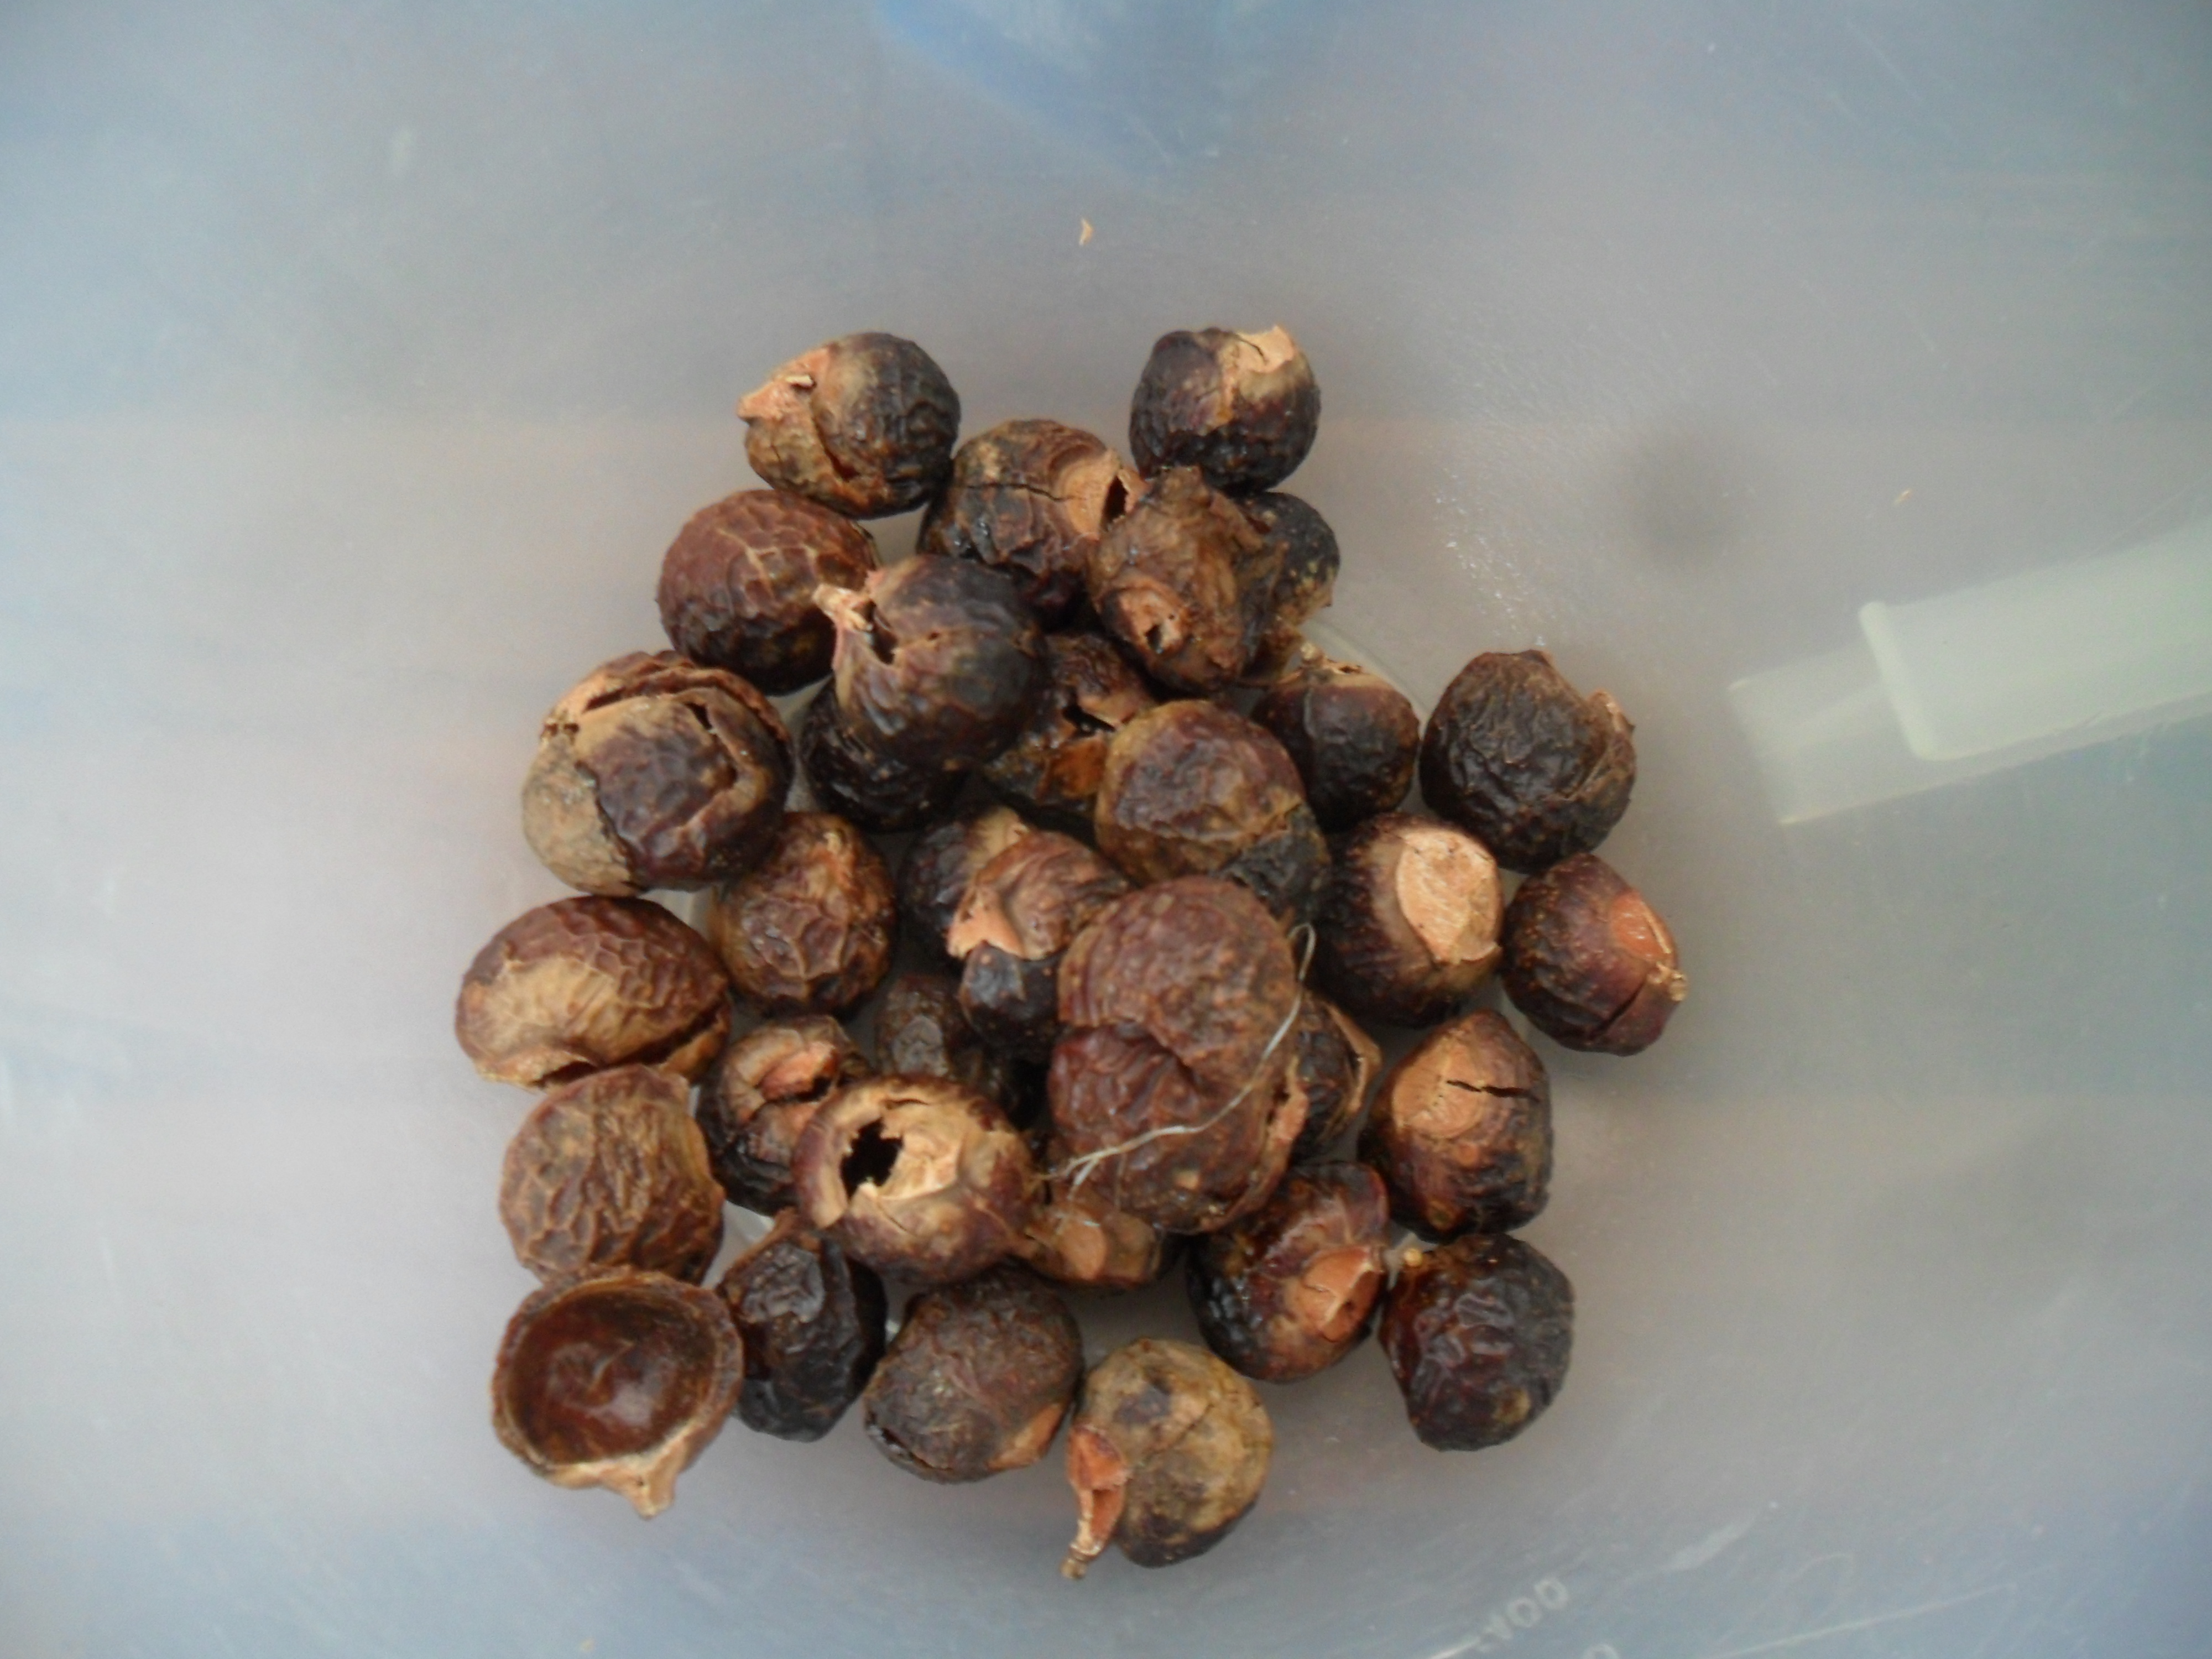
As I write today, I am also in the middle of making some more dishwasher liquid out of soap nuts as I find this saves a lot of money too (though I do still use a supermarket dishwasher tablet every third wash to stop the build up of grease in my dishwasher).

You can read how I make the dishwasher liquid here.

SAM_9521 SAM_9523

.

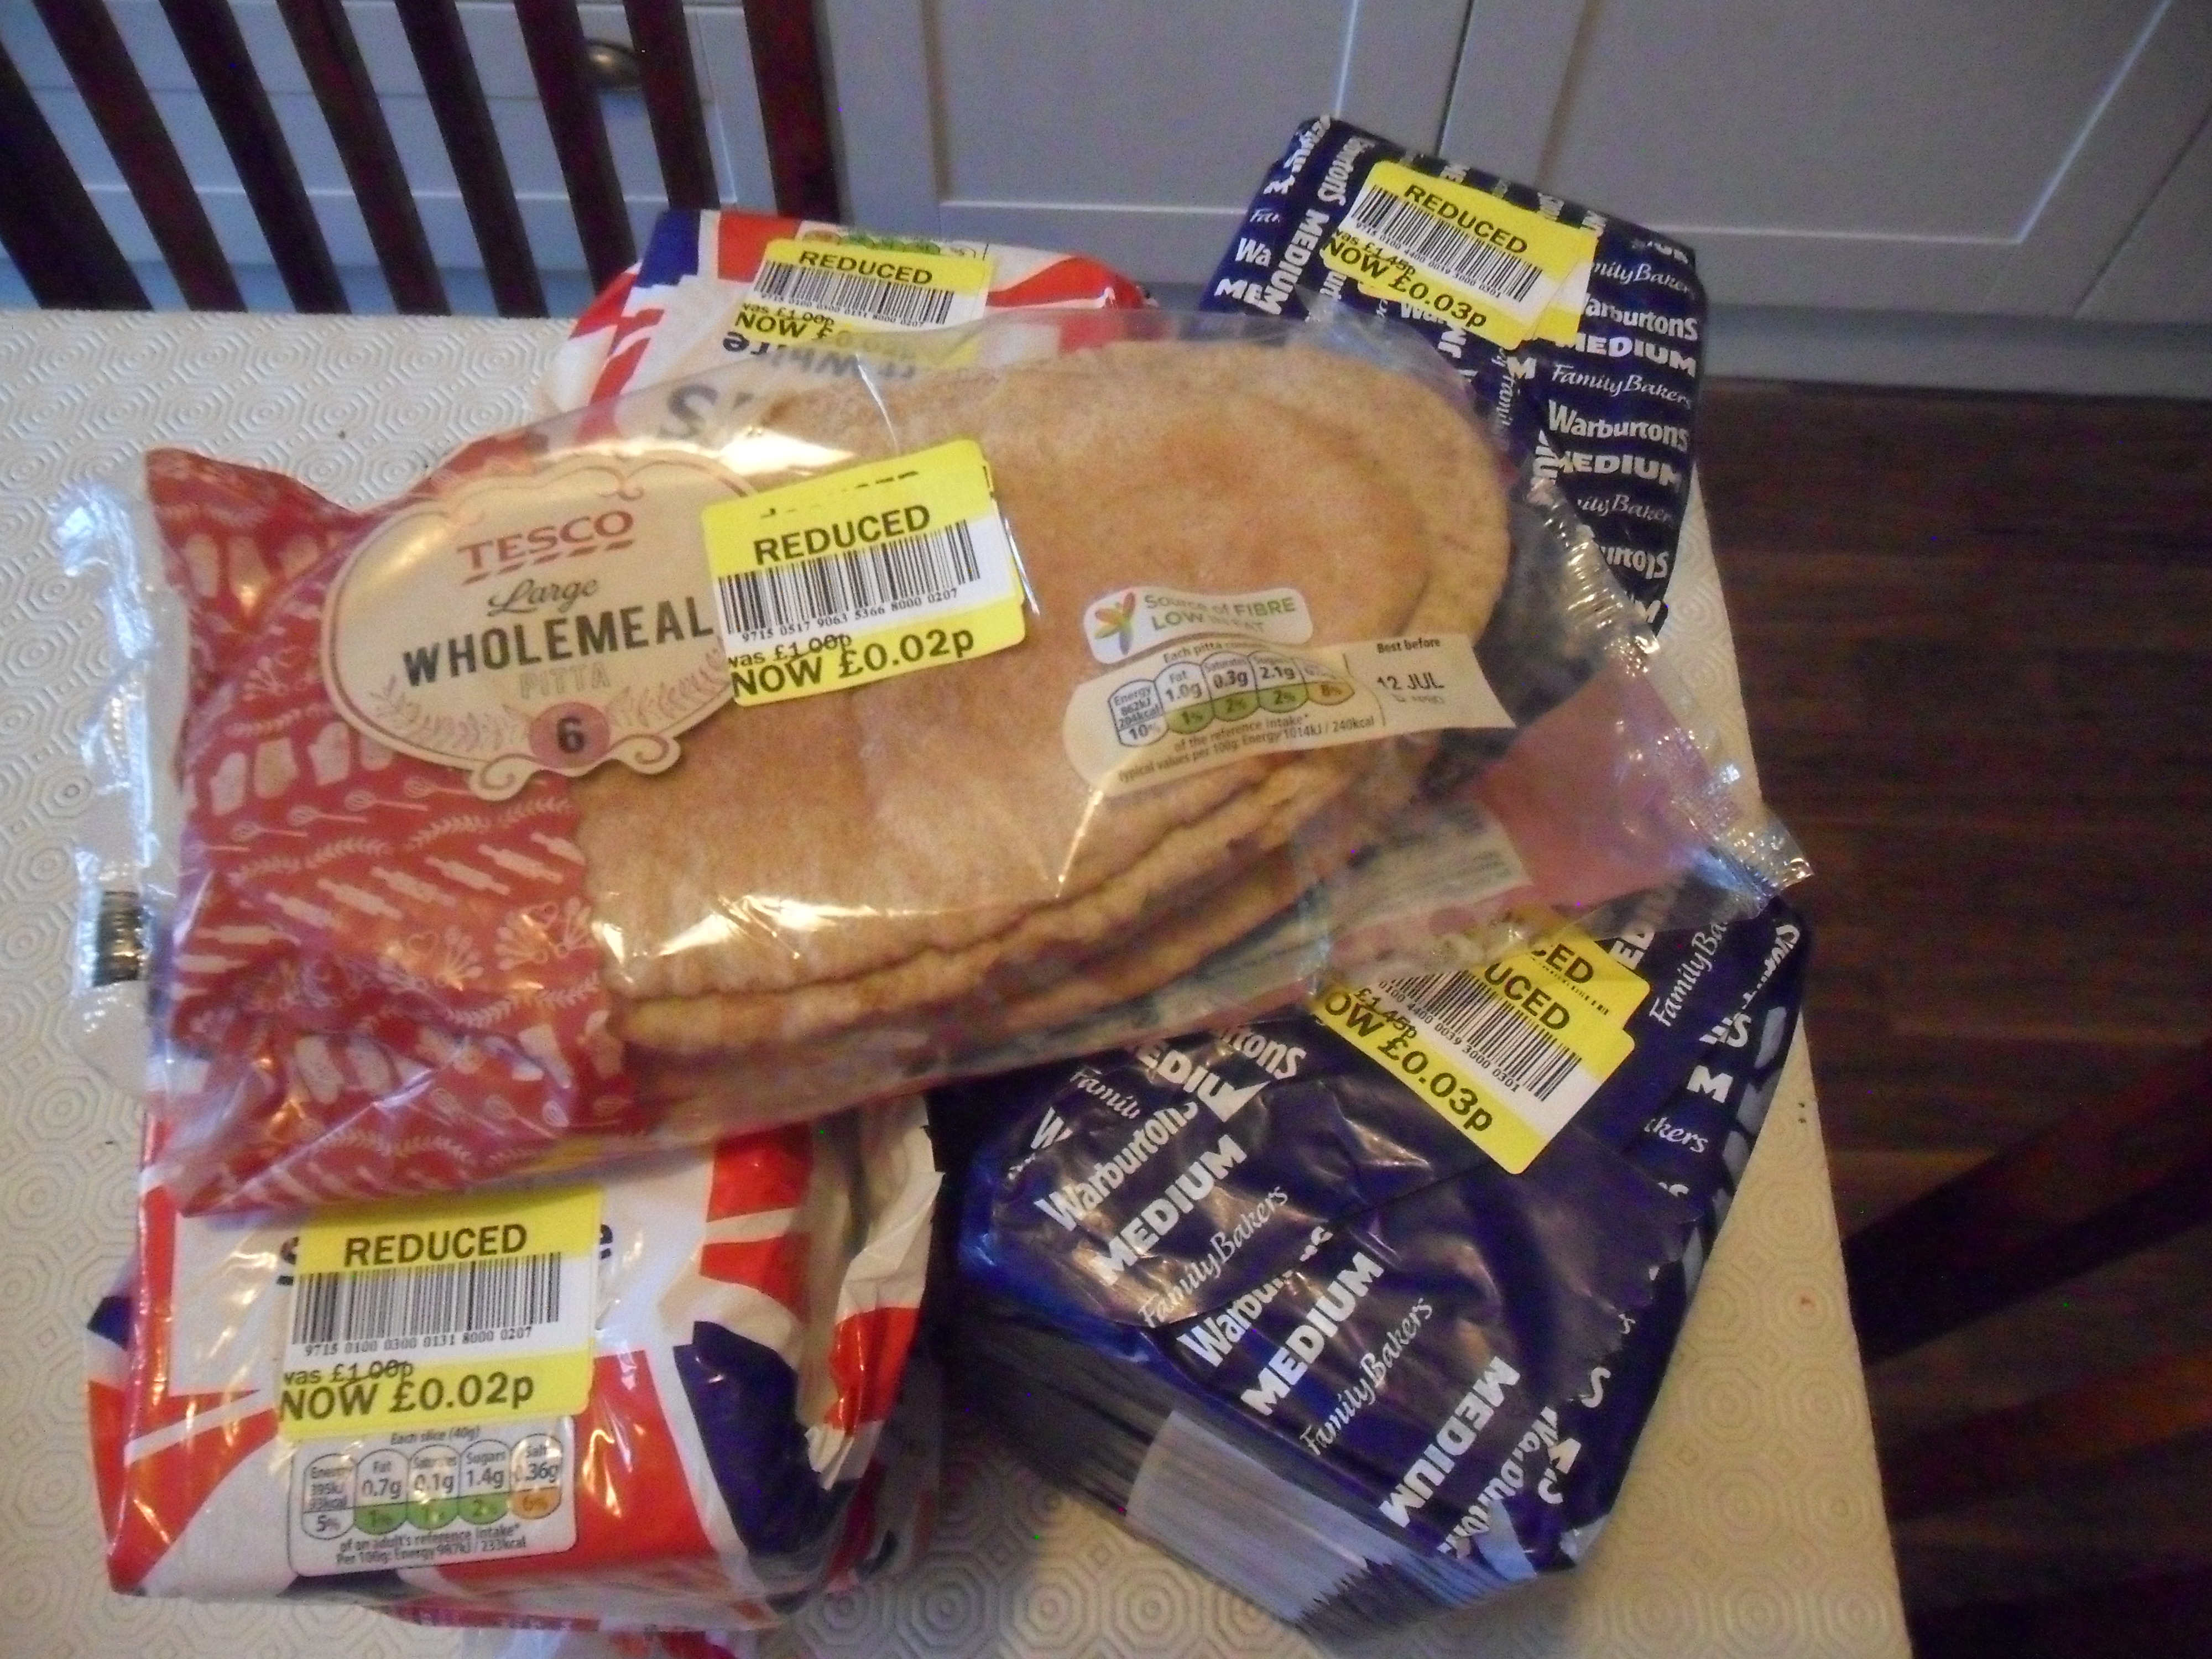
The final frugal thing I have to tell you about, was a very frugal find at our local Tesco store.  We popped in for milk and we found a crate of bread that was ‘whoopsied’ (yellow stickered).  The dates were two days away on the Warburtons bread and one day away for the Hovis bread and they were selling them off for 3 pence and 2 pence, so we bought some for the freezer, together with some wholemeal pitta bread for just  2 pence too!

It’s nice to make my own bread but at those prices I couldn’t resist buying it!

SAM_9513

It was quite strange as there was no one around but us looking at the bread and we felt like we were naughty teenagers gigling as we put it through the self-scan checkouts, lol.

.

This week at my allotment I have been picking worcester berries and dessert gooseberries (which look very similar) and white currants, red currants and a few blueberries.

SAM_9484

The blueberries were eaten by my eldest daughter within two minutes of bringing them home, however I used the rest of the fruit to make a mixed fruit jelly.

Jellies are easy to make but they do take longer than jams, as you need to let them strain over night.  I think it is worth the effort as it tastes delicious and it has no seeds in it.

.

A Mixed fruit Jelly Recipe

SAM_9487 SAM_9488 SAM_9486 SAM_9485

.

First I top and tailed the gooseberries and worcester berries and removed the stalks from the currants (I use a fork for this as it’s easier this way):

SAM_9493

I put all the fruit into my maslin pan (together with some frozen currants that I had leftover from last year).  I covered half the fruit with water and then brought the pan to the boil and simmered the fruit until it was soft (approx 15-20 mins).

SAM_9494SAM_9495

Meanwhile,  bring a pan of water to the boil and put some muslin or a tea towel in to it and boil for 3 minutes.  Take it out of the water and wring it out and then leave to cool.

Tip the fruit into the muslin.  I find it easier to put the muslin over a colander that is already over a bowl, as it’s easier to pour the fruit into it.

SAM_9496

I then I tie the muslin up over the bowl so the juice can drip down and I remove the colander.  MAKE SURE YOU DON’T SQUEEZE THE MUSLIM OR YOUR JELLY WILL BE CLOUDY.

Leave it to drip overnight or for approximately 8 hours.

SAM_9497

In the morning I measure the liquid and poor it back in my clean maslin pan.  I also put some clean saucers into my freezer to test the setting point of the jelly later on.

For every pint of liquid I have, I add one pound of normal granulated sugar and 2 tablespoons of lemon juice into the pan.

I then stir the mix over a very low heat until all the sugar has melted and there are no sugar chystals on the back of my spoon:

SAM_9498

I then boil the syrup hard stirring all the time until setting point is reached

SAM_9499

(To check the setting point has been reached, put a small drop of jam on one of the side plates from the freezer.  After a few moments, push the jelly with your finger and if it wrinkles it’s ready.  If it doesn’t wrinkle, continue boiling hard for another five minutes and test again).

SAM_6824

When the setting point is reached, take the pan off the heat and leave it for fifteen minutes.  If there is scum on your jelly, you can skim it off, but I just stir in a small knob of butter which does the same job.

SAM_9500

Sterilise some jam jars (gas mark 4 for 5 minutes)

Pour the jam into the jars and seal with lids.  I use the jars that have a sealable lid (i.e. the jars that jam is sold in, at the supermarket).  This way you don’t need to worry about wax discs to create a seal.  As the jam cools, the lids ‘pop’ and make you jump.
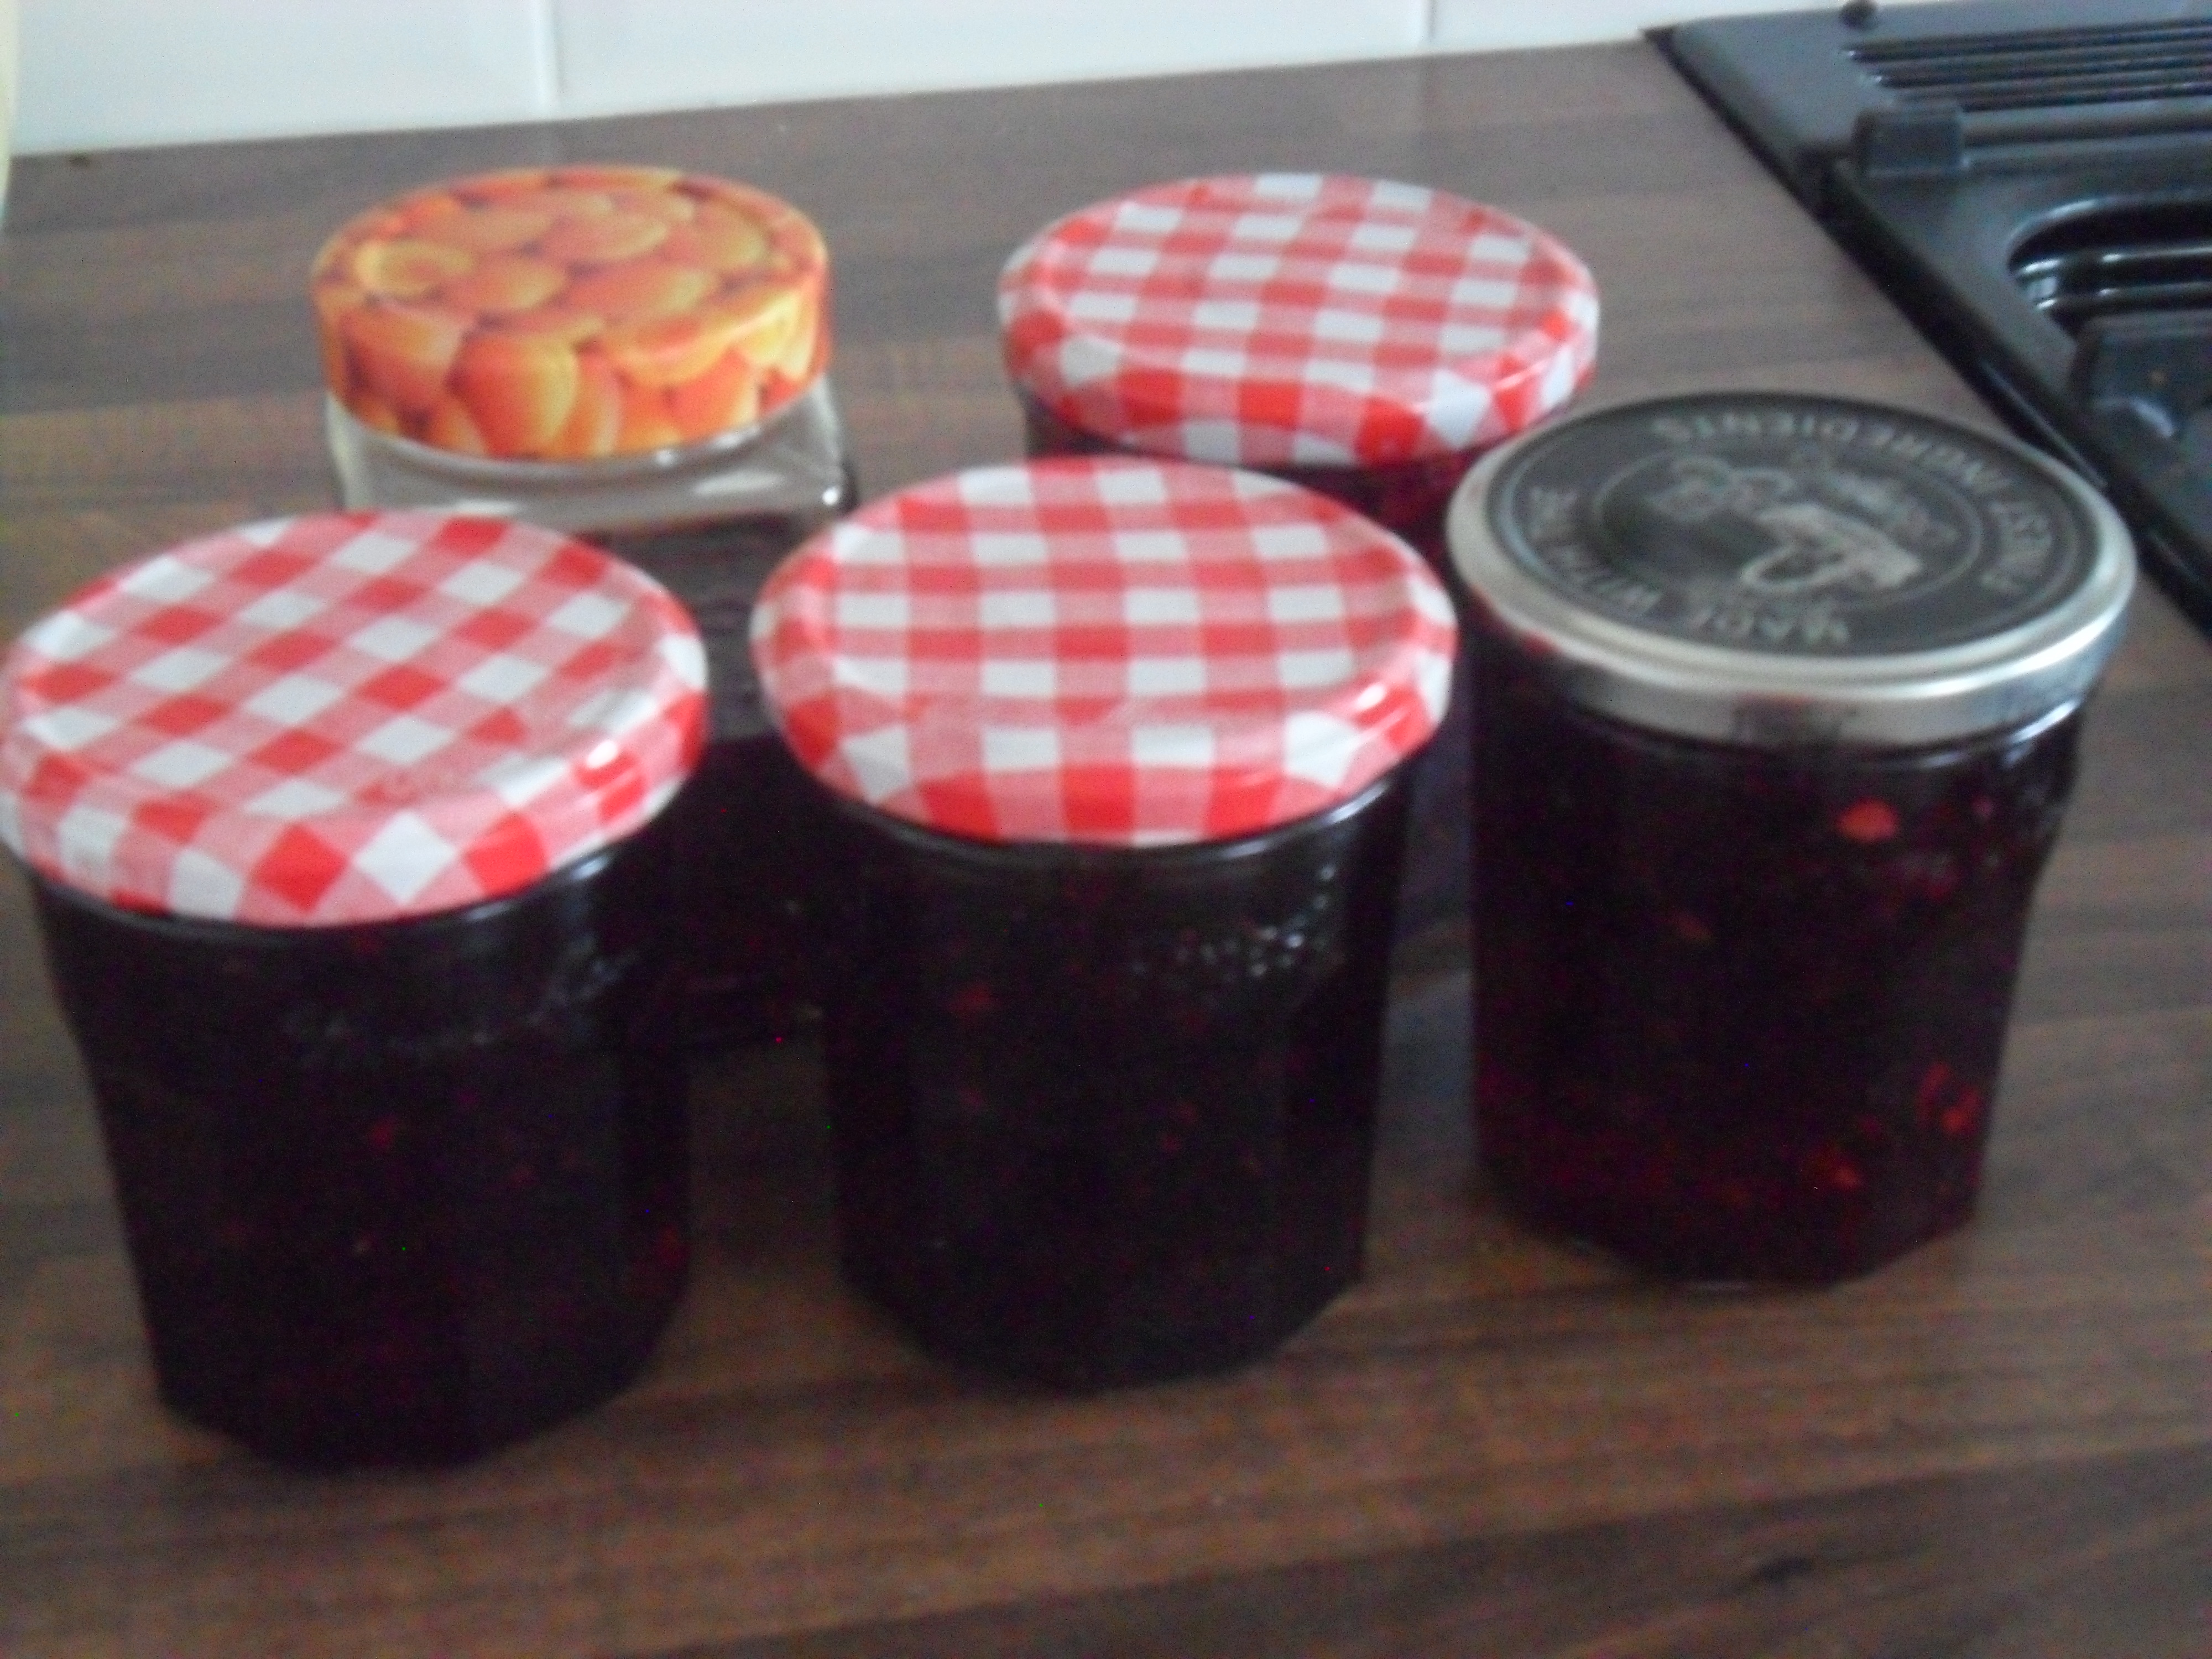
SAM_9501

Enjoy!

.

Thank you for reading my blog today.

I will be back next Friday as usual.

Little Savings That All Add Up & A Week Of Main Meals For Under £10

Today at my allotment, I dug up some carrots for our dinner.  I’m quite proud of my carrots as it’s the first year I’ve managed to get a decent crop from the ground, rather than having to grow them in pots of compost.

I managed to get a good crop this year by growing them in a raised bed, with lots of my own allotment compost, leaf mould and a bag of sand thrown in for good measure.

I will definately grow them this way again.

.

 Little savings that all add up:

A little while ago, I realised I do little things to save money automatically, without even thinking of what I’m doing. I promised I would try really hard to make a note of these things so I could share them with you.  So here are a couple more things:

Last week I decided my black jeans were looking faded and old.  I didn’t want to buy a new pair as they were comfortable to wear and there really wasn’t anything wrong with them, except they were faded and looked old.

I spent £4.08 on the fabric dye below:

  Fabric dyes are really easy to use nowadays.  All you do, is put it in your washing machine with your fabric and put it on a 40 degree wash.  Afterwards, you put it on a 40 degree wash again, but this time with washing powder and this removes all the excess dye.

The result is a pair of jeans that look brand new!

The photo above doesn’t quite show them as good as they actually look (due to the flash on my camera, I think), but the jeans do actually look as good as when you first buy them.

.

Hand wash is expensive to buy and my family goes through it really quickly.

So, when the hand wash bottle is empty, I refill it with the cheapest ‘bubble foam’ or ‘bubble bath’ that I can find.  Both Tesco and Asda sell Value Bath Foam for just £0.40 per litre, which is far cheaper than their ‘Value Hand wash’, (which works out at approximately £0.76 per litre) and it’s just as good.

Once the bottle is filled up, no one ever knows.

.

A Week Of Main Meals For Under £10.00

For those who haven’t been following my blog this week, I thought I would set myself a challenge of cooking seven main meals for my family, for under £10.00. If I can do this, it will show people that we can and do actually live well on less’. So watch this space Jamie Oliver!

To keep the costs down, I have been using my home grown vegetables and in the style of ‘Ready Steady Cook’, I have free use of store cupboard items, which can be found on Monday’s post.

.

Tonight we had a homemade lasagne, potatoes, swede and carrots.

I use lots of vegetables in my spaghetti bolognaise mix, to pad it out.  In tonight’s mix I used onions, curly kale, broad beans and courgettes, which were mostly from my freezer.

I also used some frozen pumpkin puree, which I defrosted.  This was left over from Halloween last week and it helps to make the meat go further.

You can find the recipe for the lasagne here.

Tonight’s meal cost me just £1.65 to make using my homegrown vegetables and the ‘free’ store cupboard items that were listed on Monday’s blog here.

£0.73 was for a third of a large pack of value minced beef (that I split into three) and £0.26 was for the value lasagne sheets I used and £0.66 was for the cheese I sprinkled on the top.

(Please note I always drain the fat off the value minced beef after I have first browned it, by putting the meat in to a large sieve, so the fat can drain through, otherwise it is far too fatty to eat).

.

So my total spent so far this week is just £ 6.48

Sunday = £ 3.33

Monday = £ 0.87

Tuesday = £0.00

Wednesday = £0.63

Thursday = £1.65

So far, so good

.

Yesterday, I talked about ‘Batch baking’ and how it saves time and money.  I mentioned that I regularly make biscuits and freeze them for the week ahead.  My lot eat the biscuits so quickly that this is the only way to ensure they aren’t eaten straight away.  The biscuits defrost within half an hour, but this is enough time to stop them from eating them.

I made some Ginger Biscuits on Saturday, so I thought I’d share the recipe with you:

.

Ginger Biscuit Recipe (makes 24)

12 oz. self-raising flour

8 oz. soft brown sugar

2 teaspoons baking powder

4 oz. margarine

2 heaped teaspoons of golden syrup

2 eggs

.

Preheat your oven Gas mark 4 / 180 C / 350F

Place the flour, soft brown sugar and baking powder into a bowl and mix together.

Beat the eggs.

Melt the margarine and syrup over a low heat then add to the dry ingredients with the beaten egg and mix until it is all combined.

Roll small balls in your hand, about the size of a small walnut and place on a greased baking sheet, leaving room for them to spread out while cooking.

Bake for 15-20 minutes.  L

Leave for 1 minute before moving the biscuits to a cooling rack.

Enjoy!

.

Thank you for reading my blog today.


Little Savings That All Add Up & Green Manures To Plant Now

Today I had a telephone conversation with Jim Davis on his Radio Leicester show.  I talked about money saving tips when buying food.

Jim mentioned my blog, so welcome to anyone who is reading my blog for the first time.  I hope you find lots of interesting information.

If you would like to listen to the conversation I had with Jim, you can listen again here.  I am on approximately 40 minutes into the show.  I think you can listen back to it for one week.

I could ramble on for hours about doing things cheaply.  I think some people who are struggling to make ends meet, still buy expensive things from the supermarkets, as they just do not know how easy it is to make things from scratch.  I’m certainly not a chef and as I’ve said before, I couldn’t boil peas fourteen years ago and my friends used to call me the ‘Packet Mix Queen’.

Little savings that all add up:

A few weeks ago, I realised I do little things automatically, without even thinking of what I’m doing and I said I would try really hard to make a note of these things, so I can share them with you.  You can read about some more little things I do here.

Today I realised I do another thing without thinking:  The Way I Do My Washing and Ironing:

I wash most days and I always hang my washing out to dry if it’s not damp or raining. It somehow seems to smell nicer and feel fresher when it has dried in the wind.

I read somewhere, that if the pavement is dry, then your washing will dry and it really works!

I even hang my washing out in winter and if it doesn’t dry fully, then at least it has done half a job for me.

 If I’ve looked at the weather forecast and it’s going to rain one day and be fine the next day, then I wash two loads the next day if at all possible.

I always wash early in the morning using economy seven electricity, to save money.  I also use the laundry liquid I make up myself, which saves me loads of money over the year.  You can find how to make laundry liquid here.

My Laundry Liquid

Over the last few months I have really cut down my ironing, just by hanging things up straight away, rather than leaving them in the washing basket for a while, after fetching them in from the washing line.

It’s amazing as no one in my family has noticed.  T-shirts, jeans, school tops , sheets, quilts etc. have gone un-ironed for weeks and even some of my daughters blouses, just because I hang them up or fold them up properly straight away.

A blouse that I haven’t needed to iron because I’ve hung it straight up to air.

(I know some of you probably do this already, but I didn’t before, so I’m sure there are loads of other people who don’t either).

.

Also, I only iron once a week now, as I have so little to iron. Before, I would iron a little bit each morning to keep up, but it takes a lot of electricity to heat the iron up from cold each time.  So now I iron once a week, so the iron only heats up once and just maintains the temperature, after it’s heated up.

Simple little savings that all add up.

I would love to hear of any little things that you do to save money.

(Leave your replies by commenting at the the bottom of the post)

.

Today I strimmed and dug in the Green manure that I planted in the summer.

It was Phacelia tanacetifolia.

You can find more information about Green Manures here.

.

I have been asked this week about Green Manures.  Therefore, today I thought I’d take a look at the Green Manures that you can still plant now, as it’s not too late to plant a couple of them here in the UK:

Field Beans (Vicia faba)

Field Beans are in the Leguminosae  family (Peas and Beans).  They can be planted between September and November and they will grow overwinter.

Field Beans prefer heavy soils e.g. clay and they fix nitrogen in the soil which will benefit following crops.

The beans need to be sown at 22 grams per square meter for a good result.

(If you are using Field Beans, for best results, don’t forget that you shouldn’t plant peas and beans in the same place afterwards).

.

Hungarian Grazing Rye (Secale cereal)

Hungarian Grazing Rye is in the Gramineae family (cereal grain crops).  It can be planted between August and November and they will grow overwinter.

Hungarian Grazing Rye is happy in most soils but it doesn’t fix nitrogen like some other green manures do.  However, it is very good for improving soils, especially clay and it is great to use before a potato crop.

The Hungarian Grazing Rye needs to be sown at 16 grams per square meter for a good result.

 .

If you are thinking of planting a green manure at this time of year, you can plant both the above Green Manures together in alternate rows if you want to, to improve weed control.

.

If you grow either of the above Green Manures, leave them to grow overwinter and cut them down three or four weeks before you want to use the ground again (or if the plant starts to flower).

After chopping the plants down, it’s easier to let the foliage wilt before you dig the plants into the soil.  Grazing rye can be hard to dig in, so you may need to ‘roughly’ dig it in first and then repeat the process again a week later.

I hope this information will help someone.

.

Sedum spectabile

Thank for reading my blog today.


Little Savings That All Add Up, Roast Beef and Lunch Box Scones

Little savings that all add up:

Today I realised I do little things automatically, without even thinking of what I’m doing.  So I will try really hard to make a note of these things so I can share them with you:

When I washed up today, I automatically turned my washing up bottle upside down, as it was nearly empty.  This lets the last drips all go to the bottom, so I get at least two more washes out of it before I throw it away.

When I get a hole in one of my washing up gloves I throw it away and I am left with one glove.  I don’t throw the good glove away, I just keep it until the same thing happens to another pair.  If I end up with two of the same hand e.g two left hands, I just turn one of the gloves inside out and I have a brand new pair to wash up with.

Simple little savings that all add up

.

Yesterday we had a lovely meal in the evening.

On Sunday I managed to pick up a piece of Tesco’s ‘Finest Beef’ for just £3.54.  It had been reduced from £14.14, so this was quite a bargain.

We didn’t have a Sunday Roast this week, so I decided to cook a roast meal yesterday instead.

I cooked the beef and served it on a plate with roast potatoes, roasted parsnips, roasted celeriac, roasted patty pans and onions.

We also had peas, french beans and cauliflower topped with a cheese sauce

It felt like christmas, on an ordinary Monday night.  The meat was such a treat and the meal was so nice.

What was even better, was I only paid for the beef, as all of the vegetables were homegrown and there was enough meat left for another meal this week.

I was very pleased.

Today I chopped up and froze my courgettes.  I don’t blanch them and they store really well.  I sliced some and I diced the bigger courgettes.

I open freeze them on trays and I will transfer them into bags tomorrow so they don’t stick together.

The courgettes are good to use straight from frozen in spag bogs, curries, omelettes and pasta sauces etc.

.

My daughter takes a fruit scone to school for a snack each day.  On Saturday I made a big batch of them and when they had cooled down, I buttered and froze them.  This way, it is easy to take one out in the morning and pop it into her lunch box and it is defrosted by breaktime.

Here is the recipe:

Lunch Box Fruit Scones

450g self-raising flour

80g margarine

2 teaspoons of baking powder

3 tablespoons of caster sugar

100 grams sultanas

300ml of milk

A little extra flour for rolling

Preheat your oven Gas 7 / 425f / 220C

.

Sift the flour and baking powder in to a bowl and then rub in the margarine rapidly, using your fingertips, until it resembles fine breadcrumbs.

Stir in the sugar and sultanas.

 Mix in the milk a little bit at a time, with a round bladed knife.  When the mixture starts to come together, use your hands to knead the dough.  Add a little bit more milk if the mixture feels dry.

Roll the dough on a floured board until it is approximately 2 -3 cm thick.

Use a pastry cutter to make the scone shape, but do not twist the pastry cutter as this will lead to mis-shapen  scones.

Place the scones on a greased baking sheet and bake for 12-15 minutes, depending on the size of the scone.

They are lovely served warm with butter and homemade jam too.

.

Thank you for reading my blog today