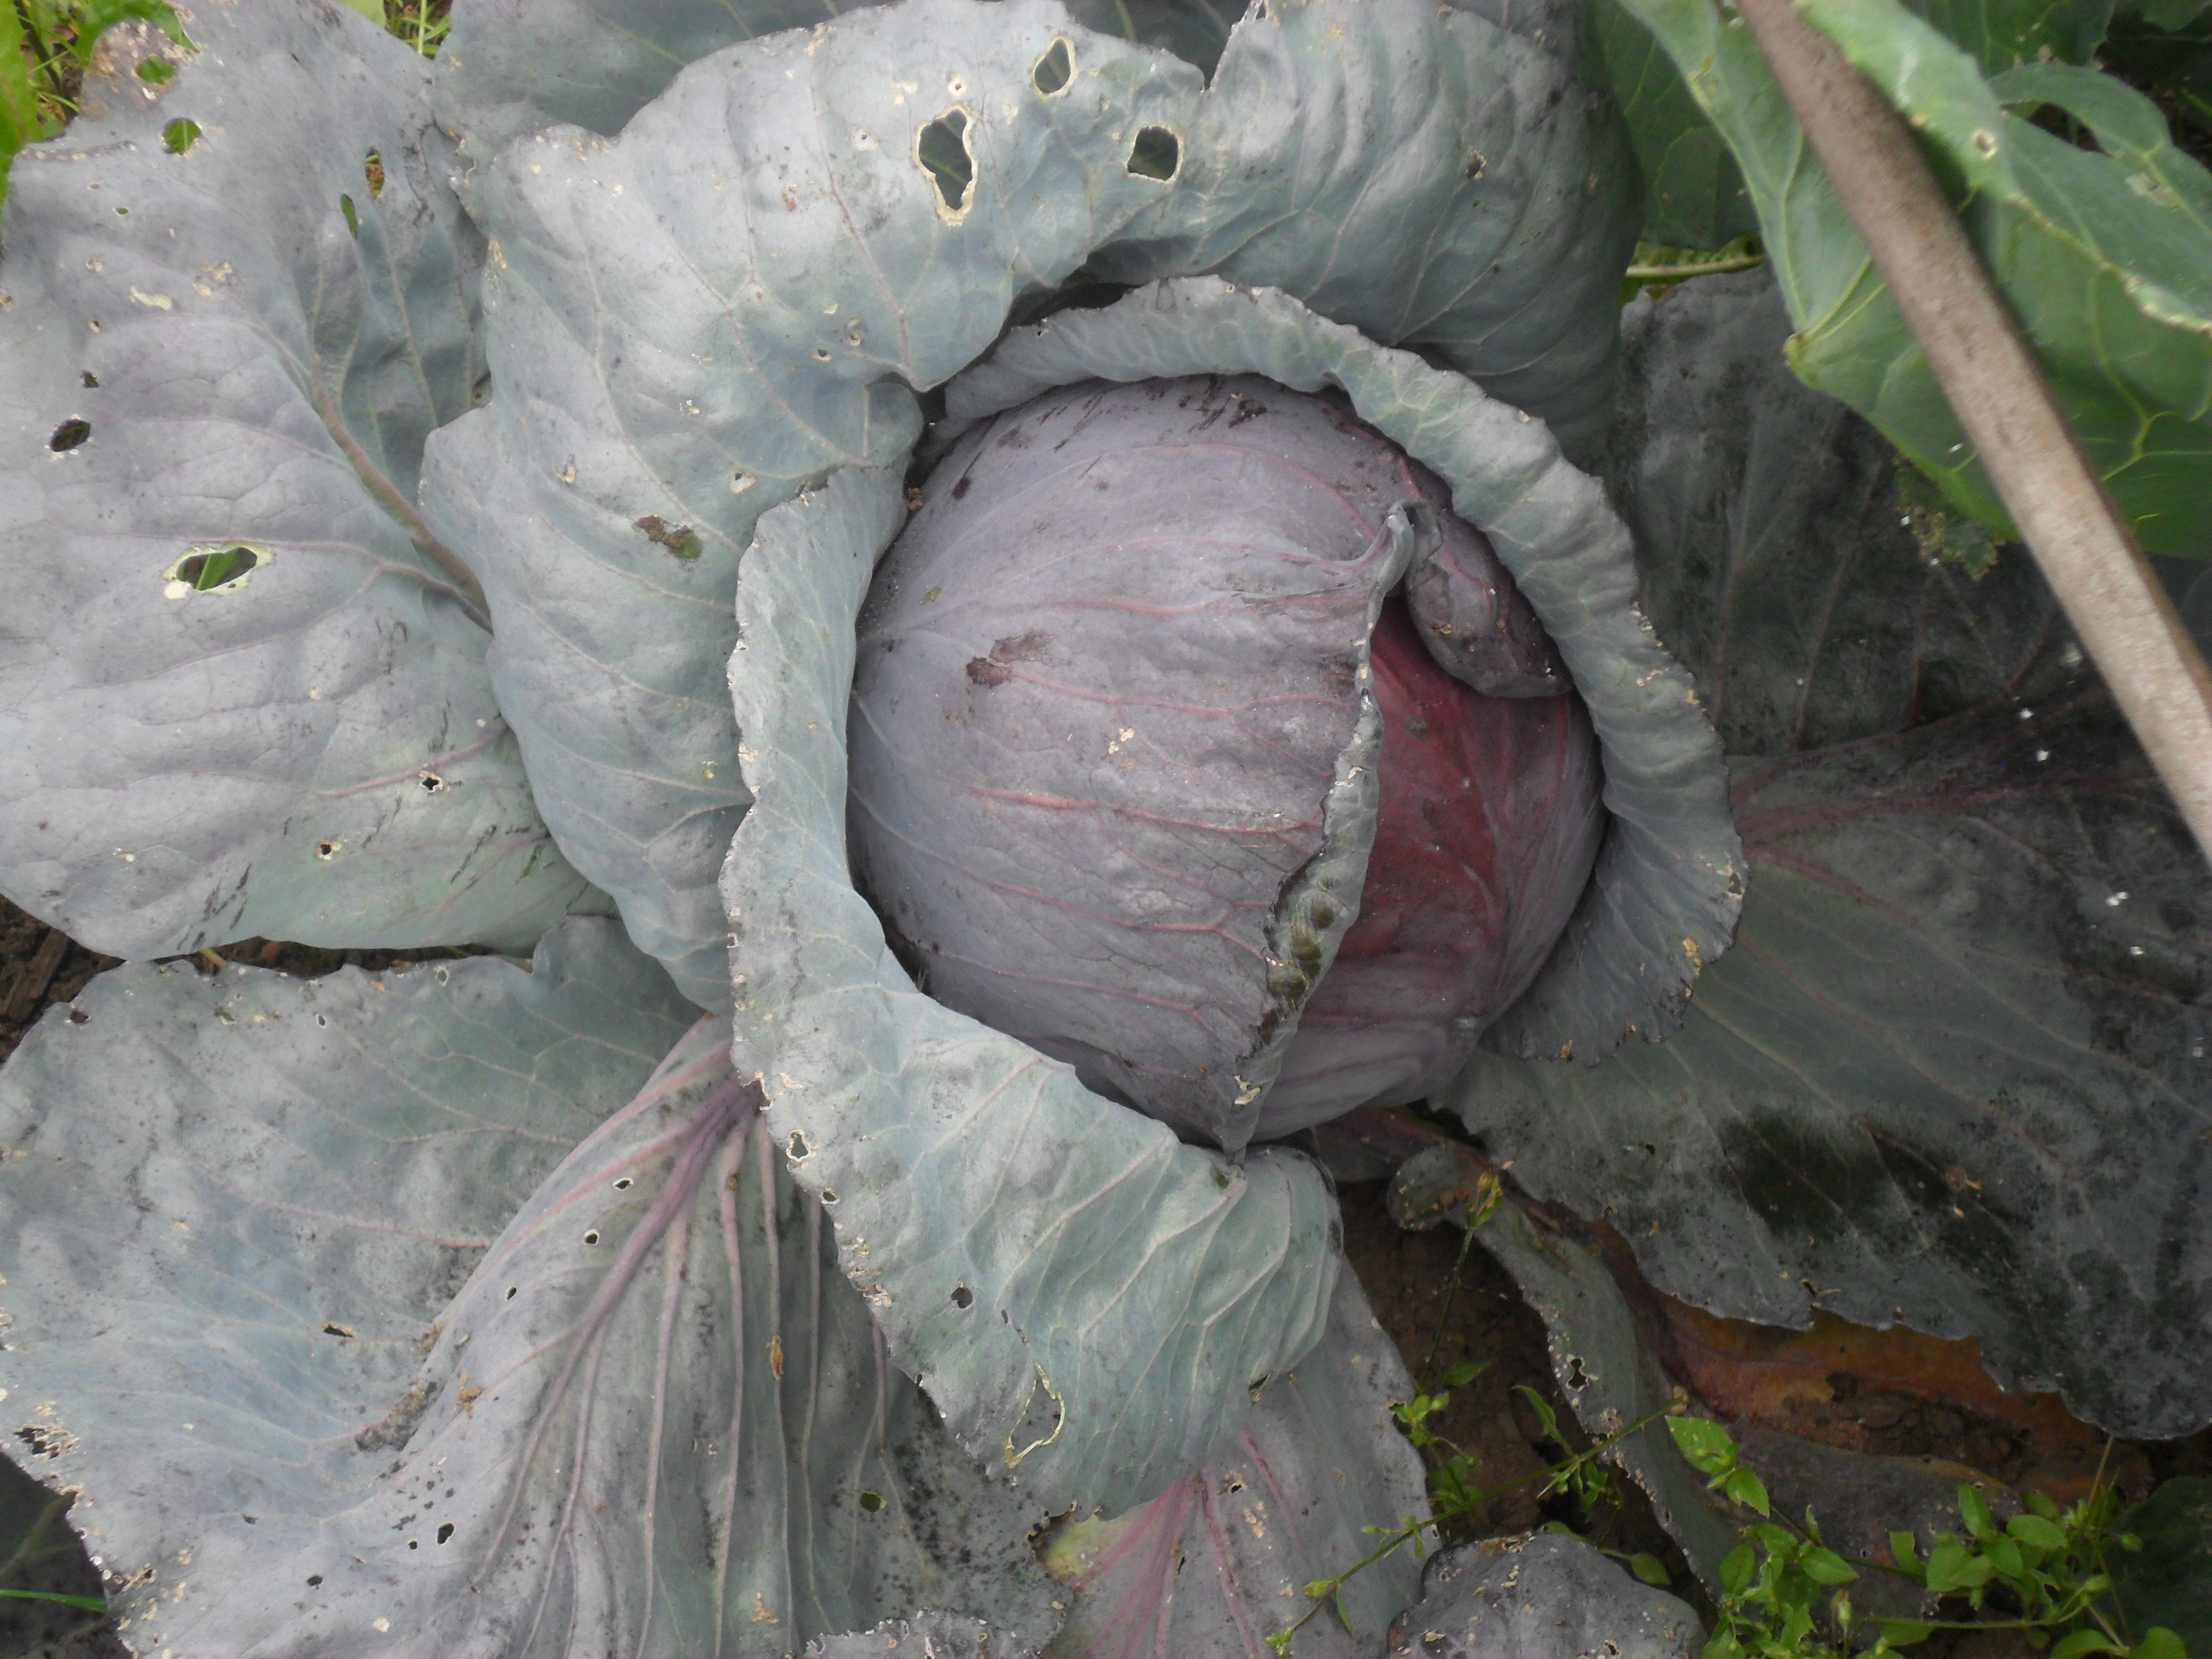
The mornings have been quite chilly this week, feeling very much like autumn is here.
On Wednesday we had some well needed rain overnight and when the sun came out in the early morning it was a beautiful sight, with rains drops glistening around the allotment.

.
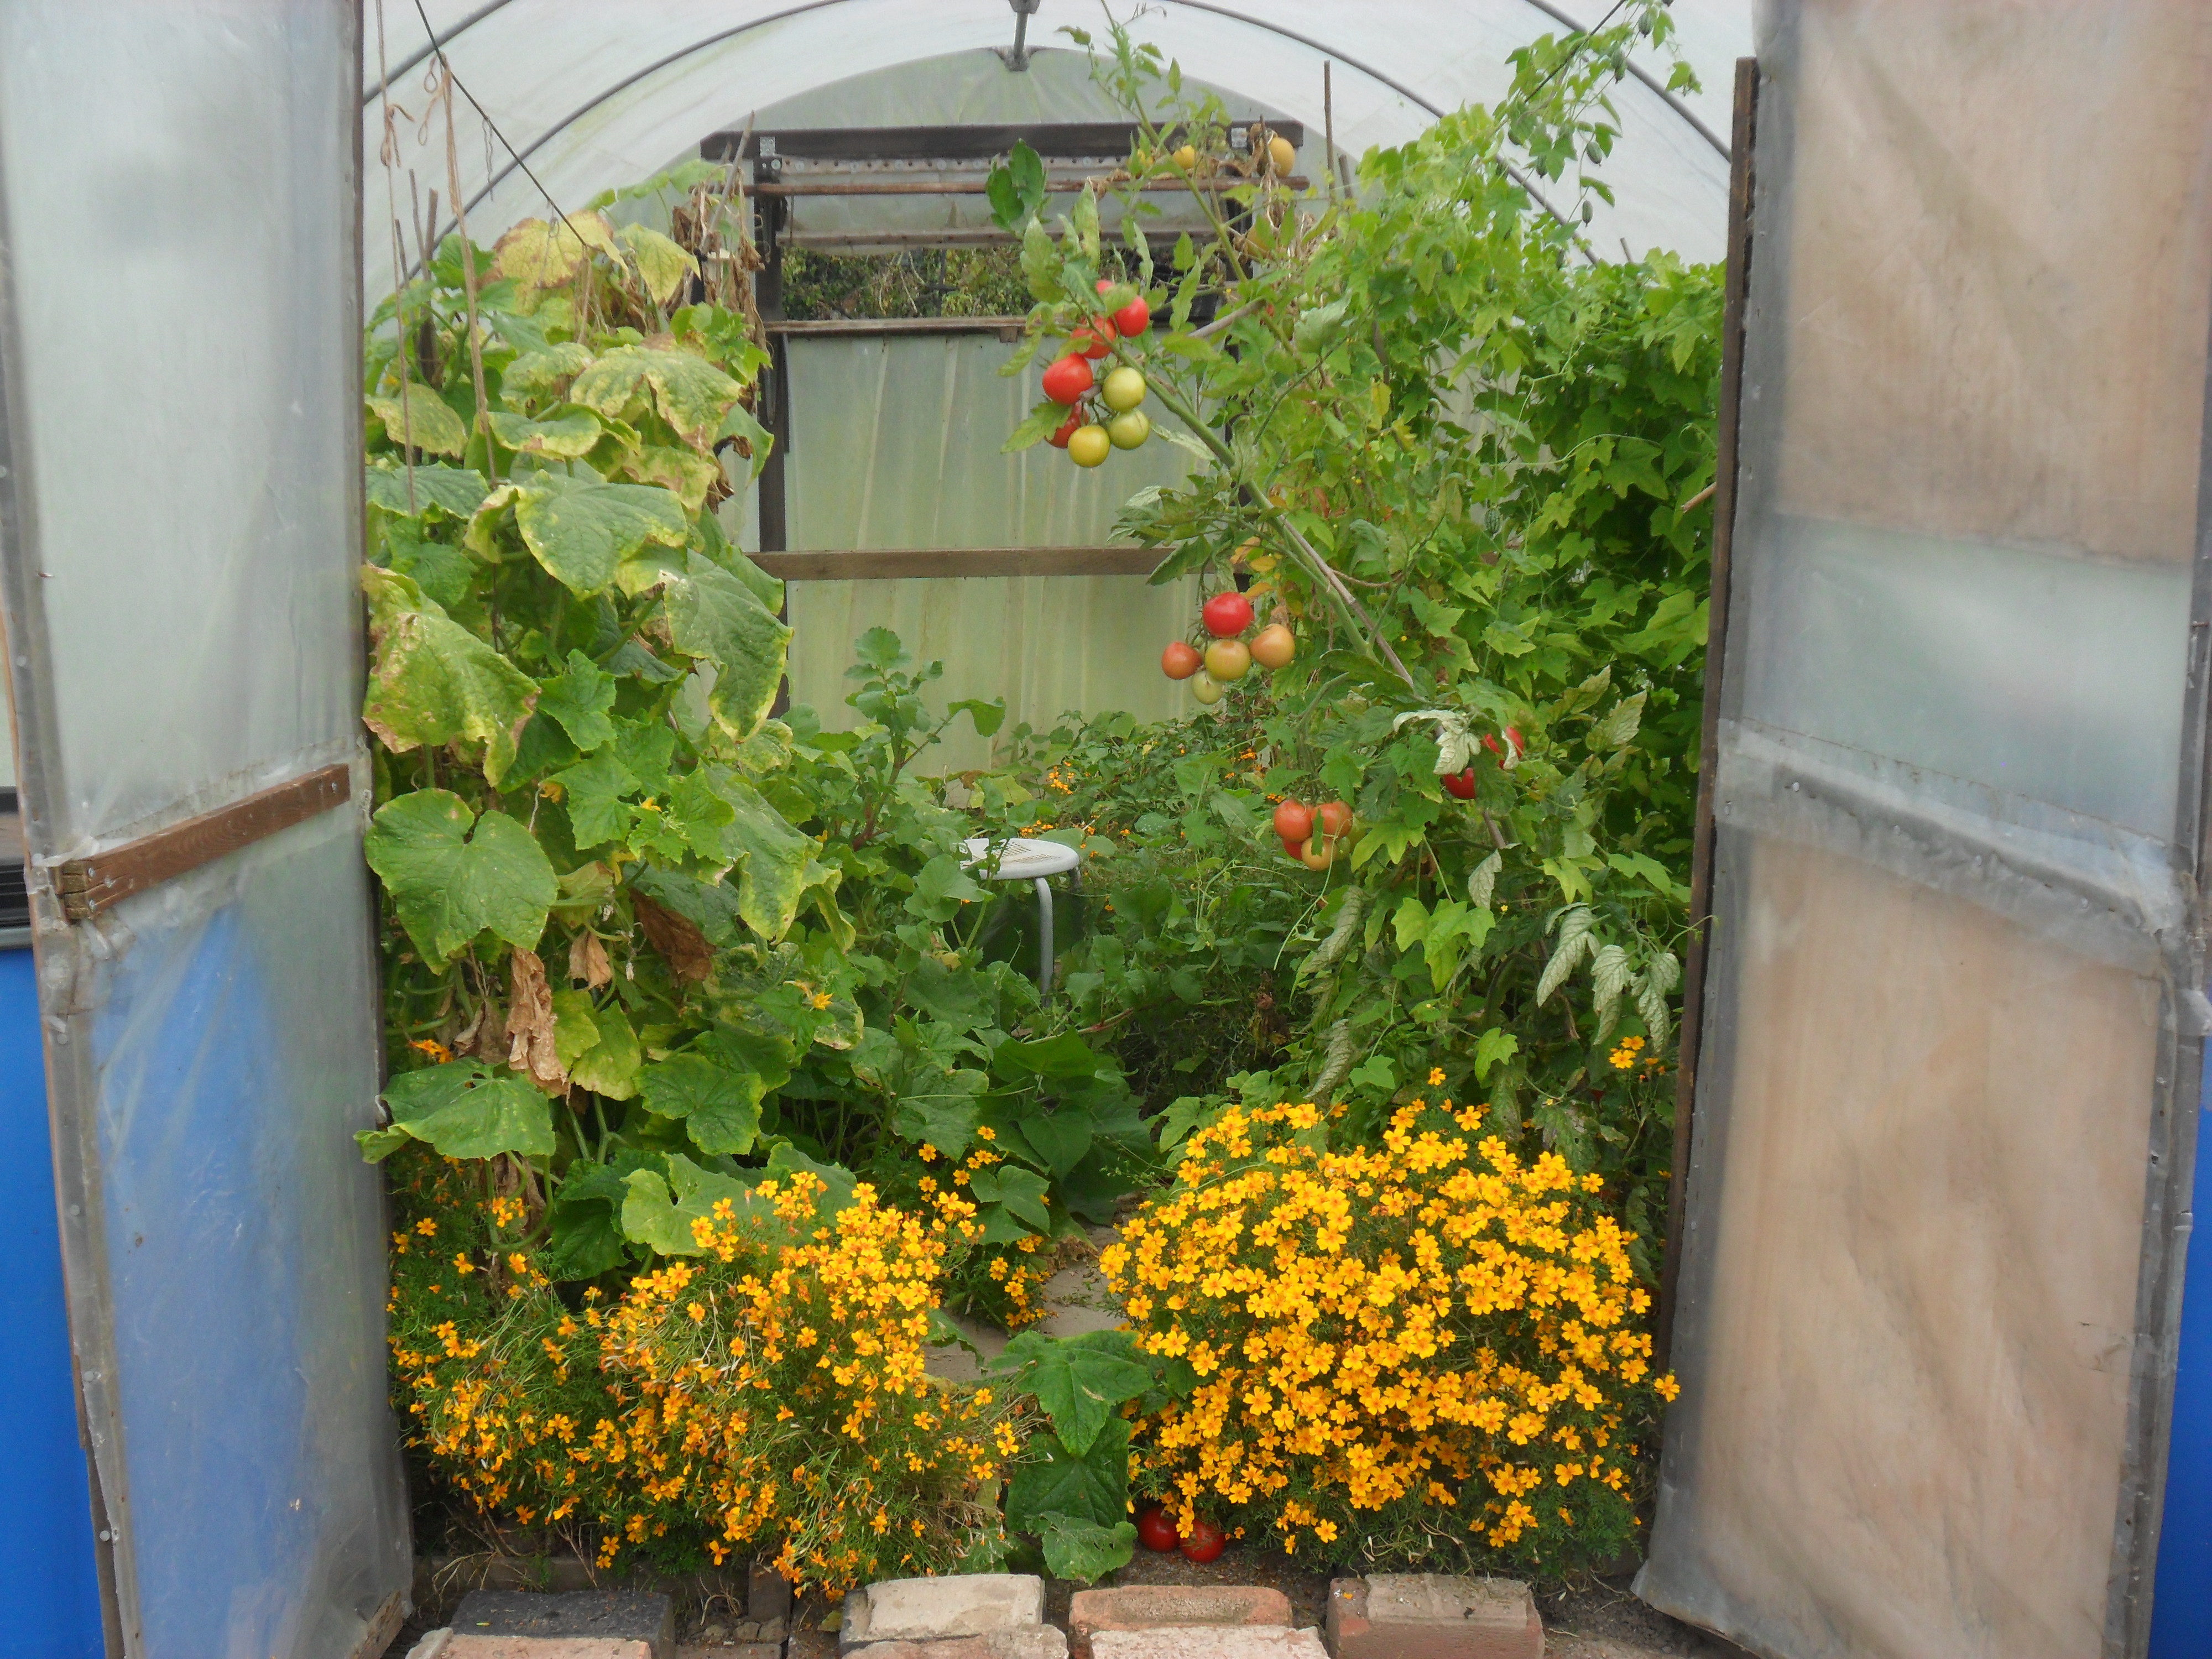
This week I have been concentrating on my polytunnel, getting it ready for winter.
The crops in my polytunnel had just about finished, except for a few tomatoes (which I will ripen at home) and some peppers and melons that were ready for picking:

….and I mustn’t forget the thousand ‘cucamelons’ dangling at me, ready to pick.
.
A Quick Cucamelon Review:
Every year I like to grow something different and this year I chose ‘cucamelons’ . I had read different reports about them and came to the conclusion that they are a bit like ‘marmite’, you either love them or hate them….so I decided to grow them for myself.
The fruits are grape sized and they are supposed to taste of cucumber with a hint of lime, but I am yet to taste one that actually had the hint of lime in it. The cucamelon can be eaten whole or chopped up in salads. The skin has the texture of a sweet pepper, so it has a bite to it….inside it is like a mini cucumber.
They were easy to grow in my polytunnel and after a slow start they started to take over, smothering my tomato plants that grew next to them, but I’ve got to say there were millions of fruits that just kept coming and coming and coming!

Unfortunately my family didn’t like them and after forcing them at anyone that came into our house, I found that not many other people liked them either. I didn’t think they were too bad, until I ate quite a few for tea one day and ended up with bad indigestion all night!

Needless to say, I won’t be growing these again….but we live and learn.
.
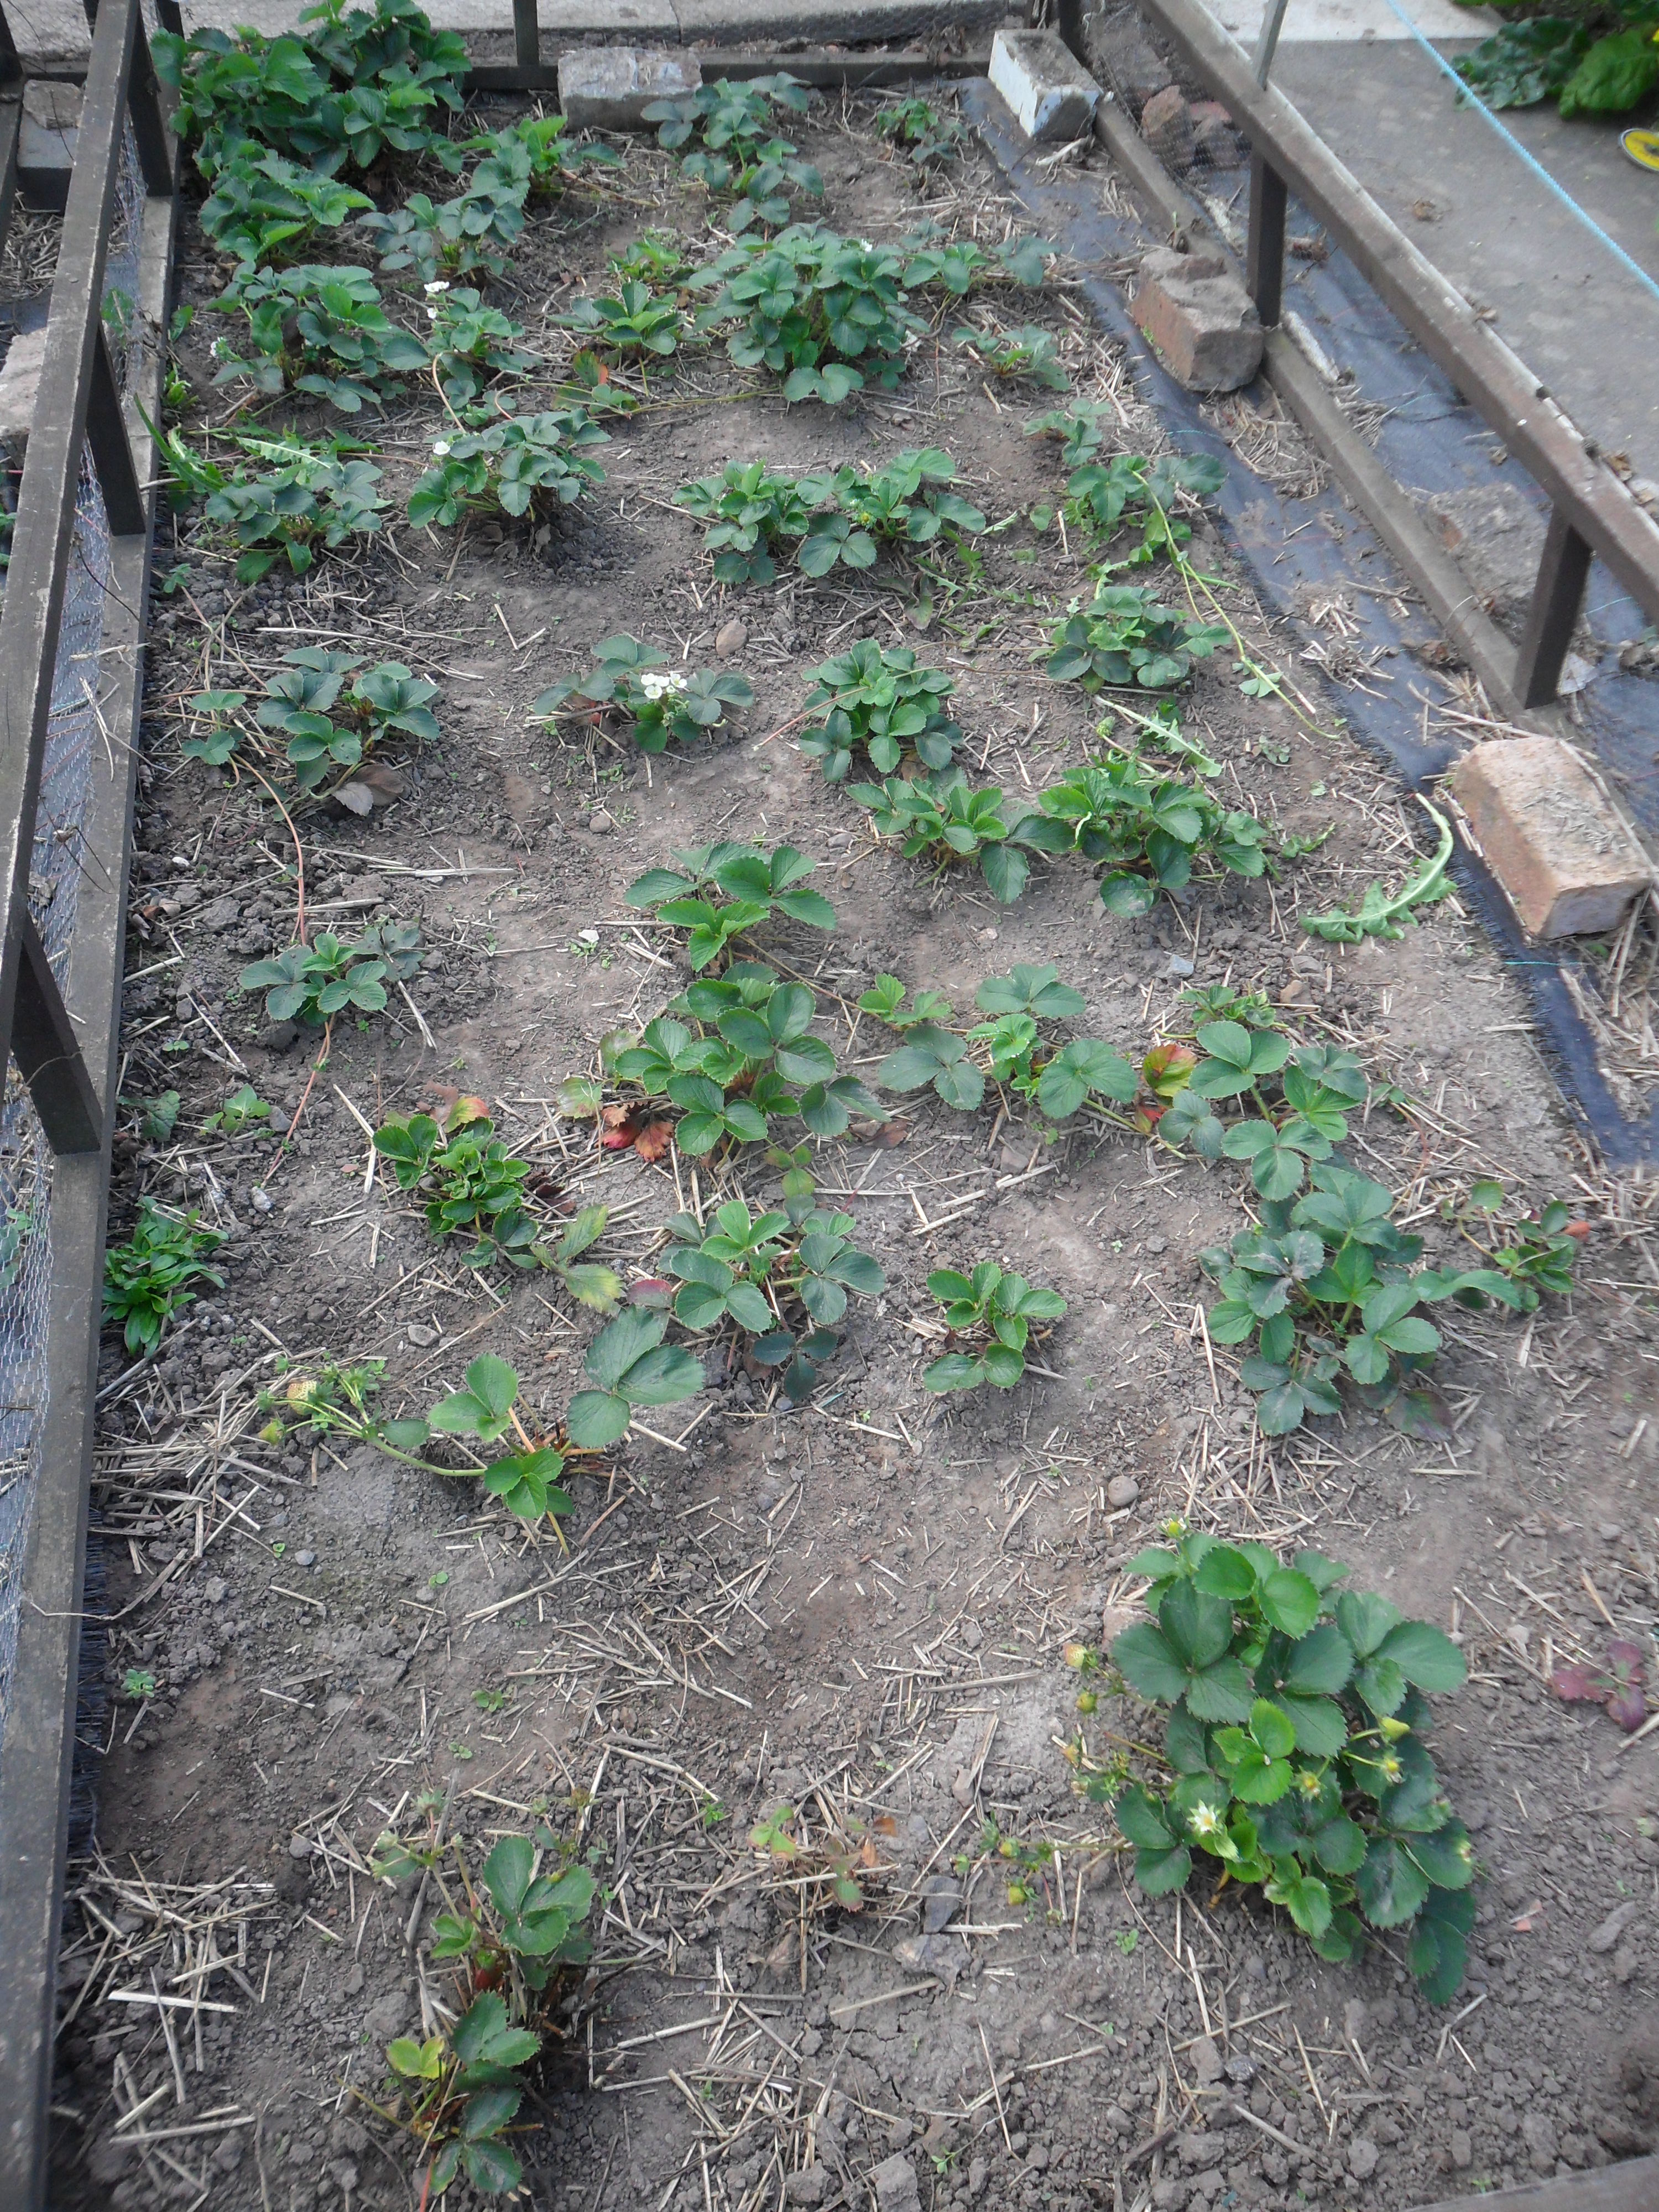
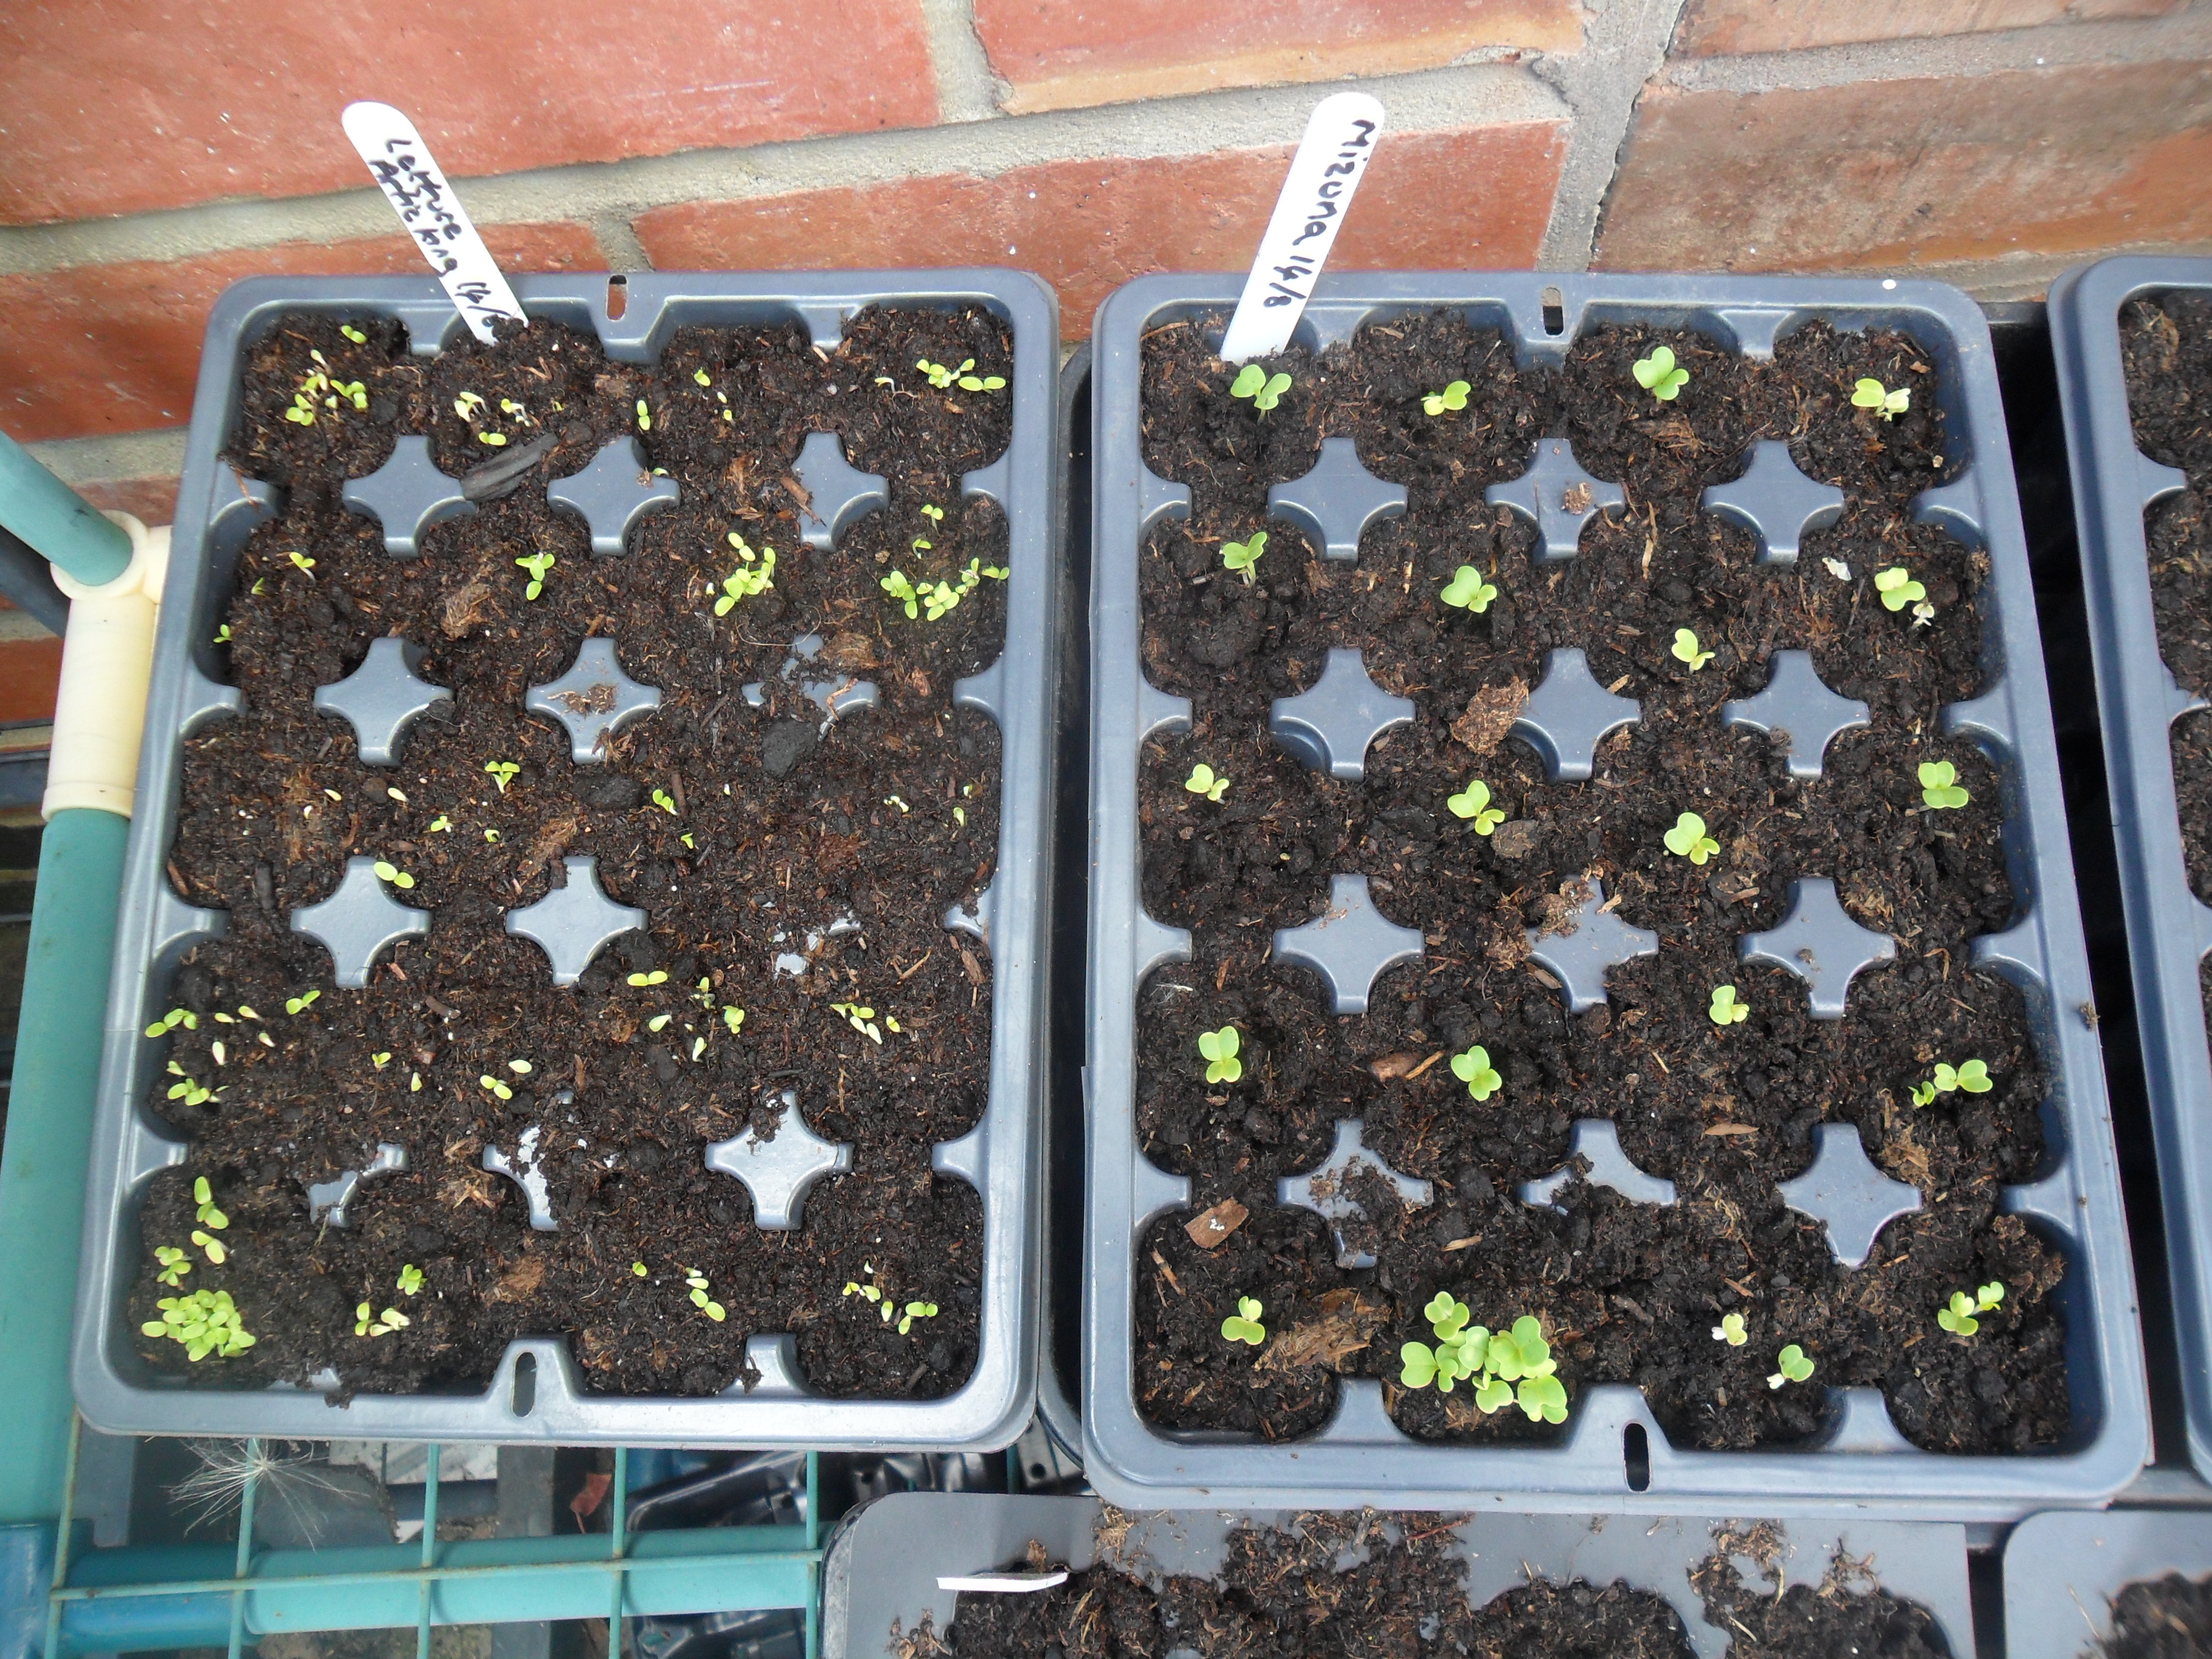
Winter Salads:
Last month I sowed some winter salads ready for my polytunnel and they have grown quite well and were ready for planting. However first I needed to clear the crops that were left in my polytunnel:
One surprise I did find in my polytunnel when I was clearing it, was some carrots that I had completely forgotten about…and they had grown really well. Carrots can be stored in compost at home until they are needed, but I know these carrots won’t last long in our house as everyone loves them.

After I had cleared the crops, I forked the soil over and gave the soil a covering of homemade compost. I also raked in some blood, fish and bone where I would be planting my salads:


The winter salads that I chose to grow were mizuna, winter lettuce, corn salad, rocket and perpetual spinach. I also grew some beetroot as a trial, to see if I could use the small leaves over winter in salads (though I’m not expecting to grow a decent sized root).

After planting the above crops I gave them a good watering and I must say the polytunnel did look different….another reminder that autumn is here:


One of the things I have learnt from bitter experience, whether you grow plants in a cloche, a greenhouse or a polytunnel, you need to provide ventilation during the autumn or winter months. If you don’t then the humid conditions will be a breeding ground for grey mould, which will smother and kill your plants. So on fine days I open the doors on my polytunnel throughout the winter months.
“Grey mould is caused by a fungus called ‘Botrytis cinerea’ which can infect plants at any time of the year. It can enter a plant through a wound or infect a weak plant under stress. It will also infect healthy plants in humid conditions”.
.
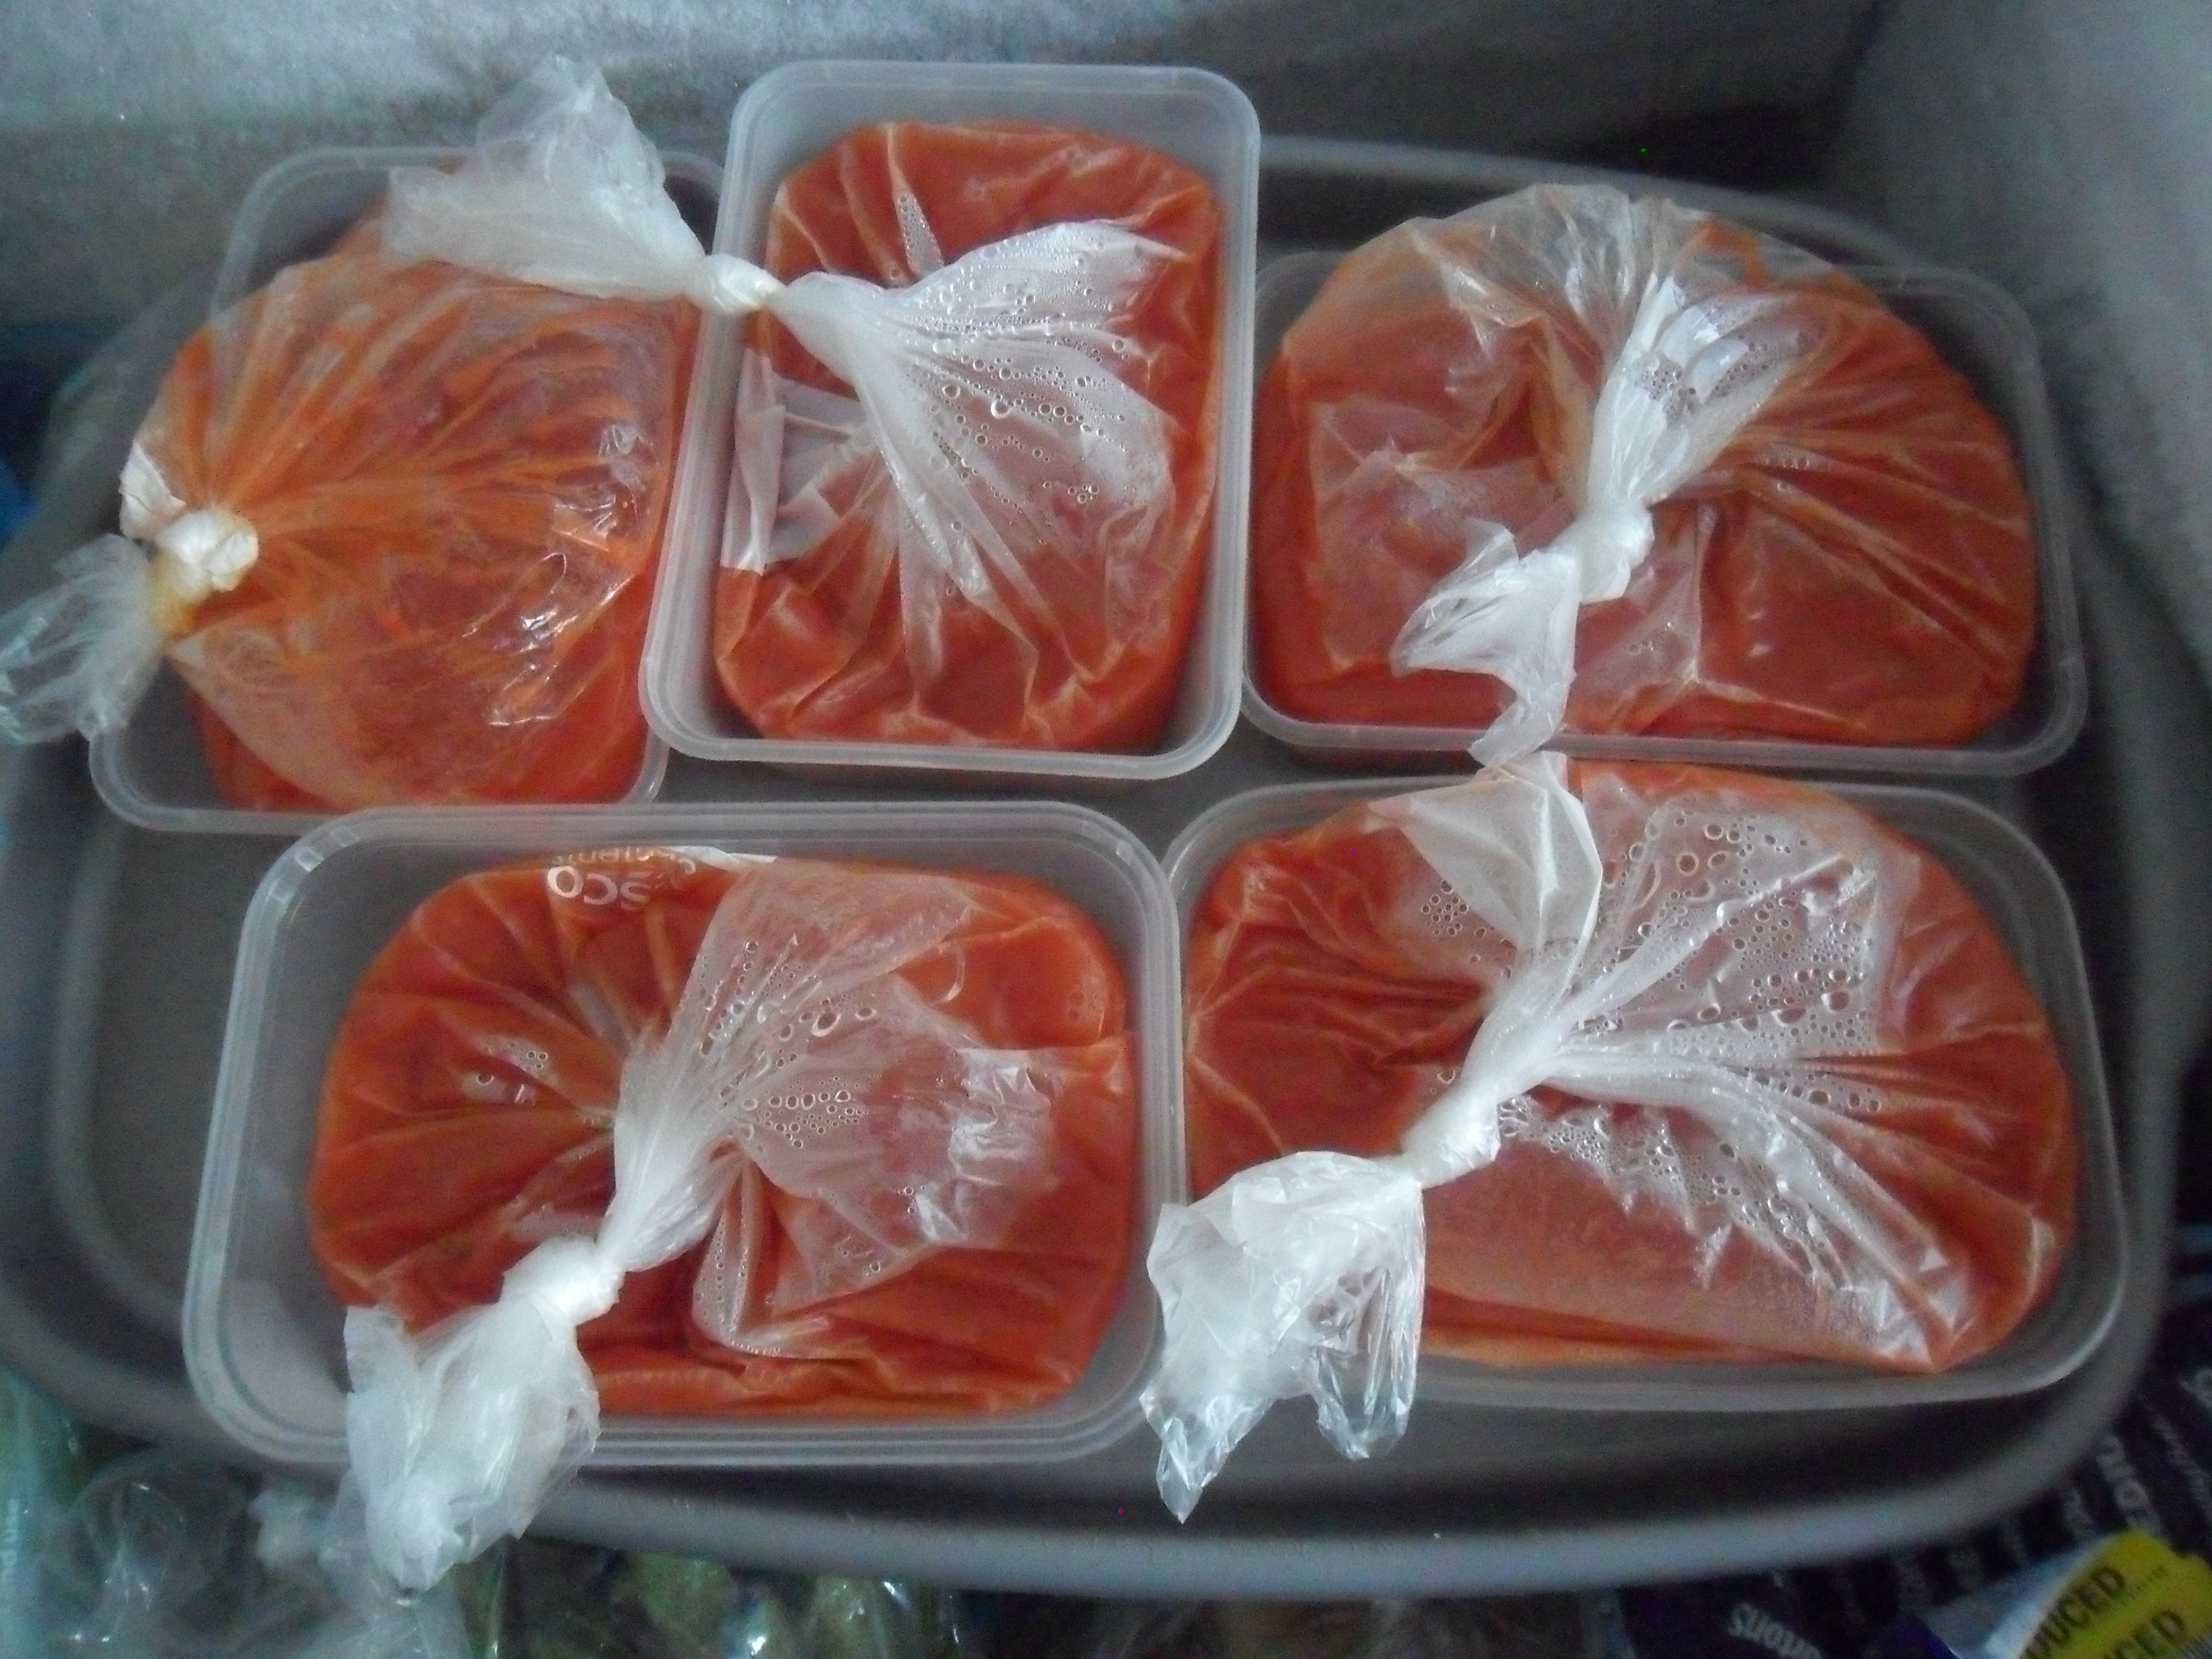
At home this week I have continued to use up my ripening tomatoes to make soup and passata…


…and I only have a few left to use now, which again shows me that Autumn is here and the wonderful harvest of summer is nearly behind us.
Now it’s the time that the Autumn harvest of pumpkins, butternut squashes, apples etc. begins. The nights start to draw in and the leaves on the trees begin to fall.

This is my favourite time of year when I start to reflect on my gardening year and work out what crops have been a success and which haven’t. It’s the time of the year when things start to slow down slightly at the allotment, giving me time to breathe and admier the late summer flowers on my plot.
When I work my plot on a crisp Autumn morning it makes me feel glad to be alive.

Thank you for reading my blog today.
I will be back next Friday at my usual time.