Archives

‘Hardening Off’ & Homemade Yoghurt

I love May in the garden as all the new shoots growing are so fresh, green and vibrant.

In my garden at home the dicentra is flowering, the euphorbia looks stunning and my hardy geraniums are beginning to flower too.  The wall flowers I transplanted from my old allotment are still looking stunning as well, giving the bees some welcome ‘spring’ pollen.

SAM_0954 SAM_0953 SAM_0952 SAM_0940

This year however, it has felt like we have been having ‘April showers’ and ‘March winds’ in between some beautiful sunny ‘May days’…..with global warming I expect we will see more strange weather patterns over the coming years.

Nevertheless I have been harding off my plants ready for the threat of any frost to pass (usually at the end of this month where I live).

My hanging baskets and pots sit out all day now and are growing well….

SAM_0942 SAM_0948

…And some of my plants are harding off on my table in the day time and are brought inside in the evening….

SAM_0946

….And some are left in my cold frame all day and I close it at night:

SAM_0951

.

Hardening off plants:

“Hardening off” plants allows them to adapt to outside conditions before they are planted in their final positions.  There are two ways to do this:

1) Put your plants in a cold frame and gradually open the window of the cold frame more each day until it is fully opened or

2) Bring your plants outside for an hour or two for the first day and then gradually increase the time they spend outside each day.

The RHS suggest that hardening off plants properly takes approximately two to three weeks and Monty Don from Gardeners World says one week…..I usually aim for two weeks.

.

Whatever stage of ‘hardening off’ you are at, it is important to keep checking the weather forecast in your area, as frost tender plants need to be brought in at night (or covered over) if a frost is forecast.

***************

.

In my greenhouse this week:

You will remember last week that one of the cucumbers that I grew from seed died due to ‘stem rot’  (cucumbers are suseptible to this when you over water them so I only have myself to blame).

SAM_0886

This week I went out and bought a replacement from my local nursery for 60p and planted it in a tub next to my remaining cucumber grown from seed:

SAM_0930 SAM_0931

This week I also planted the basil that I sowed from seed on the 5th April, into it’s final growing place in my greenhouse next to the peppers that I also grew from seed on the 3rd March.

SAM_0933 SAM_0935

  The bags they are growing in were bought from the supermarket as ‘garden tidy bags’, so it was a cheap way to grow crops in my greenhouse (which has a concrete floor).

.

I have also planted my melons in larger pots, ready for them to grow.  When they are bigger I am hoping to train them along the top of my greenhouse, over my tomato plants.  Incidentally the melons were sown in newspaper pots so it was very easy to transplant them without any root disturbance, as I planted the newspaper pot straight into the compost:

SAM_0929

.

Another job was to transplant my butternut squash plants into larger pots.  I will leave them in the greenhouse for a few days and then I will also start to harden these off ready for planting out at the beginning of June:

SAM_0932

.

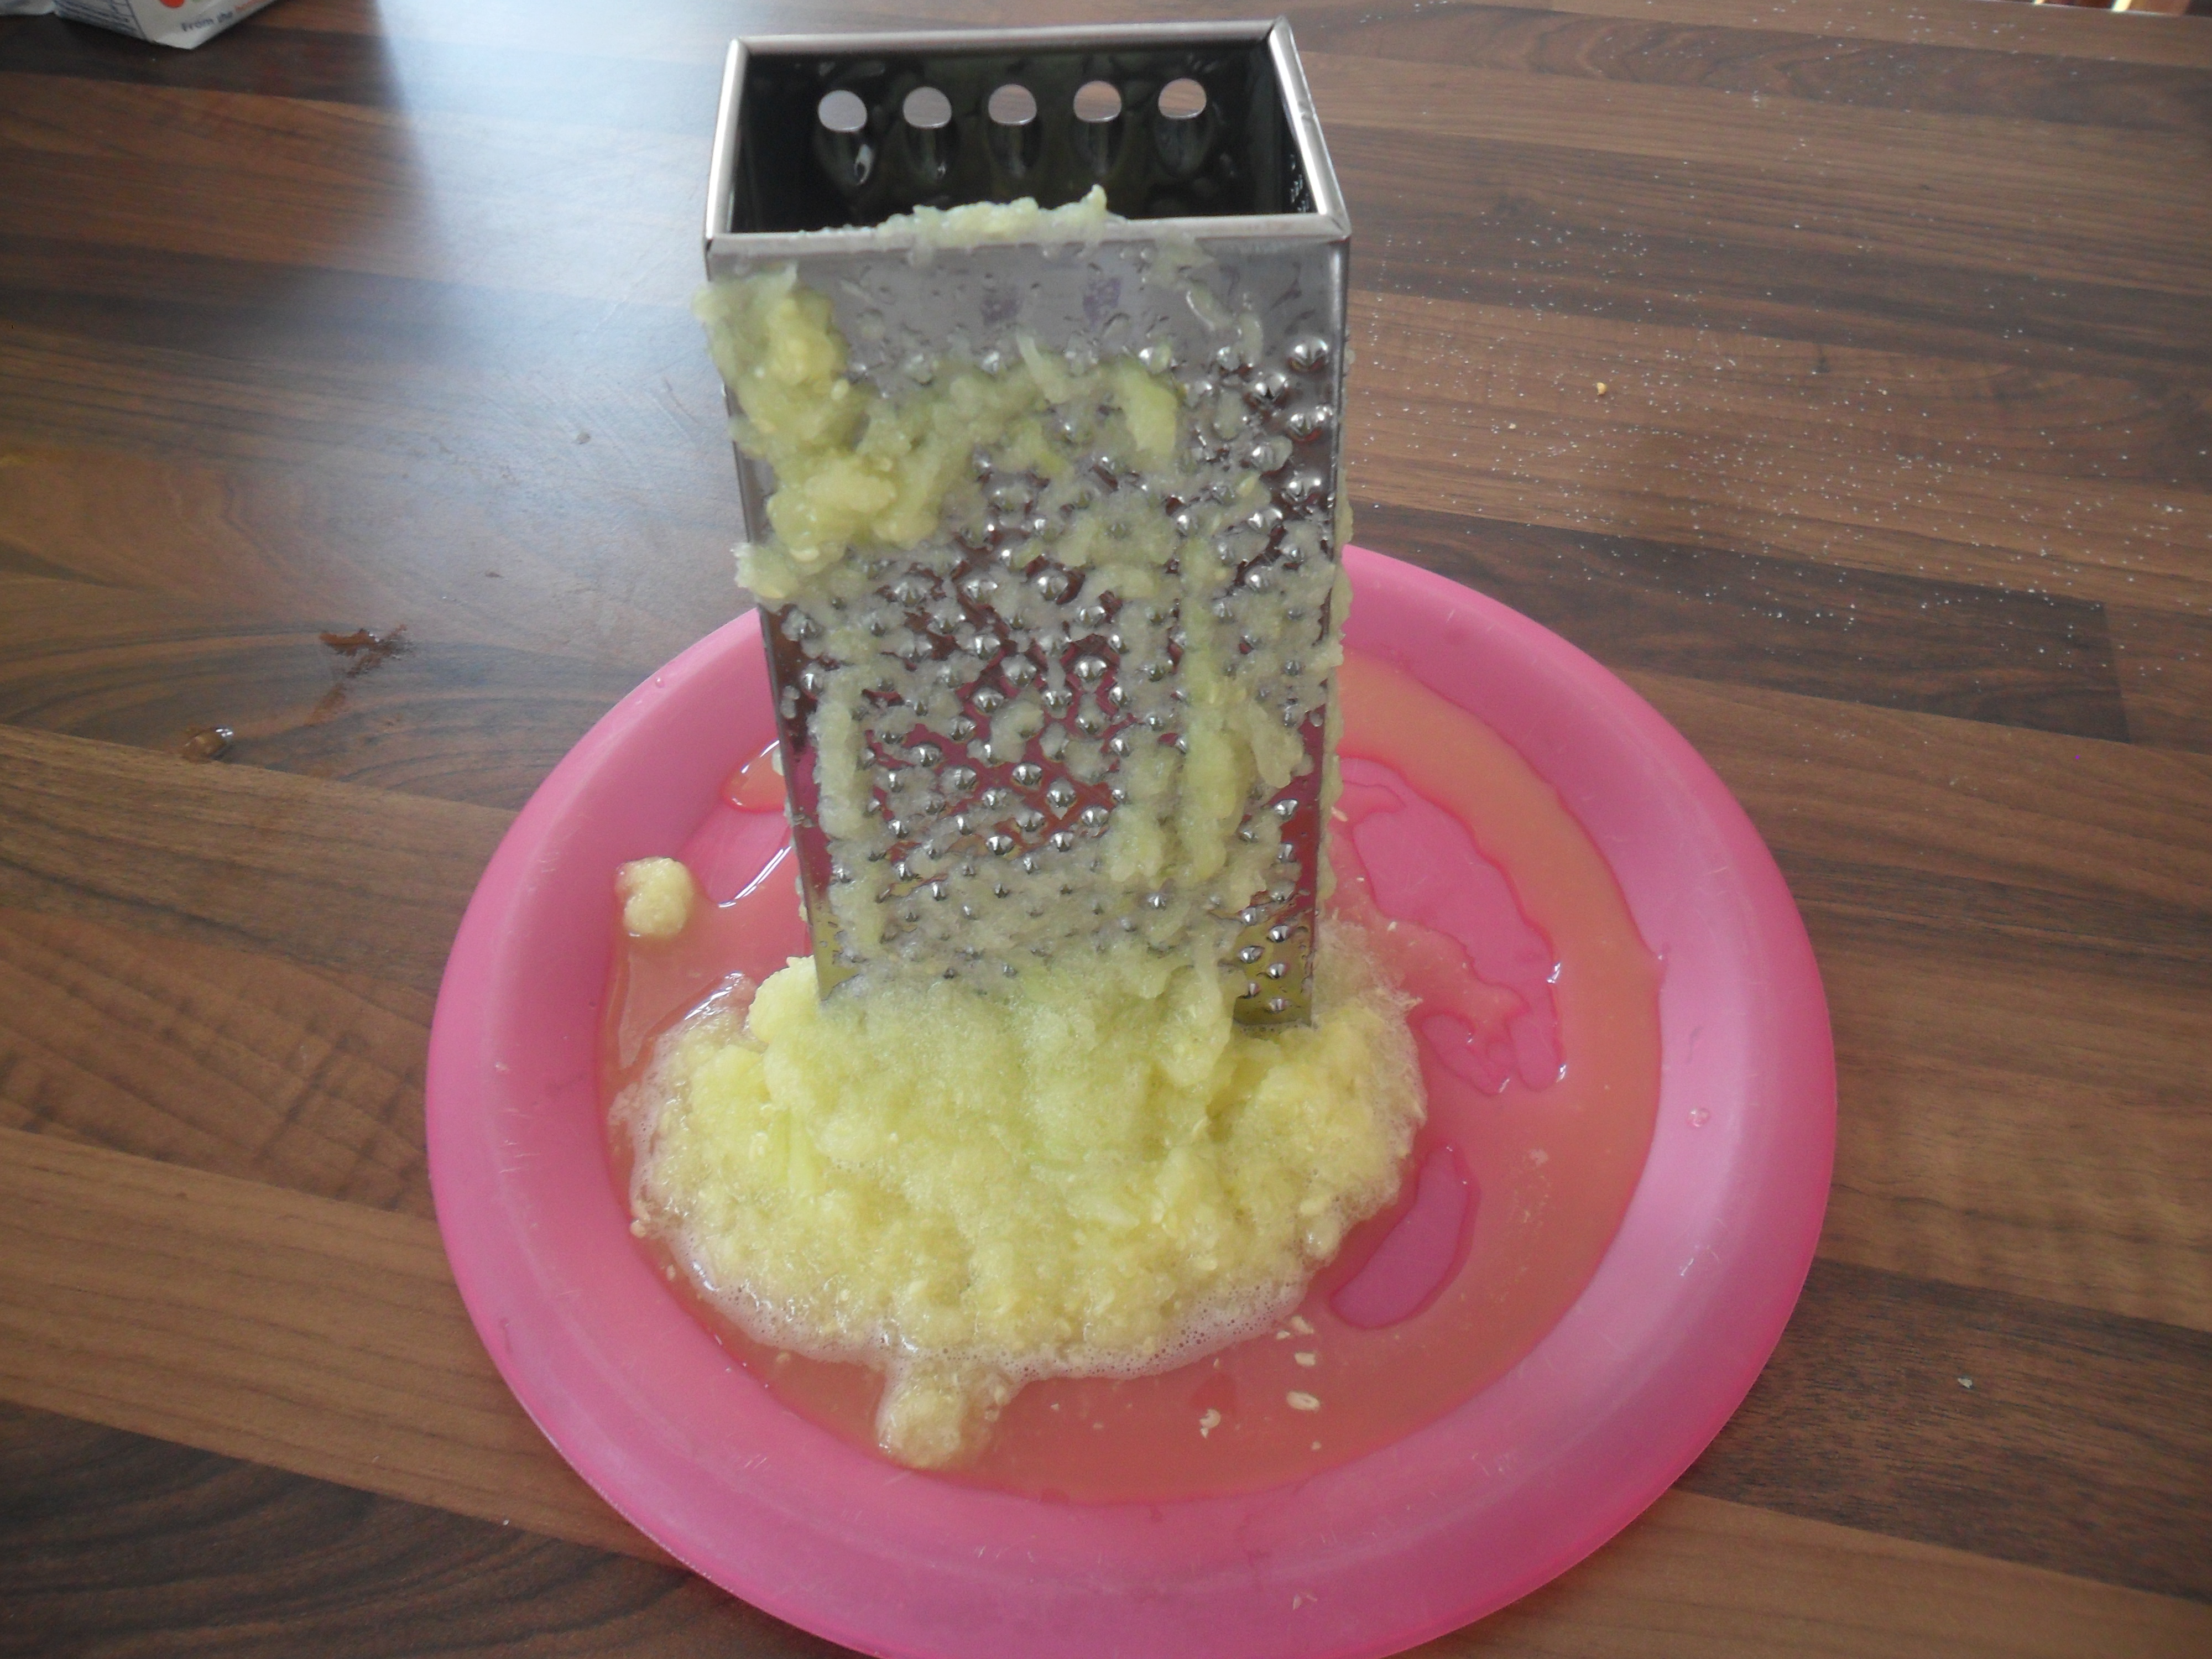
Finally in my greenhouse, I noticed the first tomato on one of my plants…..this means it is time to start the feeding once a week.  Previously at my allotment I would use a homemade ‘comfrey feed’ which is high in potash which is great for fruit and flowers….(you can read how to make a ‘comfrey feed’ here).  Unfortunately as I transplanted my comfrey only a couple of months ago, it isn’t ready to use yet, so I will be using a commercial organic tomato feed.

SAM_0955

.

.

Outside my greenhouse in my kitchen garden:

This week I have been planting my courgettes in the large pots I brought back from my allotment.  You may remember I planted some lettuce plants around the edges of the containers and they are doing well.  Hopefully the lettuces will be fully grown before the courgettes need the space:

SAM_0926 SAM_0928

At the moment I am keeping them covered with the glass, just to give them an extra bit of heat to get them growing well.

.

I have again thinned out the leeks that I sowed way back in March.  This is later than I normally sow my leeks and they are still small, so I am using the area where they will eventually be grown, to plant my lettuces.  I am growing them in succession so we have a good supply to eat over the summer months:

SAM_0950 SAM_0936

As you can see in the photograph above, I covered the first lettuces that I planted to protect them from the pigeons (they used to eat the lettuces at my allotment if they weren’t covered).  This time I decided to not cover the newly planted lettuces to see what happens in my new kitchen garden – I will be watching the pigeons carefully!

.

Finally in the garden this week I planted the cherry tomatoes that I sowed on the 5th April.  They are a variety call ‘Minibel’ which are supposed to be suitable for pots, containers and baskets….so I have taken their word and planted them in a hanging basket….I will let you how I get on over the weeks:

SAM_0949

.

.

At Home This Week:

This week I have had a big sort out of my three freezers.  I am not sure if I will still be using all three of them in the future, but at the moment they are still full of homemade goodies and homegrown fruit and vegetables.

I make sure I check what is in my freezers regularly as this helps when I plan my meals and it makes sure that everything is used and not forgotten about.  Just incase anyone is interested, I wrote and article about freezing crops here.

One of my three freezers

.

I managed to get some ‘whoopsied’ brussells and banana’s this week from the supermarket, so I also froze the brussells for another day and I made a couple of banana cakes to slice and freeze too and I also made some banana and chocolate lollies.  I will share the recipes with you another time.

 SAM_0945 SAM_0944

I also make rolls to freeze for the week ahead.  I bake the rolls as usual and when they are cool I slice them in half and then pop the rolls in the freezer.  This way I can take a roll out of the freezer in the morning and pop the filling inside and it will defrost in my familys lunchboxes ready for them at dinner time.

SAM_0924

.

I also use my freezer for homemade ice cream too.  I made some nice and easy vanilla ice cream this week (the recipe is here).  You don’t need an ice cream maker to make ice cream, but it does take the hard work out of it….I bought mine from a charity shop for just £10 and it had never been used and was still in the box when I purchased it.

SAM_0917 SAM_0918

.

This week we had family round for Sunday lunch.  I made a nice Rhubarb and Ginger cake for pudding, thanks to My friend Jeff who has brought me some rhubarb from his allotment and the wonderful person that left some Rhubarb on my doorstep when I was out last Saturday …I still haven’t managed to find out who it was, so if you are reading my blog this week – thank you.

Unfortunately my rhubarb in my new kitchen garden isn’t ready to eat, as it takes a year or two for it to establish properly before it can be picked.

The recipe for the Rhubarb and Ginger cake is here and it went lovely with a spoonful of the homemade vanilla ice cream:

SAM_0919

.

Finally this week I made some plain yoghurt.  I haven’t made yoghurt for a while and Mr Thrift likes to take it to work for his lunch, so I dusted my yoghurt maker down and finally made some.

A few years ago I was given an Easiyo Yoghurt maker.  You can see a similar one here.  The idea of an Easiyo Yoghurt maker is to use sachets of the Easiyo yoghurt mixes which you buy.  I don’t do this, as I think they are expensive and I like to make mine from scratch.

.

This is an easy way to make yoghurt:

.

You will need skimmed milk powder

UHT Milk

A yoghurt starter (see below)

.

The first time you make yoghurt, you will need to buy a small amount of ‘live’ natural yoghurt, or ‘probiotic’ natural yoghurt.  This will give your yoghurt mix, the bacteria that it needs to make yoghurt.  Each time you make your own yoghurt, save 3 heaped tablespoons of yoghurt ready to start your next batch of homemade yoghurt.  Your starter can be frozen until needed.  I do this up to four or five times only, as the bacteria seems to weaken each time.

Put 3 heaped tablespoons of skimmed milk powder into your yoghurt maker canister.  Half fill the canister with UHT milk and give it a good shake.

Put 3 heaped tablespoons of ‘Yoghurt starter’ into the canister.

Top up the canister with UHT milk and give it another good shake.

Put boiling water into the Easiyo flask and then add the canister.

 Put the lid on and leave for approximately ten hours.

Take the canister out of the Easyio flask and then put it in the fridge to finish setting.

I then save 3 heaped tablespoons of the yoghurt and pop it in the freezer as a ‘yoghurt starter’ for the next time I make it.

SAM_0943

Enjoy the yoghurt plain, or with fruit mixed in.

.

Thank you for reading my blog today.  I will be back next Friday as usual.

Have a good weekend!

A Bedroom Makeover And Taking Stock Ready For Winter

This last week I have spent some time at home, rather than at the allotment due to the rain.  Hopefully the wet weather will make the soil easier to work now, as it has been so dry recently and the soil has been rock hard.

.

I have used this time to do one or two overdue jobs at home and one such job was to replace my daughters bed.

For the last few years my daughter has had a high riser bed, with a wardrobe and a desk underneath.  My wonderful, generous friend gave it to us for free and it has been fantastic, but my daughter is now sixteen and wanted a more ‘grown up’ bedroom.

SAM_0155

So I spent a day taking it down and trying to find someone else who would like it, as it was in really good condition.  I knew no one who wanted it, so I rang a few charity shops that take furniture and I was amazed that none of them would take it as it was dismantled (even though I explained it wouldn’t come out of the bedroom if it wasn’t dismantled).

I then decided to put in on Freecycle and it was collected quickly.  This is what their website says:

“The worldwide Freecycle Network is made up of many individual groups across the globe. It’s a grassroots movement of people who are giving (and getting) stuff for free in their own towns.

Freecycle groups match people who have things they want to get rid of with people who can use them. Our goal is to keep usable items out of landfills. By using what we already have on this earth, we reduce consumerism, manufacture fewer goods, and lessen the impact on the earth. Another benefit of using Freecycle is that it encourages us to get rid of junk that we no longer need and promote community involvement in the process.

There are now 581 Groups spread across the country, with 3,708,994 members!”

SAM_0157

My daughters bedroom is very small, but cosy.  I bought a cheap bed (which incidentally I had to replace the slats to strengthen it using old slats from another old bed) and a cheap canvas wardrobe.  I didn’t want to decorate at this time so I gave the curtains and nets a good wash and wiped the paintwork down.  I think the bedroom now looks lovely and my daughter is very pleased with it.

I made the quilt and curtains about five years ago and they are slightly faded but I think they still look good.  The bed and wardrobe came to approximately £120, which I don’t think is bad for a bedroom makeover and after a little alteration to the bed, I think it will last for years:

SAM_0182 SAM_0184

 As a last ‘touch’ I put up a couple of strings of butterfly fairy lights around the picture rail.  I found the lights in the gardening ‘clearance’ section in Wilkinsons and managed to buy two sets for £5 and the bedroom looks beautiful now in the evening when the lights are twinkling.

SAM_0181SAM_0190

.

Taking stock ready for winter:

.

This week has also given me time to take stock of what crops I have preserved or stored and those I still have growing at my allotment.  I now have an up todate list of what exactly is in my three freezers…

SAM_0167 SAM_0166 SAM_0165

… and what I have growing ready to use at my allotment and stored crops like potatoes, onions and apples:

SAM_0090 SAM_0088

SAM_0079 SAM_0171 SAM_0169

I have also moved my winter squashes into my greenhouse so they can ‘cure’ with a bit of protection from the frost (they will be moved inside my house soon for the winter).

By leaving the squashes in the sun to ‘cure’, the skin will harden and the squashes will store for longer. Move them inside when frosts are due.

SAM_0159 SAM_0158

I also know exactly what is still growing at my allotment and will soon be ready to harvest e.g. brussells, leeks, parsnips and winter salads etc.

SAM_0063

And I know which of my last summer crops that need to be eaten up soon:

SAM_0162 SAM_0163 SAM_0164 SAM_0173

 .

I now have a list of exactly what I want to be growing on my allotment next year and I have been saving seed accordingly:

SAM_0043 SAM_0161

And I managed to buy lots of seeds in the Wilkinson 75% off sale this week:

SAM_0187.

.

So it has been a week of organising, but it has been nice to be inside while it has been so miserable outside.

Hopefully the weather will be better next week.

SAM_0146

Thank you for reading my blog today, I will be back next Friday.

Have a good week!

Courgette Sponge Cakes With Mascapone Cheese & Lemon Curd

Just wanted to say a big ‘thank you’ to ‘Argiolus‘ who identified the caterpillar I mentioned on my blog last Friday.  It is in fact an Elephant Hawk Moth and he has kindly given a link to some more interesting information about the moth here.

SAM_9804

I love receiving comments on my blog, so please keep them coming with your views, questions and answers, etc. which are great for everyone who reads them.

Thank you

.

At the weekend Rowley fields allotment society in Leicester had an open day, so we went along.  We saw a wonderful plot (or should I say garden), so I took a photo to show you:

SAM_9856

How beautiful it was!

.

This week at home I have once again been thinking about storing my crops, by putting my onions away.  They have been drying nicely for the last three or four weeks in one of my mini-greenhouses.

SAM_9692

I put them in a large netted bag in my storage boxes with my potatoes and they will store nicely over winter, provided I check them every so often for any that have begun to rot.

SAM_9889 SAM_9891

.

At my allotment, my cucumelons are taking over my tomato plants and my poor tomatoes are struggling to ripen!…but dispite this, my polytunnel is heaving with produce:

SAM_9873 SAM_9876

.

This week at my allotment I have been pruning my golden gage tree.  I don’t think it has been pruned for a long time and as a result I found there were a lot of dead, diseased and crossing branches to prune away.

SAM_9882 SAM_9886

.

Also, I have been pruning my lavender bushes that looked so beautiful at the beginning of summer and attracted lots of beneficial insects.

When I attended horticultural college I was told that the council parks department use strimmers to prune their Lavender and after planting my hedge a few years ago, I also use a strimmer to prune my lavender and it works a treat.  Provided I make sure that I leave approximately one inch of the current years growth on the plant, then it grows back lovely the next year:

SAM_9885 SAM_9887

.

I have also been picking lots of tomatoes from my allotment.  I am still expecting ‘blight’ as they succumb to it each and every year unfortunately… but as yet they are still blight free for the moment.  You can read about ‘tomato blight here.

SAM_9843

As well as making tomato and basil soup (the recipe is here), I have been making passata.

Passata doesn’t usually have any seeds in it, however I think life is too short to sieve the seeds out of the sauce, so I don’t.

All I do is wash and chop them in half and then cook them in a large pan with a cup of water.  When they are soft I use my stick blender to liquidise them until there are no lumps.

SAM_9842 SAM_9844

I then poor 500 grams worth of sauce into bags in plastic pots and when it is cool I freeze the portions.  When it is frozen I remove the bags from the pots and put the nice rectangular shaped sauces in my freezer ready to defrost and use when it is needed.

I use the sauce in recipes like pasta sauce, pizza sauce or spaghetti bolognaise.

SAM_9892 SAM_9893

.

 This week I have once again been busy making jams and chutneys.  I started with a beetroot chutney to use up the last of my beetroot.  My daughter and sister love this chutney, so I make it every year.

The recipe is here.

SAM_9824 SAM_9833

I continued to use up the plums I picked by making more plum jelly and I also made plum ice cream sauce.  I made the ice cream sauce in the exact way that I made crab apple ice cream sauce here, but I just substituted the crab apples with the plums.

It is delicious drizzled over ice cream (especially the home made vanilla ice cream here).

SAM_9832

.

Unfortunately, I then realised I had nearly ran out of jars and I still have loads of fruit in my freezer to make different jams, etc.  I know if you buy new jam jars they can cost quite a bit of money, so I buy the cheapest jars from the supermarket, use the contents and then re-used the jars.

(Incidentally, I don’t buy pickle jars as the smell is hard to remove).

In the past I found ‘value’ marmalade was the cheapest, but this week the cheapest jars I could find contained ‘lemon’curd’ at just 22p per jar.

SAM_9837

I gave the contents of a couple of jars to a friend and I have been madly using the rest of them myself.

I started by making mini lemon meringues:

SAM_9834 SAM_9836

My eldest daughter made a lovely victoria sandwich with lemon curd in the middle:

SAM_9862

And finally, we went to a friends house at the weekend and I took some little lemon curd cakes and I even managed to hide a courgette in the mixture too.  They did taste good, even though I do say so myself.

You can find the recipe below:

SAM_9871

.

Courgette Sponge cakes with Mascapone Cheese and Lemon Curd:

.

6 oz of Margarine

6 oz Caster sugar

6 oz Self raising flour

3 Eggs

A few drops of Vanilla Extract

1 teaspoon of baking powder

1 medium courgette

½ Jar of lemon curd

250g tub of mascapone cheese

20g icing sugar, plus a small amount for dusting

The juice and zest from one lemon

.

Preheat the oven Gas Mark 5 / 375F / 190C

Peel the courgette, top and tail it and then grate it very finely.

Place the courgette in a sieve just to let any excess water drain away while you are making the cake mix.

SAM_9846 SAM_9848

Sieve the caster sugar, flour and baking powder in a bowl and then add the eggs, margarine and vanilla extract.  Mix until they are combined.

SAM_9849 SAM_9850

Add the courgette and mix until combined.

SAM_9851

If the mixture falls off the spoon easily (dropping consistancy), then half fill muffin cases with the mixture.

(If the mix doesn’t fall off the spoon easily then keep adding a tiny bit of water and mix until it does).

SAM_9853 SAM_9854

Bake for 20 minutes and then leave to cool.

SAM_9855

Remove the cake from the cake case and slice it in half and put a teaspoon of lemon curd in the middle

SAM_9863

Mix the icing sugar, mascopone cheese and lemon juice together and then spread it or pipe it onto each cake.

Top each cake with a small amount of lemon zest.

SAM_9861 SAM_9864

Sprinkle with a dusting of icing sugar to finish off the cakes

SAM_9869

 Enjoy!

Thank you for reading my blog today.

I will be back at my usual time next Friday.