There has been some lovely warm weather this week and I have been working at my allotment in short sleeves at last.
On Tuesday I noticed the temperature in my polytunnel rose to nearly 37C, even with both doors wide open.
It was lovely to see that bees, butterflies and other insects were coming into the polytunnel, attracted by the mizuna that I can’t bring myself to dig up yet, as it is so beautiful.

Mizuna in flower
.
I spent this week planting my onion sets. I started my onion sets in modules this year, as the soil was in no fit state to plant them direct last month. I was very pleased with the result as most of them had started to sprout:

I am hoping this will be a one-off though, as it takes extra time to plant the sets in modules and obviously uses extra compost. I planted 416 onions all in all, including 80 red onions and I’ve got to say my back did ache a bit afterwards.
This year is really an experimental year with my onions, as I had a problems last year with the allium leaf miner, especially on my overwintering onions.
In autumn, I planted seed sown onions instead of sets (in the hope they would be stronger plants) and covered them in environmesh. I have also planted summer onions that I sowed in January (again, in the hope they will be stronger plants) and two different varieties of onion sets, in the hope that one may grow stronger than the other.
The two varieties of onions sets I planted this year are ‘Turbo’ and ‘Sturon’.

The allium leaf miner is a pest that was only detected in Britain in 2002. It has been spreading rapidly since and spread to many places in the Midlands for the first time last year and unfortunately found my allotment site too.
The allium leaf miner isn’t choosy which allium it attacks. Alliums include onions, leeks, garlic and shallots.
You can find details of the allium leaf miner here.
.
I have also been planting peas again this week. I have planted some mangetout as my youngest daughter absolutely loves them (though she won’t eat peas, which is very strange), so I would be in trouble if I didn’t grow them. I grew them in guttering as I find I have a better germination rate this way. You can read how I grow my peas in guttering here.

I also grow a tall, climbing variety called ‘Pea shooter’, which are really sweet, large peas. The peas were expensive to buy, so I saved some seeds last year and I am pleased to say that they germinated really well. I made a frame out of canes tied together and draped pea and bean netting over it, so the peas will have something to climb up onto.
There is nothing like opening your first homegrown pea pod straight from the plant and eating the wonderful, sweet tasting peas inside. It is something I look forward to every year.
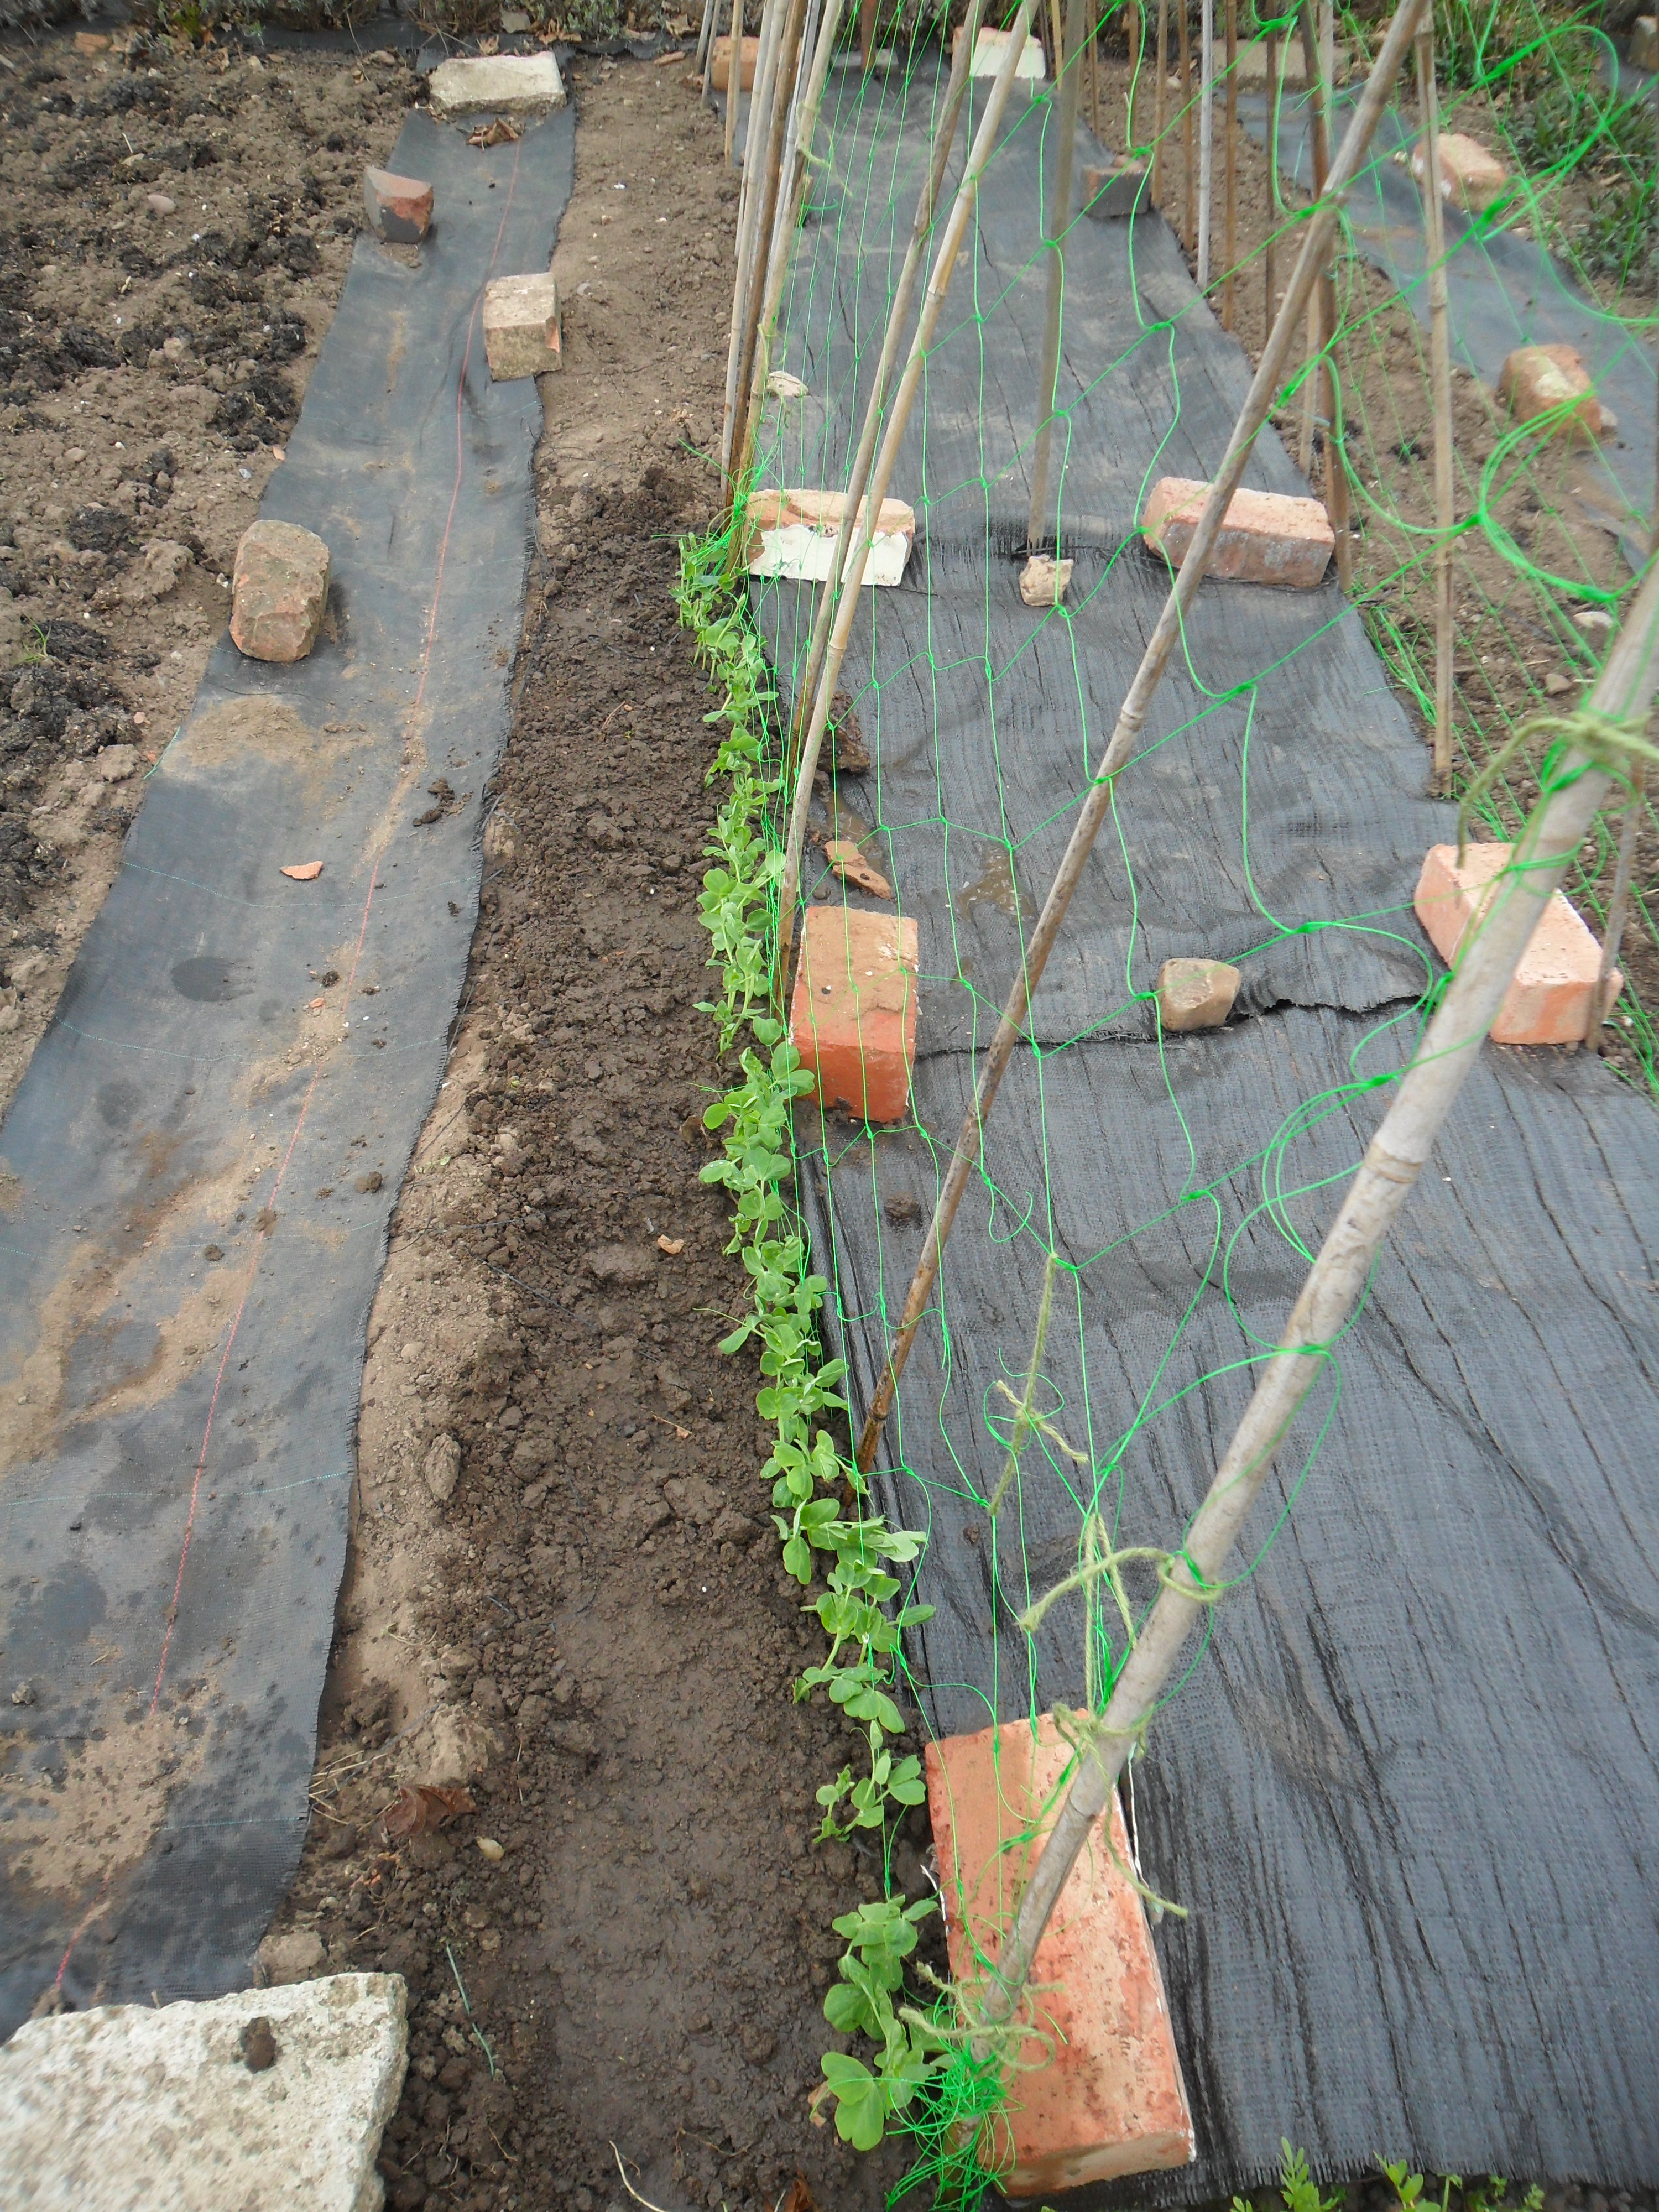
My tall, climbing peas
As the weather is warming nicely, I decided to sow my watercress. Eric (the gentleman who had the fourth plot before me) always grew a really good crop of watercress in a great big black pot, so last year I decided to give it a try and it worked really well. I just sprinkled the seeds and covered them with a small amount of compost and I just made sure I didn’t let the compost dry out. This was the result:

My watercress in 2012
When it began to flower, I left it to set seed and I was surprised to get a second growth of useable watercress.
This year I replaced the top inch of compost with new compost and sowed new seed. I covered the moist compost with glass to help the seeds to germinate.
I am looking forward to the results.

.
This week I have been working on this years wildflower patch, as last year I was really pleased with it.
I have been raking the area to produce a fine tilth (a fine crumbly soil) and yesterday, I mixed the wildflower seeds with horticultural silver sand and scattered it over the area, avoiding the foxgloves I had transplanted in the patch. I raked the seeds in, covered them with net to protect them from the birds and hoped the forcasted rain would come.

If the patch is only half as good as last years, then I will be very pleased:

I noticed my comfrey patch is growing well now.
I use comfrey a lot at my allotment. Comfrey is high in potash, as the deep roots of the Comfrey plants absorb the potassium from the subsoil. Therefore it’s great for using on most fruits and flowers, including tomato plants.
I add comfrey to my compost bins, as it is a great ‘free’ activator and I use it as a mulch around plants. I also have a water butt which I use solely for ‘comfrey tea’, which I use to feed certain plants. You can read how I make it on one of my very first posts, here.

.
I thought I’d mention a few of things I have harvested this week too.
Over winter, we have been eating the cabbages I sowed last summer. The variety is ‘Robinson’s Champion Giant Cabbage’. They have stood through all the wet and snowy weather the winter threw at them and I am really pleased with the results:

.
My purple sprouting broccolli is doing well and tastes delicious. It takes approximately a year to grow from seed, but it is so worth the wait:

.
And finally, remember I put a ‘bin’ on my rhubarb in February, to ‘force it’….


I removed the bin and the rhubarb was beautiful and pink. I could actually smell the sweetness as I removed the dustbin. I will be making rhubarb crumble tonight, as it’s my favourite.
If you want to make something different with rhubarb, you could try a Rhubarb and Ginger Cake, which is just as nice. This recipe is here.
.
There is always some confusion about composting rhubarb leaves, as the leaves are high in Oxalic Acid, which is toxic to humans, but this is broken down and diluted in the compost heap as the leaves decompose. So yes, it is safe to put rhubarb leaves into your compost bin.
Also, a long time ago when I pulled my very first rhubarb stalks from the ground, one of the ‘wise old allotment chaps’, saw me chopping the leaves off. He told me to always leave part of the leaf on the stalk, so it looks like there are three claws left (like a chickens foot):

When I asked why, he told me the reason for this is because the end always dries and you chop it off again when you are preparing it for cooking. This way, you don’t waste any….and he was right!

I hope you have enjoyed reading my blog today.
I will be back again on Monday at approximately 4pm.
Enjoy your gardening weekend.


