Archives

A Lot Of Hardwork!

I love this time of year as the harvesting of crops is finally slowing down at the allotment after a very busy summer and I can finally carry out some other jobs.

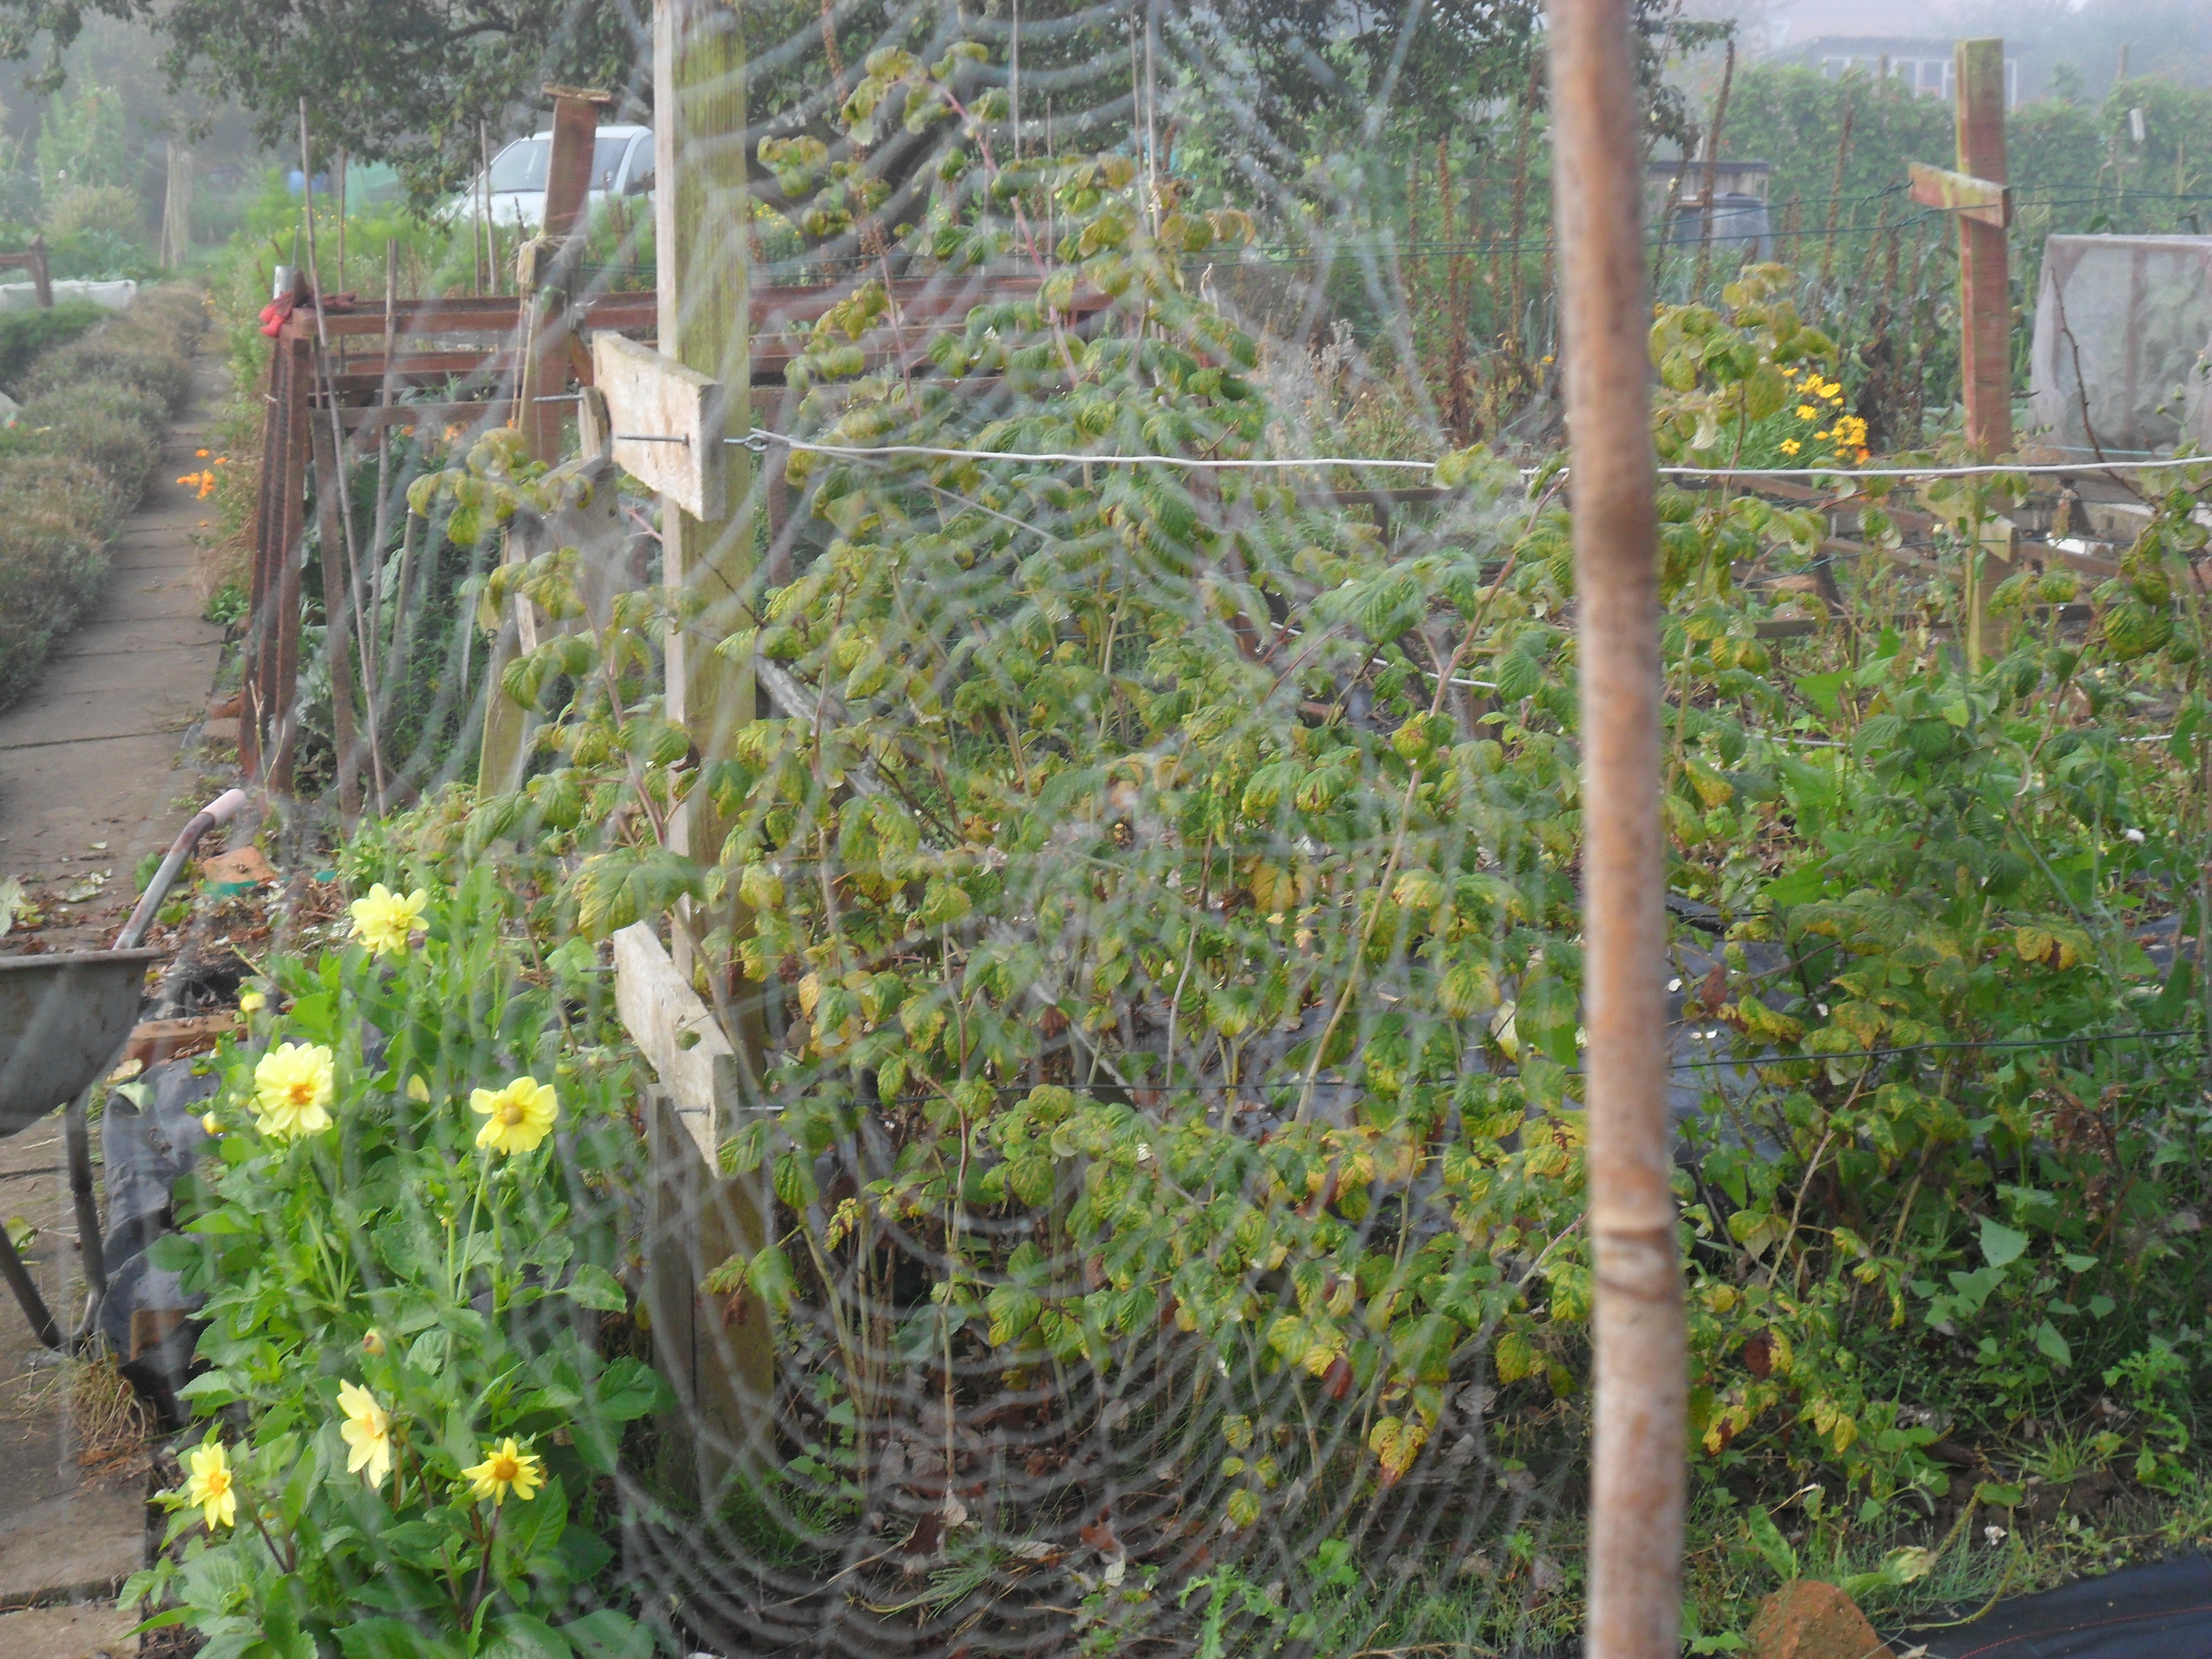
A couple of weeks ago I started to remove the old, unproductive raspberries from my plot and I laid a new path next to the area.  I have finally dug up the rest of the raspberries now and the area will provide another bed for me to use next year:

SAM_9936 SAM_9954

The weed suppressant in the middle of the raspberries (in the first photo) covered the grass that I sowed a few years ago to walk on.  I covered the grass for a few months to kill it, so I could just easily dig the grass into the ground.

Weed suppressant kills the grass and weeds well, except for bind weed which just skims the surface and ‘pops’ out at the side.  However it does make it easier to just pull most of it up, though I will have to make sure I hoe this area every week during the growing season to weaken it, in the hope I can eventually kill it.

For those of you that don’t grow organically, ‘glyphosate’ does kill bindweed easily, though I choose not to use chemicals.

 SAM_9952 SAM_9953

After digging the area over I topped it with some of my homemade compost and I laid some paths so I don’t need to walk on the soil that I plant into and I was very pleased with the result:

SAM_9954 SAM_0035

.

As I had a few spare slabs I also laid a path between my woodland area and my strawberries.  This area was a real pain as before I only had a small path made of weed suppressant that I struggled to walk down.  I also finished off a path next to my water tank, which will also make things easier for me:

  SAM_0016 SAM_0026

.

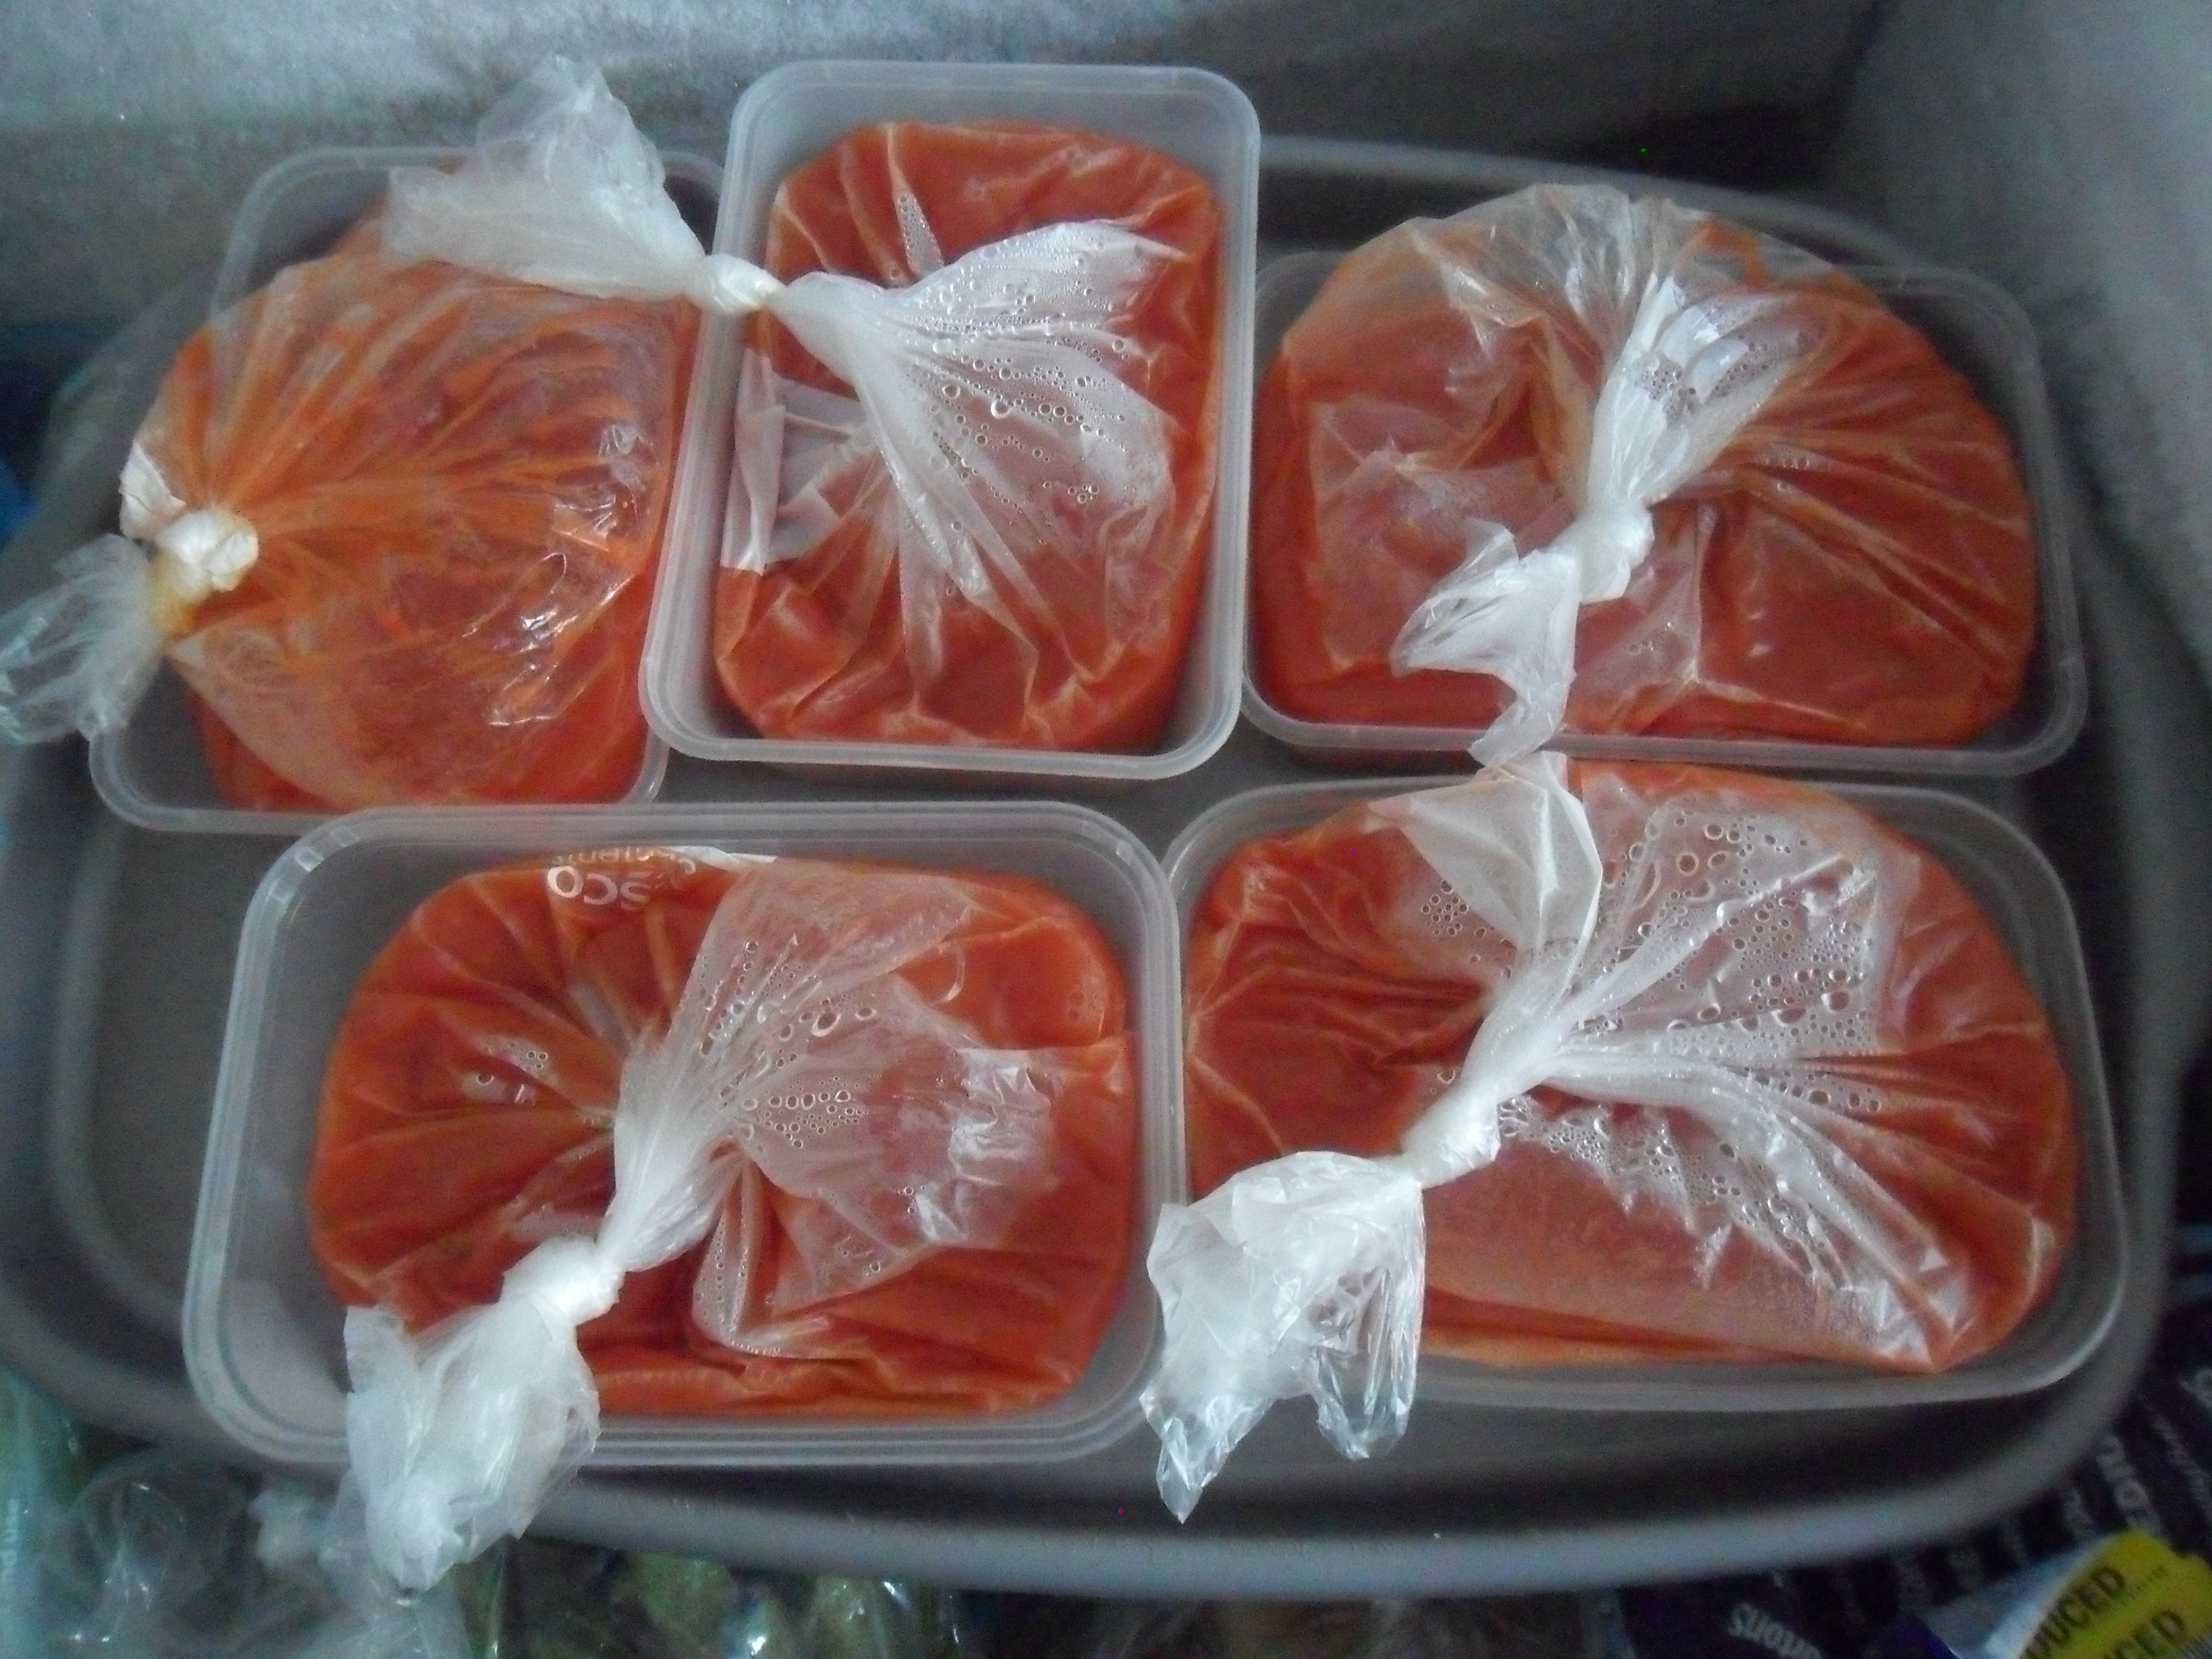
If you read my blog a couple of weeks ago you will remember I stripped the green tomatoes from my outdoor plants as I was worrying about losing them to ‘tomato blight’.  I put the tomatoes in my mini-greenhouse at home and they have been ripening well:

SAM_9933 SAM_0018

….And I have been busy at home making lots of tomato sauce to use in spaghetti bolognaise, pasta sauces. pizza sauce etc.

SAM_0041 SAM_0040 SAM_9892 SAM_9893

And it is a good job I did remove the tomatoes when I did, as ‘blight’ did strike a week later and you can see in the photograph below how it very quickly affected the few remaining tomatoes that I left on the plants.

SAM_0024 SAM_0030

I dug the tomato plants up quickly, removing any remaining tomatoes and put the foliage into my compost bin.

The stems and leaves of tomato plants that have ‘blight’ can be added to your compost heap, as the spores won’t survive on dead plant material.  Do ensure that you remove every last one of the tomatoes on the plants, as the blight spores survive in the seeds….SO DO NOT COMPOST THE FRUIT. 

SAM_0031

I dug the area over where the plants had been growing and forked in some manure.  I again split the bed up with some old weed suppressant, so I could easily walk around the bed without treading on the soil…and this was another bed completed for the winter:

SAM_0032

.

Another area I have concentrated on this week is outside my polytunnel.  This area used to be a real problem area as it looked unsightly with a few slabs, crazy paving and couch grass and the area was full of weeds.  So last winter I removed everything from the area and laid weed suppressant, with woodchip on top and it looked lovely.

However, this is how the area looked again last week:

SAM_0046

Unfortunately, the weed suppressant I used was just not up to the job and the weeds had grown through it!

I bought this weed suppressant from our allotment shop and it was a different sort to normal.  Weed suppressant is sold in different grades and this was obviously a low grade, but as I have never had a problem with their weed suppressant before, I just never gave it another thought….that will teach me not to check.

So I had to remove all of the wood chip and lay some more (better quality) weed suppressant and then put the wood chip back……I have got to say it was really hard work!  Hopefully this will work this time.

SAM_0048 SAM_0047 SAM_0053 SAM_0055

.

A couple of weeks ago I picked my saved pea pods from my pea plants and left them to continue to dry for a couple of weeks in my kitchen on trays.  This week Mr Thrift helped me to ‘pod’ the peas so I can use the seeds next year.

SAM_9908 SAM_9917

I store the seeds in an envelope in a tin, which will be placed in a cool, dark place.

SAM_0043 SAM_0044

 .

Finally, the first of my melons from my polytunnel was ready this week.  They are a variety called ‘outdoor wonder’.

The melons aren’t really big, but they are really sweet and delicious.  I grew them last year for the first time and I know I will be growing them every year from now on.  According to the packet they can be grown outdoors, though I grow them in my polytunnel just in case we have a bad summer:

SAM_0039 SAM_0038

That’s it for this week.  I hope you have enjoyed reading my blog.

I will be back next Friday as usual.

  I hope you have a good week.

Saving Pea Seeds & Moving Raspberries

This week at the allotment it has felt more like autumn, with some wet and breezy days.  One morning this week it was quite foggy too and on this particular morning I noticed lots of spiders webs that looked beautiful with the moisture from the air making then sparkle:

SAM_9937 SAM_9938

.

The allotment is starting to slow down a little bit now and I am harvesting vegetables every three days now instead of daily, however the harvest is still good on those days:

SAM_9896 SAM_9931 SAM_9932

.

At the moment the allotment plot is looking very pretty with the calendular and tegetes that line the paths.  They also attract many beneficial insects as well, which is why I grow them:

SAM_9927 SAM_9928

But I can’t wait for the final finale that the michaelmas daisies give, that edge my rotational beds.

 When they flower I love the contrast between the purple and the orange flowers and when they arrive in September, I know that autumn is here.

Below is a photograph of the michaelmas daisies last year.  I hope they look this good again:

SAM_7482

.

This week at the allotment I have been carefully watching my outdoor tomato plants for ‘ tomato blight’.  After we had a few wet days I became very nervous that I would lose all the lovely green tomatoes if I get ‘blight’,  as I do most years.  I have already had lots of lovely ripe tomatoes from these plants and the tomatoes that are left are all a good size, but just not ripe.

So I took the strange decision to remove the tomatoes from the plants and ripen them at home.  So here they are:

SAM_9924 SAM_9933

 .

I have also been collecting my pea seeds at my allotment ready for next year.  My dwarf peas and my climbing peas gave a wonderful harvest earlier in the year and so I want to make sure this happens again.

IMG_2303

It’s very easy to save pea seeds.  All you need to do is leave a few on the plants and wait until they are dry and brown:

SAM_9907 SAM_9908

I then pick the pods on a dry day and leave them on trays in my house for a couple of weeks.  This ensures that they are completely dry.

SAM_9917

I then take the pea seeds out of the pods and place them into a paper envelope or bag and store them in a dark, dry, cool place until I need them next year.

I find it so satisfying saving seeds and I always get such a buzz when my seeds germinate and produce plants the next year.

 .

Also at my allotment this week I decided to dig up my two summer raspberry beds that I inherited.  I will buy some new raspberries and plant them in a different place in Spring:

SAM_9936

I covered the grass in between the raspberry rows a few weeks ago to kill it off.

Unfortunately, the raspberries never really did very well.  Some of them looked lovely but would disintergrate when you picked them and the other plants just didn’t produce many raspberries.  Over the last three years I have fed them and treated them very well indeed, however this hasn’t improved them and I can only think that the raspberries are old now and past their prime.

So I spent a merry morning removing their supports and digging half of the canes up.  Due to the amount of compost and manure that has gone into the ground over the last three years, I found the raspberries dug up well and the soil underneath is beautiful.

SAM_9941 SAM_9940

I had some spare slabs at my allotment so myself and Mr Thrift laid a path down the side of the new bed, where I will shortly be planting my spring cabbages when I have dug up the rest of the raspberries on the other side:

SAM_9942

.

At home my attention has turned to winter salads for my polytunnel.

I have sown seeds for mizuna, winter lettuce, perpetual spinach, winter hardy spring onions and coriander for my kitchen windowsill.  I have also sown some more beetroot, which really is too late to sow (and i’m not even sure if it will germinate), but if it does I will plant it in my polytunnel in the hope I can use the young leaves in salads during the autumn.

My seeds are sitting snug and warm in my mini-greenhouse.

SAM_9898

.

Finally this week at home I have been juicing all the lovely apples that I picked last week from my early apple tree at my allotment.  I must say there weren’t many apples on the tree this year, but the ones I did have were great.

Below is a photo of my trusty ‘apple picker’ that I wouldn’t be without now, as it reaches all the apples on the tree without using a ladder – a great invention!

SAM_9880 SAM_9878

 I juiced the apples using a ‘press’ I bought a few years ago.  I must say though, I wish I had spent more money on a much bigger apple press as it does take me quite a while to juice all my apples.

I first wash the apples and cut off any bruised or bad bits and then chop them in quarters and ‘pulp’ them in batches in my food processor (again, bigger ‘presses’ have ‘pulpers’ attached).  Then I put the pulp in the apple press…..

SAM_9909 SAM_9910 SAM_9912SAM_9914

….and out comes the sweetest, most delicious apple juice I have ever, ever tasted.  It’s also free from any nasty chemicals and preservatives that some shop bought apple juices have in them.

Unfortunately I don’t have a pasturiser so I freeze the apple juice in little plastic bottles that I have collected, so that my family can have the juice in months to come.

The bottles are ideal to pack in lunch boxes straight from the freezer, as they defrost by lunchtime and while it’s still frozen it keeps the sandwiches cool too.

.

Just to finish off with, I thought I would show you the strawberries that I talked about a couple of weeks ago.  If you remember I cut the foliage down to approximately 8cm from the crown a couple of weeks ago and it always looks so harsh:

SAM_9807 SAM_9805

Cutting the strawberries back in this way helps the plant produce more fruit the following year, as the plant then puts all it’s energy into producing a strong root system.

Below is a photo of how they look today.  You can see that new foliage has already begun to grow back and I will hopefully have lovely strawberries next year:

SAM_9939

.

Thank you for reading my blog today.

I will be back at my usual time next Friday.