Archives

Radish In Guttering & Sweet Potato Wedges Recipe

Last week the weather was so hot and my soil was bone dry.  The greenhouse reached temperatures of 45 degrees celcius and I had to quickly put up some greenhouse shading….this week it has rained nearly everyday and there has been floods in the County…what a difference in just one week!

IMG_3811 IMG_3822

Up until the last few years June was always sunny and warm, but in recent years we have had record rainfalls recorded in June and July…..is this climate change or just the seasons changing?

.

This week in my kitchen garden:

.

This week in the garden I picked our first strawberry of the year….and it was delicious (though I did have to share it with my daughters):

SAM_3213 SAM_3220

I also picked our first courgette this morning….we always get excited when I pick the first courgette of the year (even though we know that soon we will be groaning when they are coming thick and fast in a few weeks time).

SAM_3223 SAM_3250

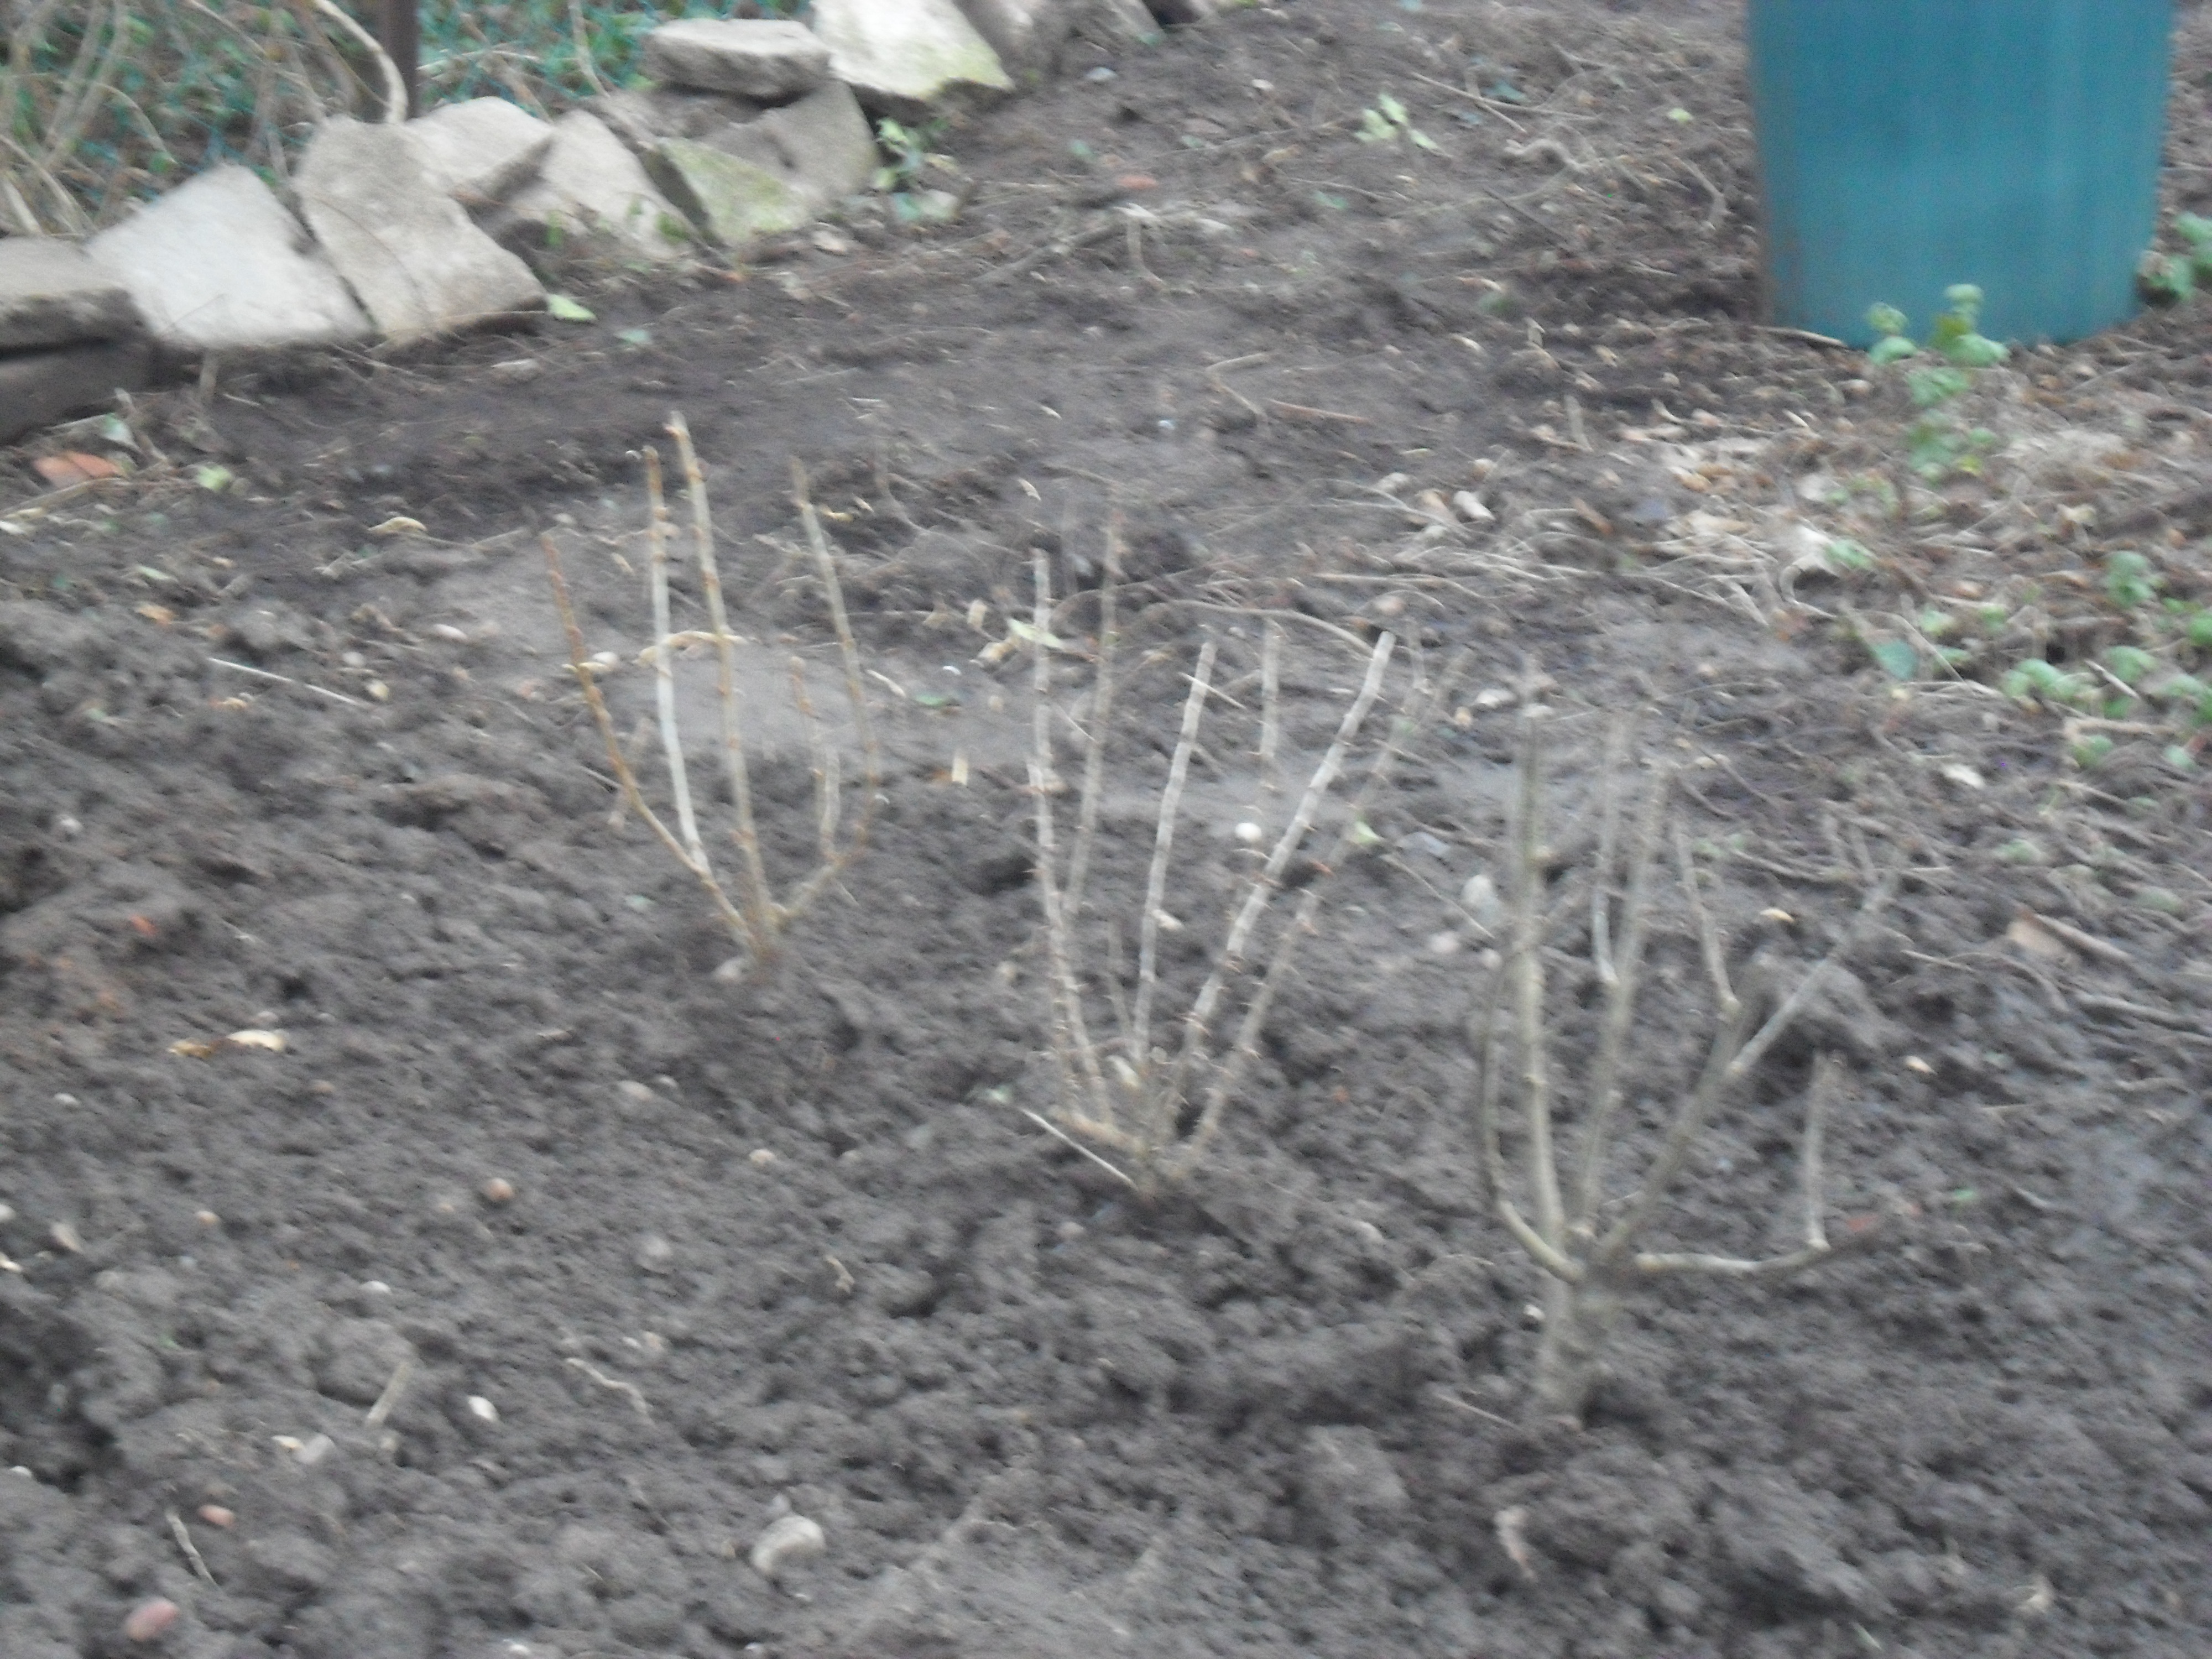
I have one last spring cabbage to pick and eat this week….the cabbages have been in the ground since last year so I always find it quite sad when I pick the last one, however next week I will be planting my curly kale in this area:

SAM_3229

Also I will now start to use some of the onions that I am growing….I planted them close together so I could use some of them as spring onions.  The onions that I leave will then develop into full sized onions:

SAM_3246

.

The rest of the garden is growing well and my broad beans are nearly ready to pick as well:

SAM_3228

My dwarf pea plants are ladened with pea pods ready to fatten up…

SAM_3247 SAM_3248

And I have currants, gooseberries, blueberries  and a few plums growing (I can’t wait to taste these when they are ready)…..

SAM_3242 SAM_3243 SAM_3238 SAM_3237

My cherry tomatoes are flowering well in my hanging baskets….so hopefully I will soon have some tiny tomatoes growing.  As soon as I see mini tomatoes growing on my plants I start to feed them once a week with a high potash feed (e.g comfrey which is perfect for tomatoes):

SAM_3249

I have my first flower on one of my potato plants, however I didn’t get around to earthing my potatoes up this year and I think it is too late now as I can hardly see the soil around them.  It will be interesting to see how much my yield is affected….my old friend at my old allotment site never earthed her potatoes up and she said it never affected her yield….we will see.

SAM_3235

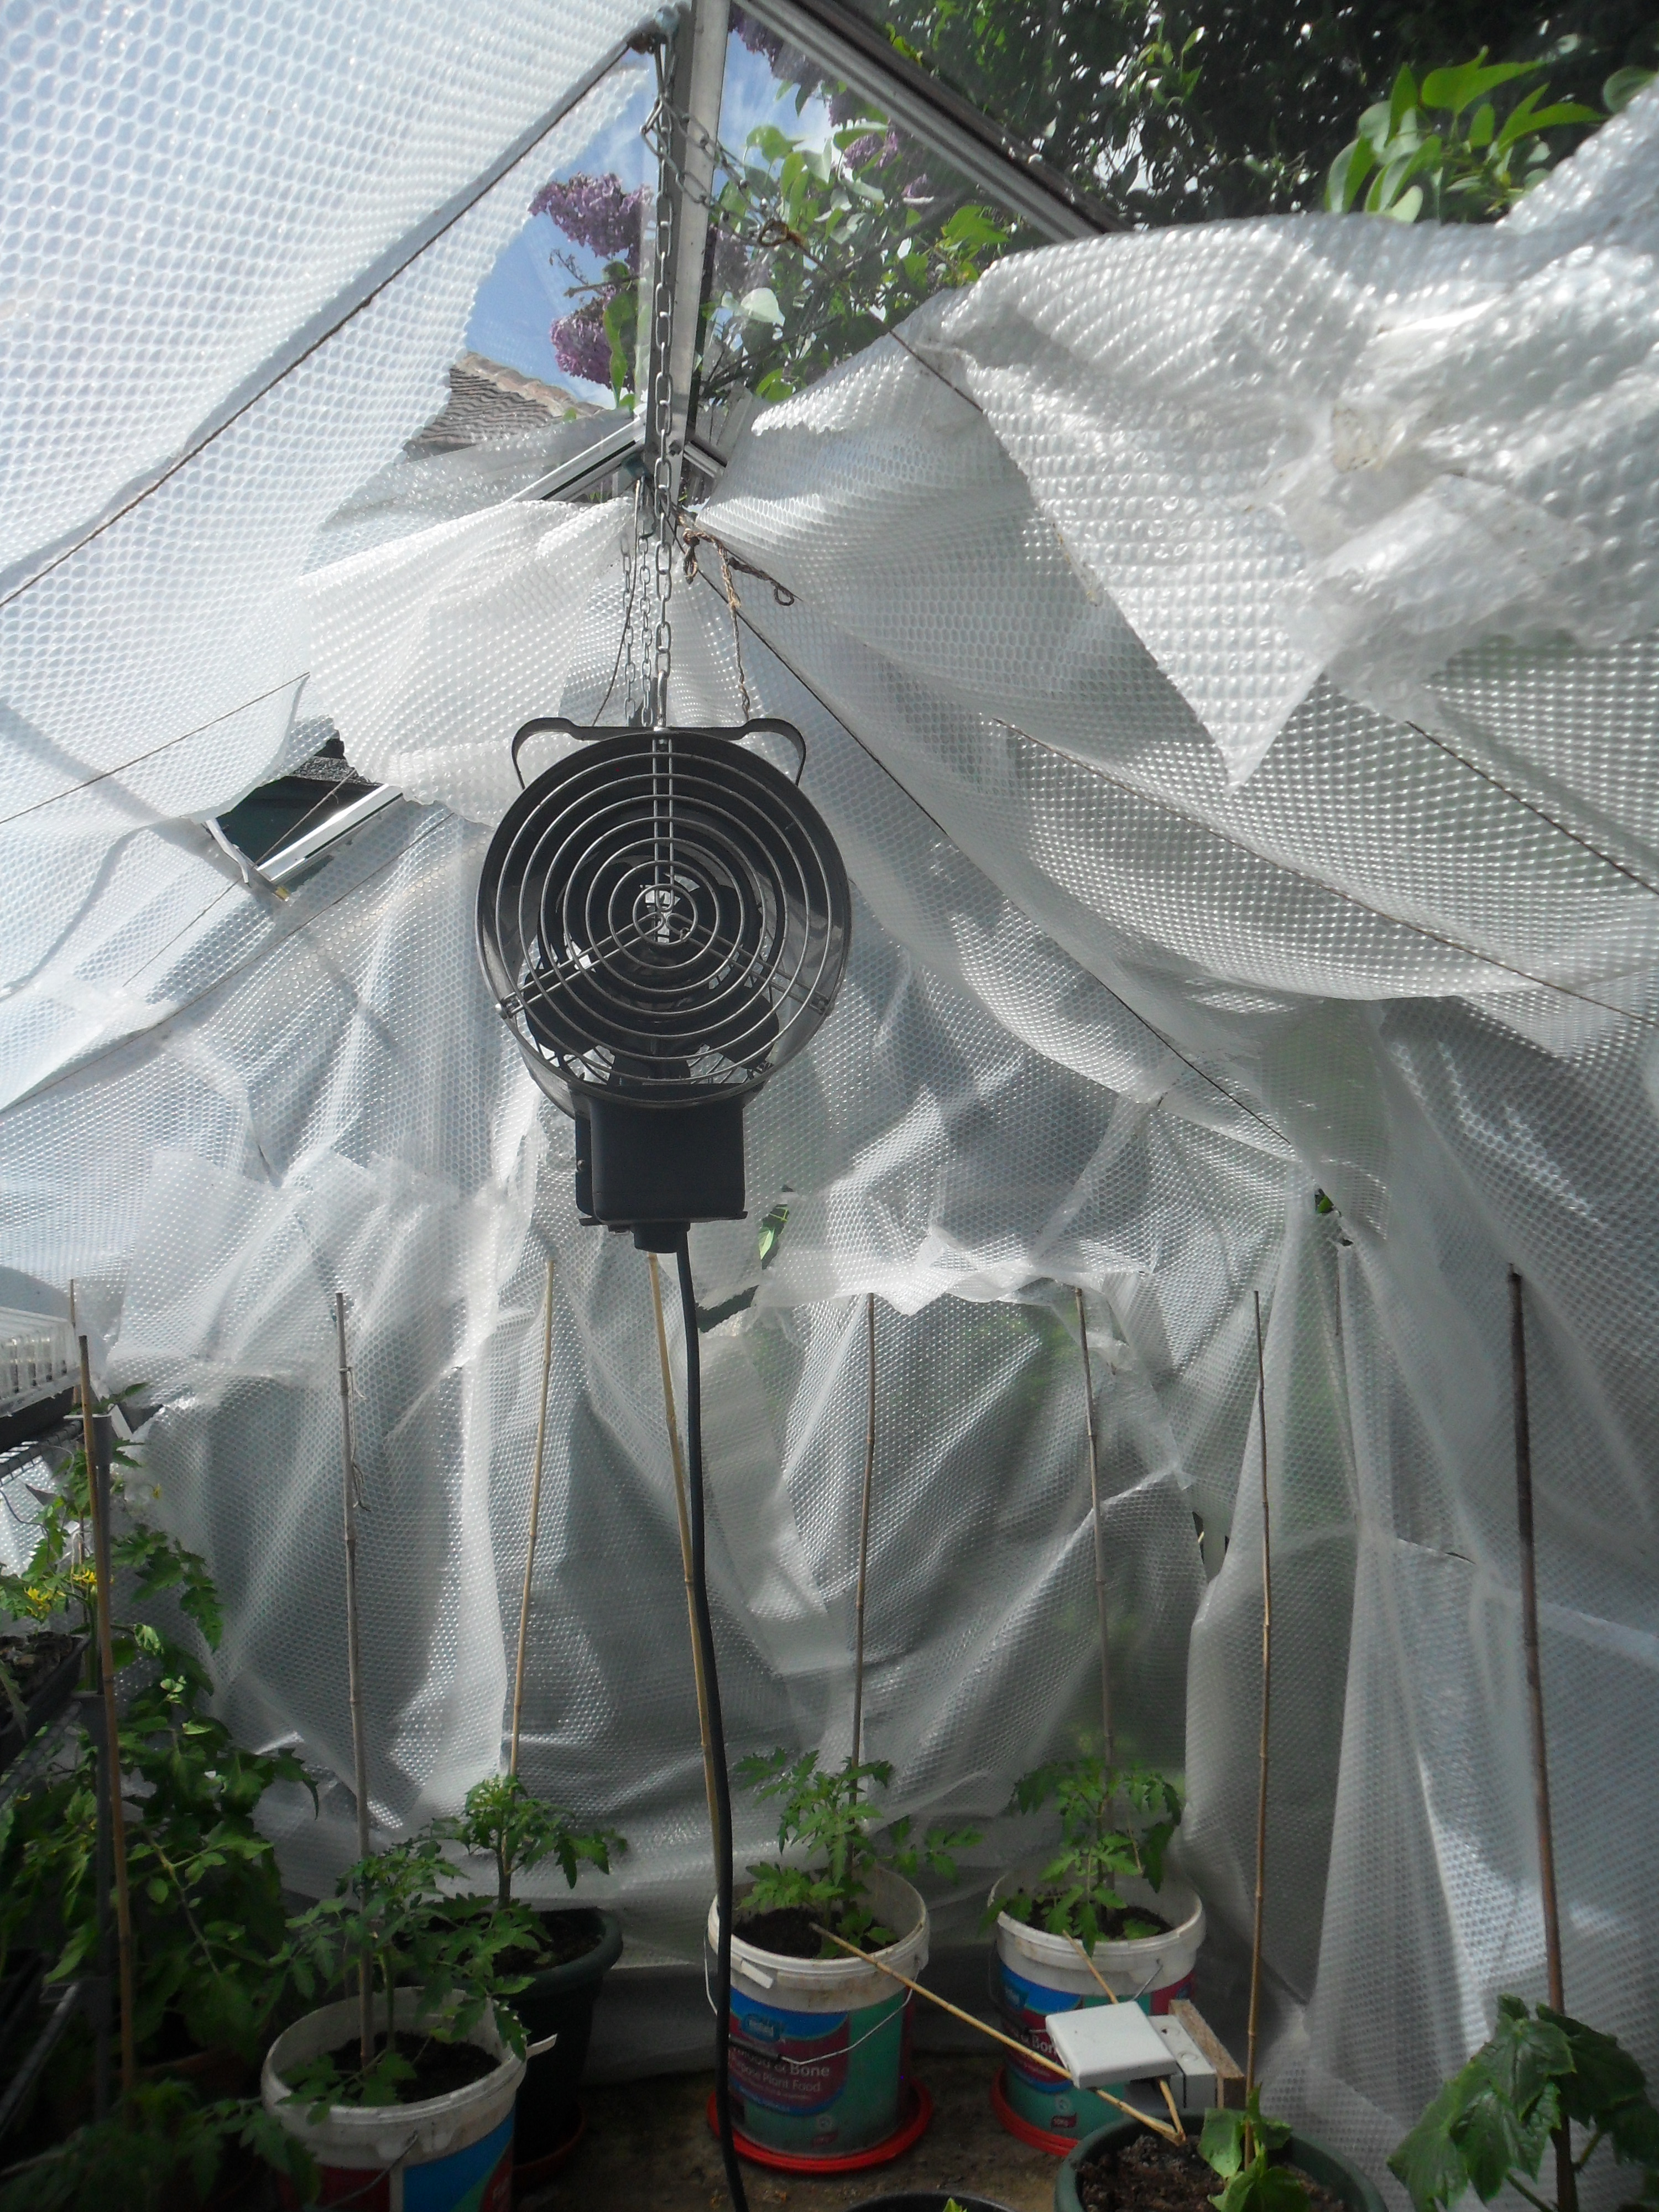
The greenhouse is doing well too.  I have cucumbers and tomatoes growing and I spotted my first peppers growing too this week:

SAM_3226 SAM_3227 SAM_3225

 .

Over the last week in the garden I planted my sweetcorn and pumpkins.  I sowed the sweetcorn in April in newspaper pots and they have grown well, though I am a little late planting them out.  In the space where I needed to plant my sweetcorn was my ‘lollo rossa’ lettuce, which has been providing us with an outstanding amount of cut and come again salad leaves this year and I just couldn’t bring myself to pull them up until now.

SAM_3059 SAM_3129

I planted the sweetcorn and then I planted three pumpkin plants in between them.  The pumpkins will hopefully produce small, palm sized fruit that I can roast, but as I have never grown this variety before I am not sure how big the foliage will grow….so it’s a bit of a trial:

SAM_2974 SAM_3152 SAM_3154 SAM_3153

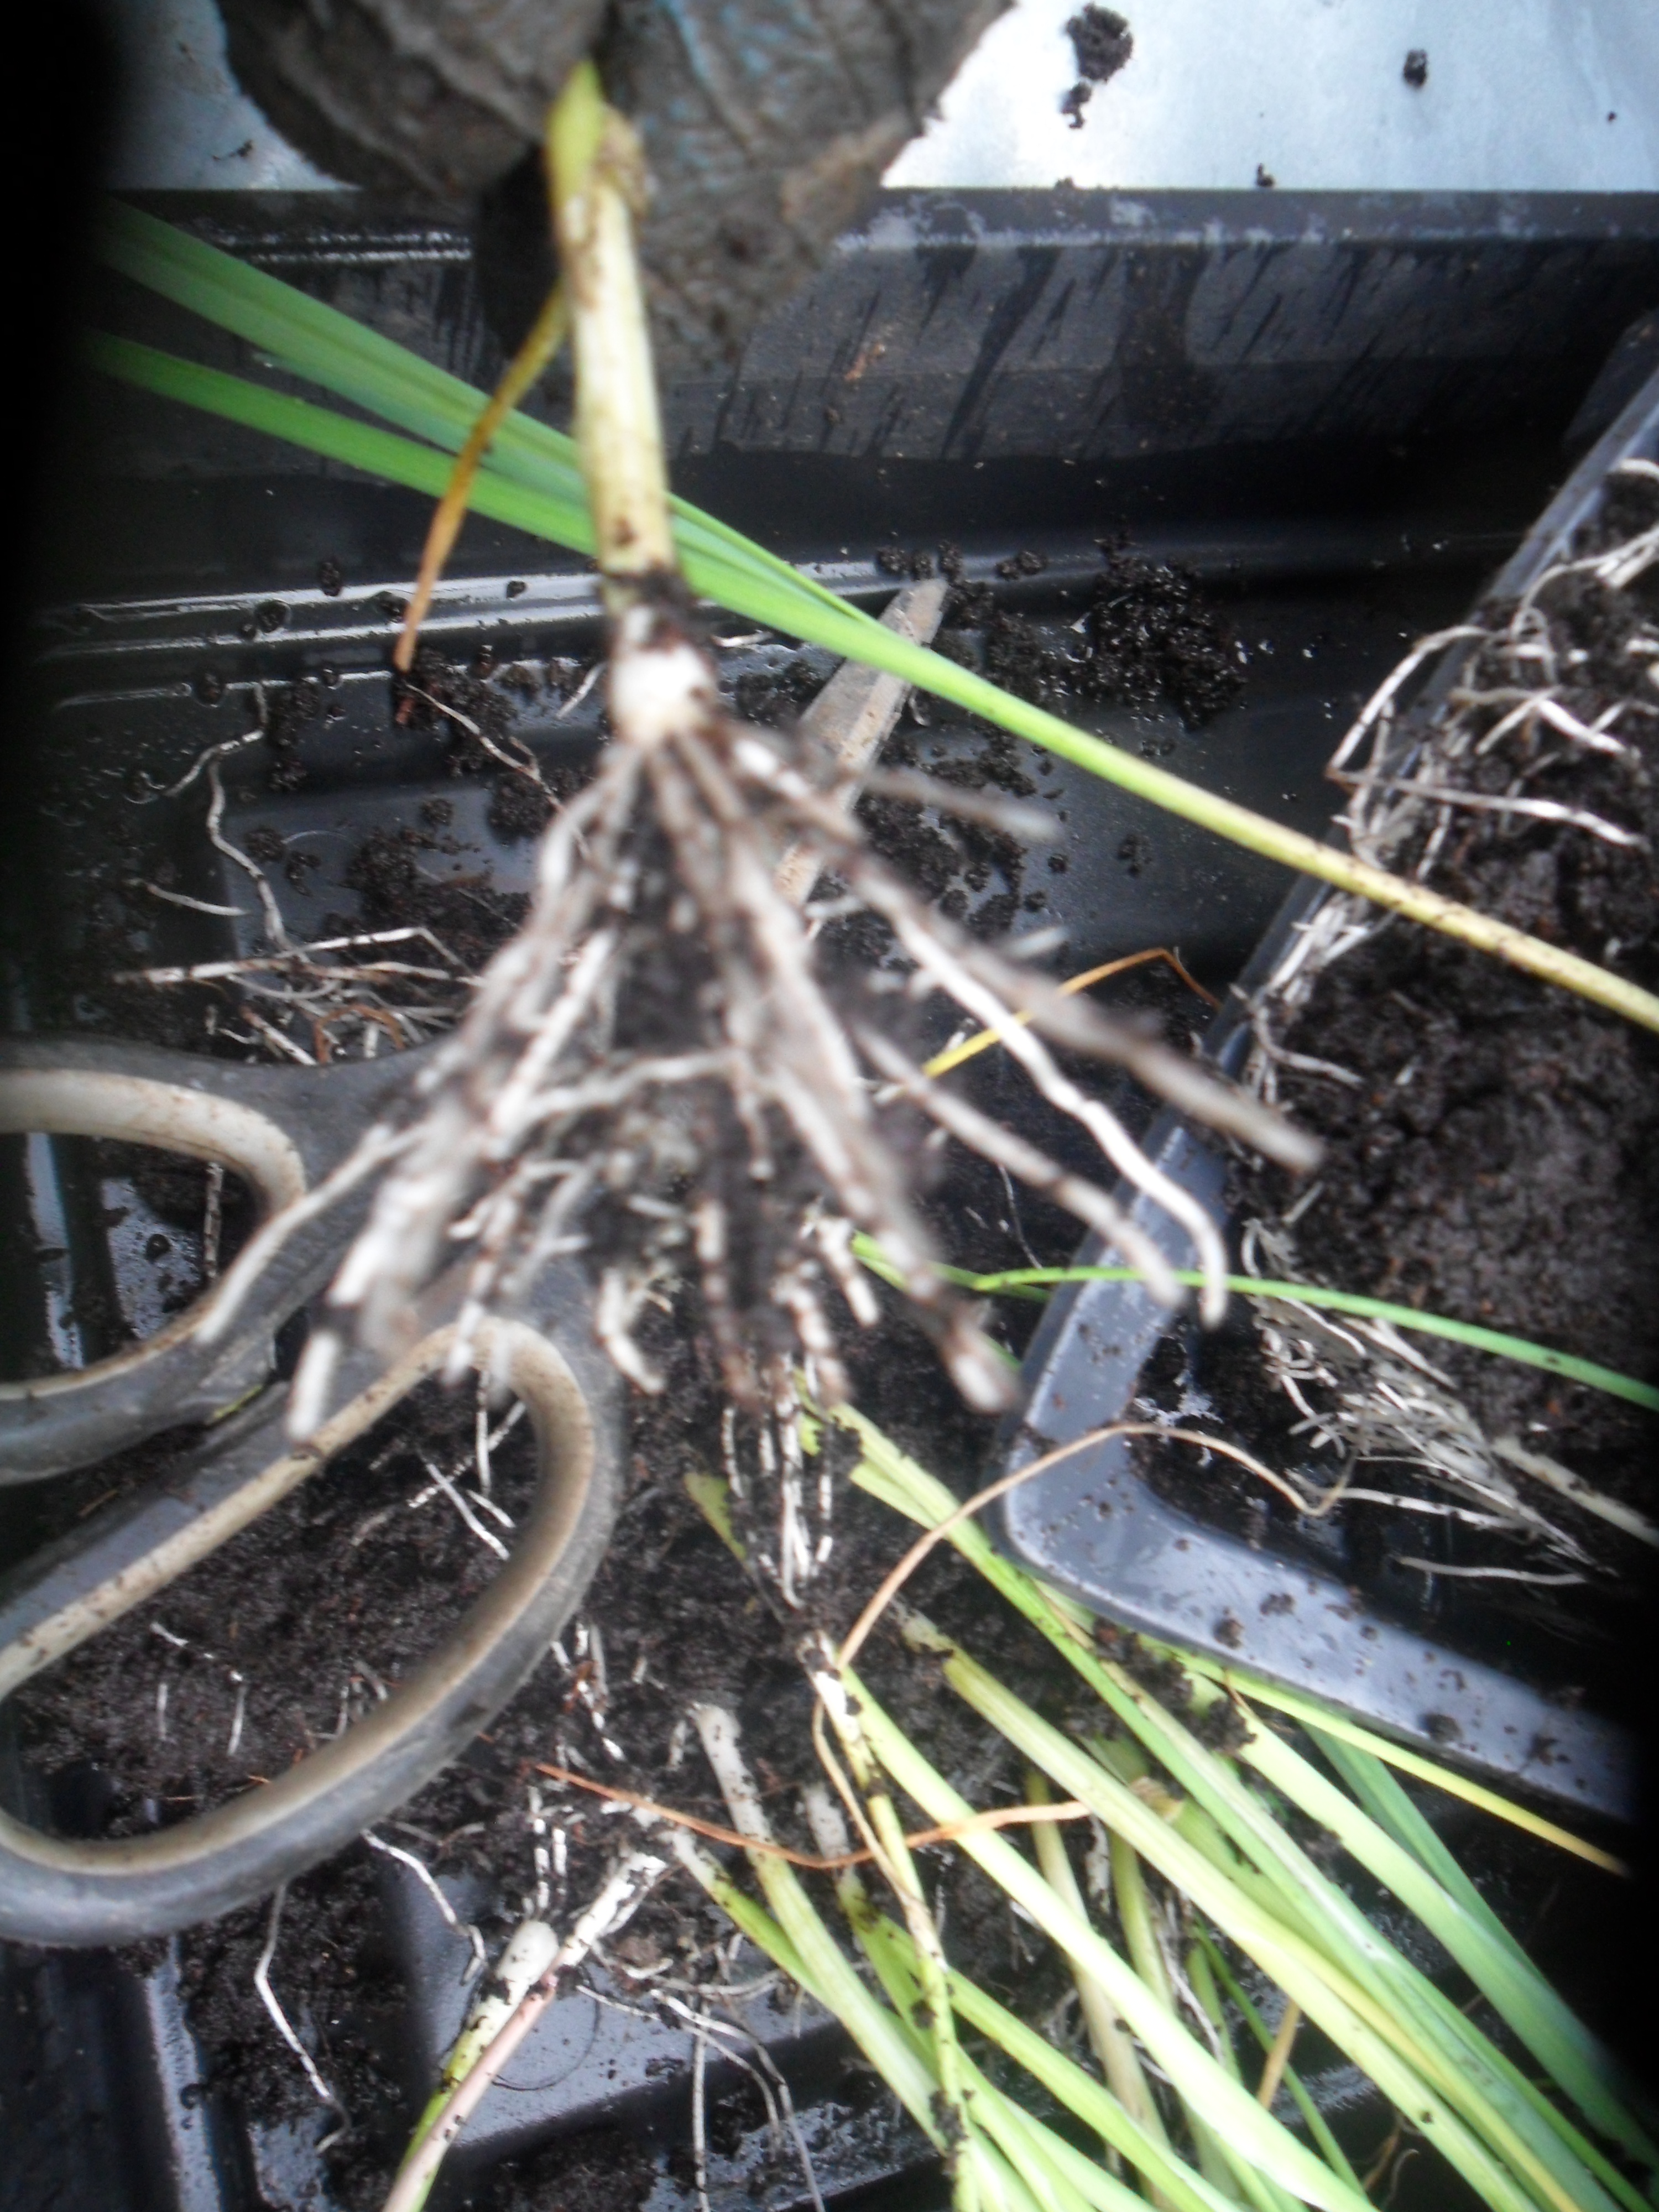
I have also planted some leeks this week, but unfortunately I did have to buy them from my local nursery as I had somehow missed watering mine when the weather was really hot and managed to kill my lovely seedlings – which I was gutted about!…but at least it proves I’m human.

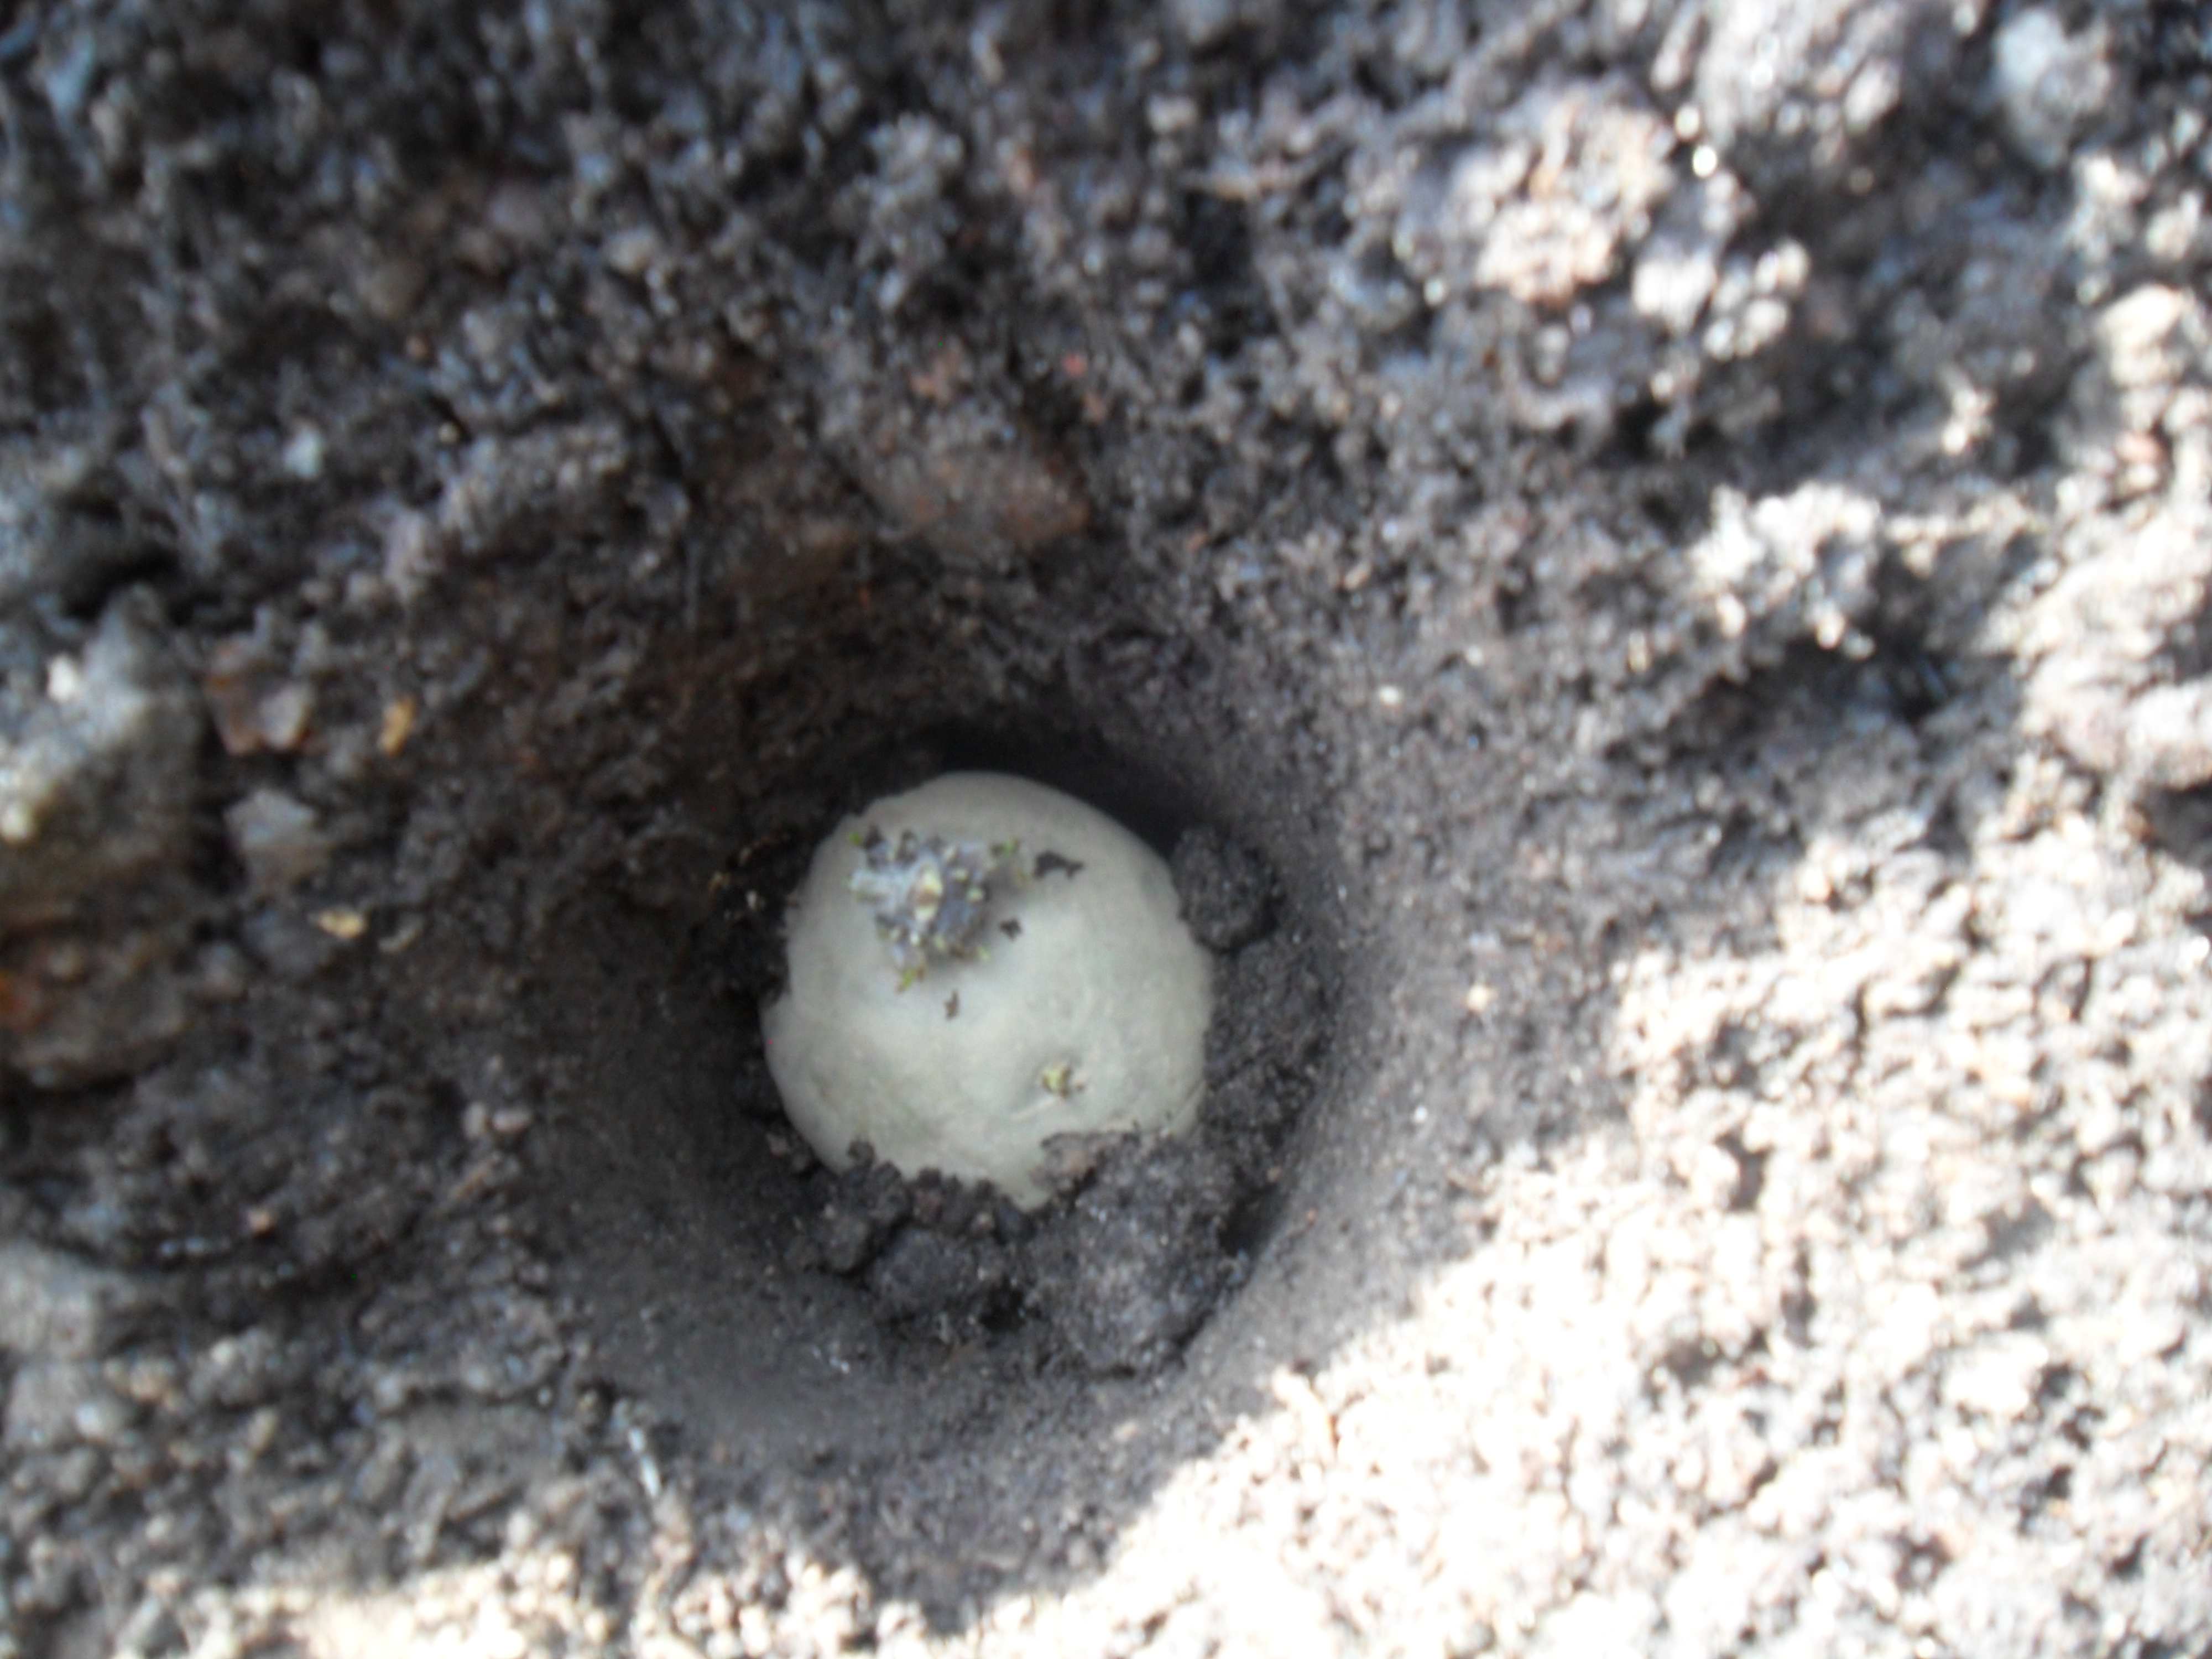
As normal I trimmed the roots to make them easier to plant and then pushed each leek seedling into a four inch deep hole made with my dibber and then I just watered the hole….don’t worry if you can still see the roots as the soil will fill around the leeks as they grow helping to blanch the stems:

SAM_3207 SAM_3209 SAM_3210

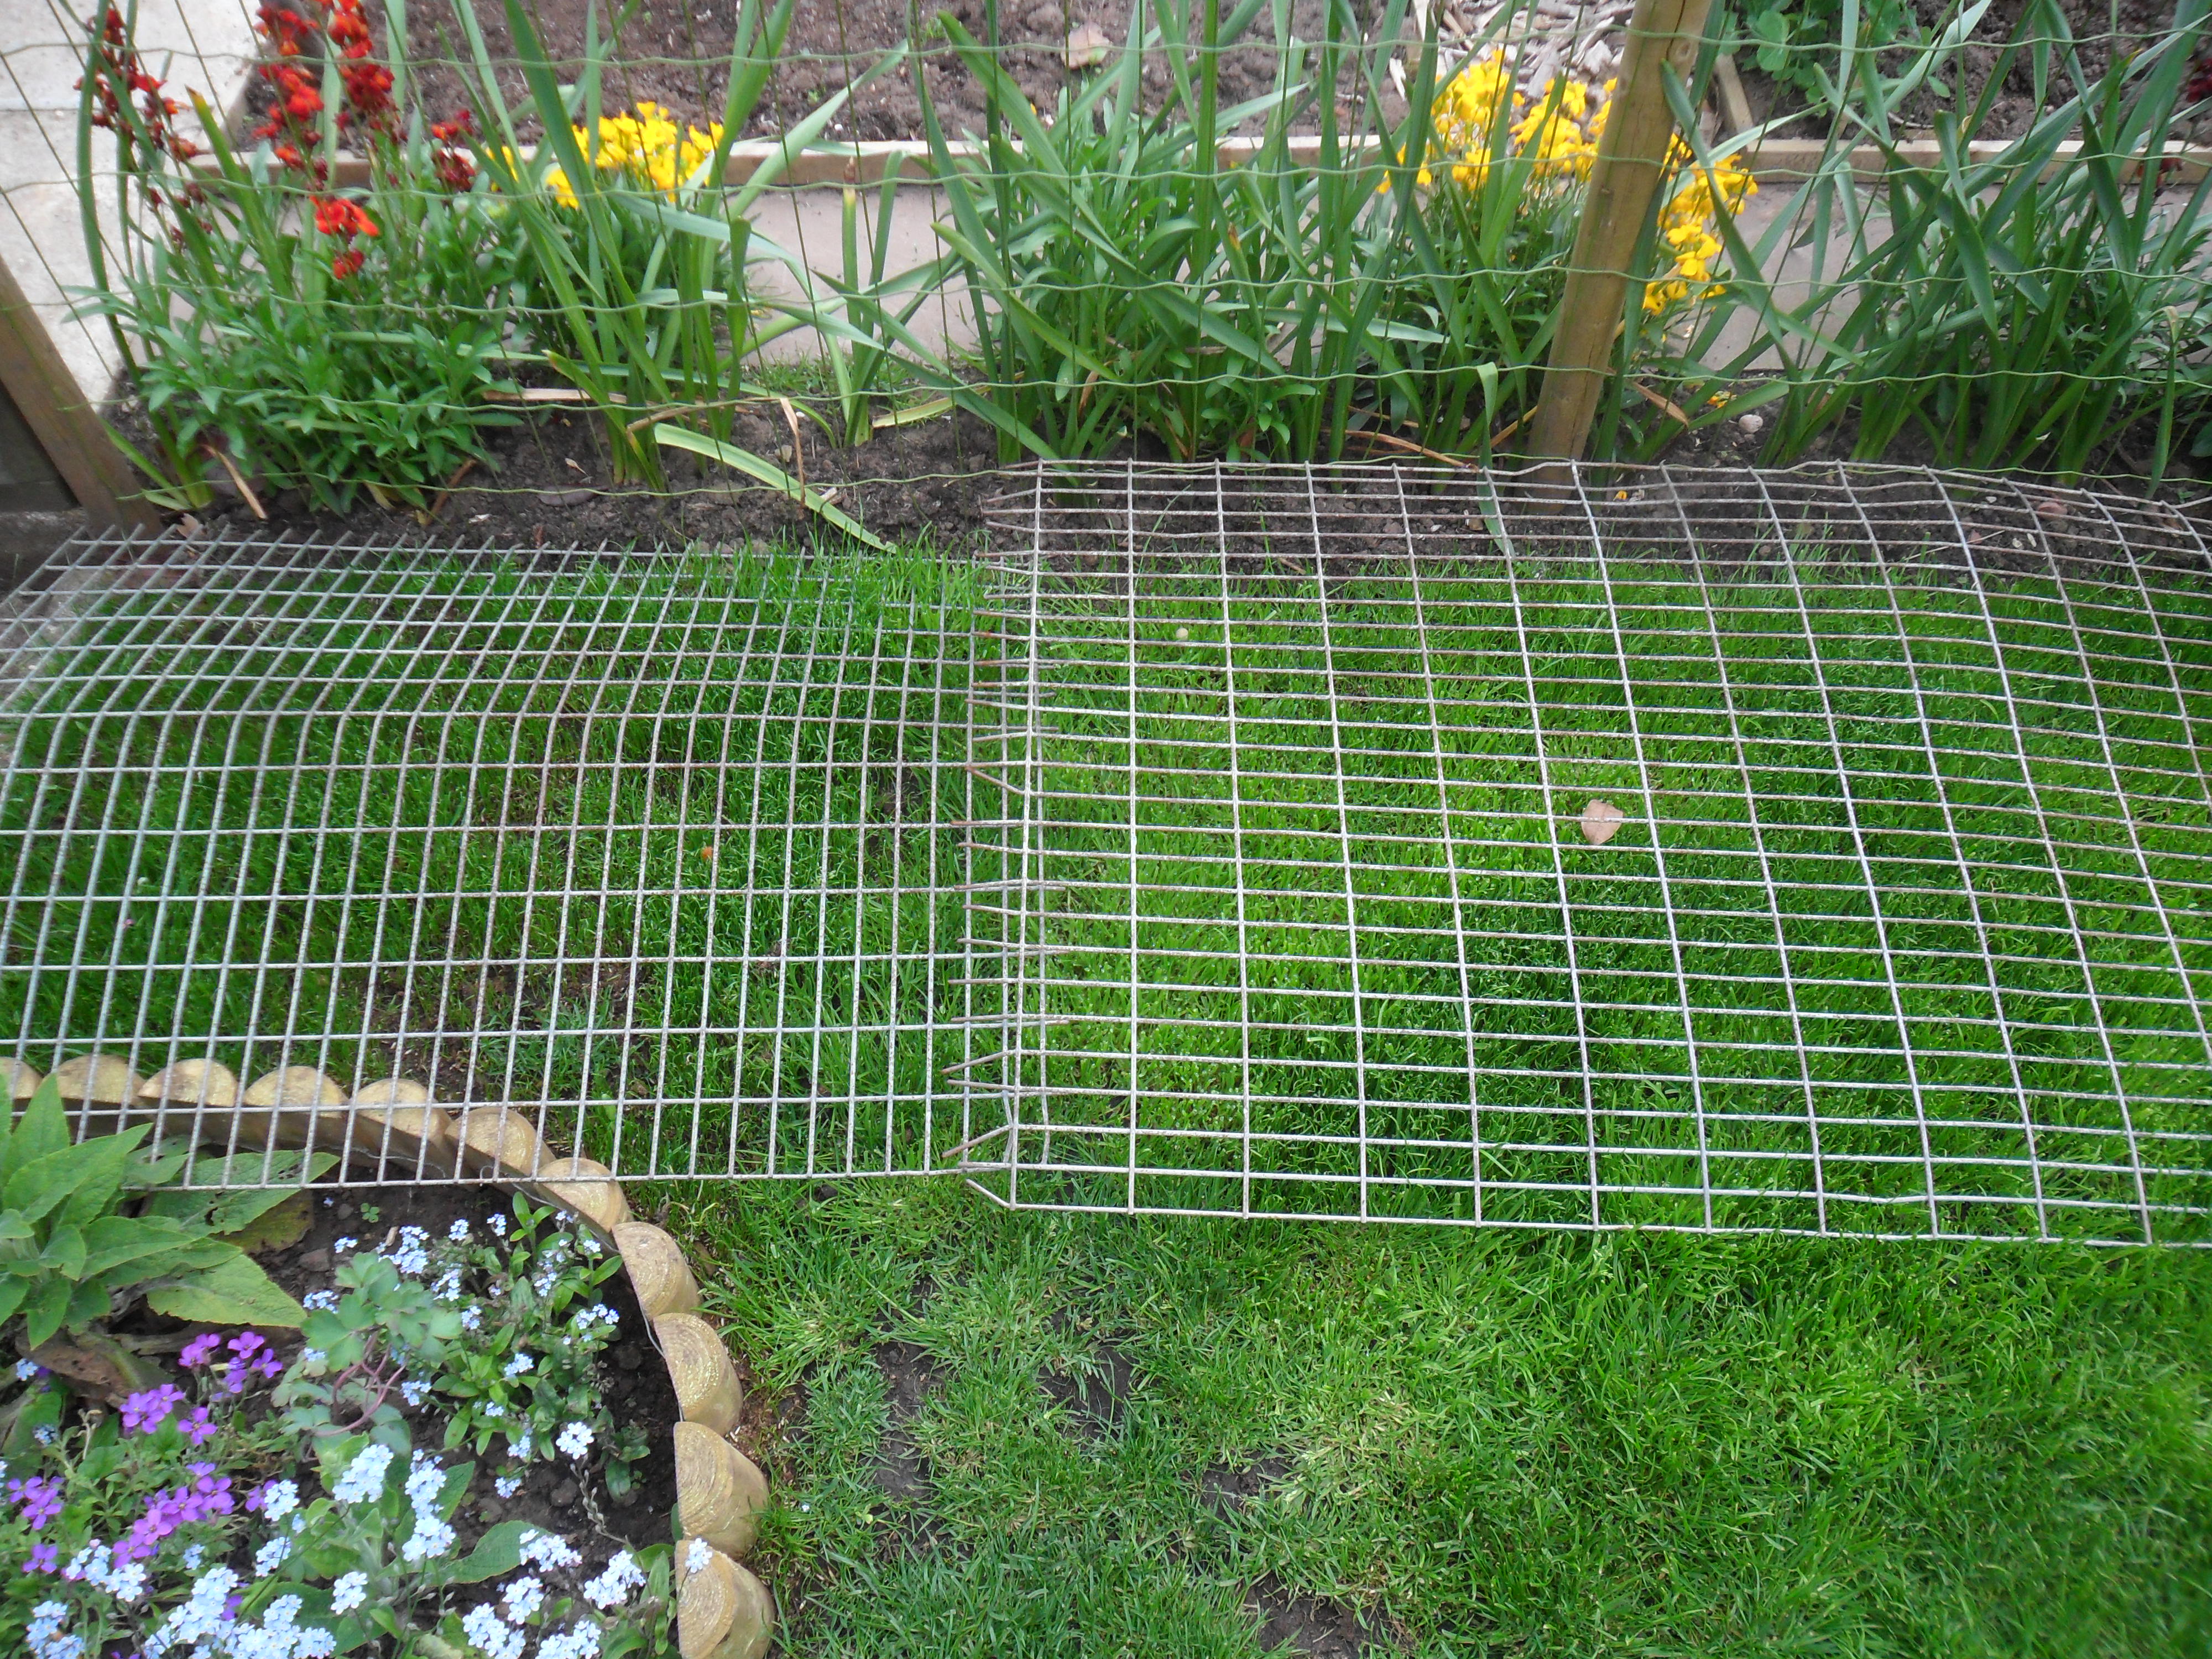
I then covered them with environmesh as last year I lost a lot of leeks to the allium leaf miner:

SAM_3208 SAM_3212

.

Two weeks ago I sowed some more radish.  I decided to have a go at planting them in a piece of guttering as I have read this works well.  I didn’t want the slugs to eat them so I made a ‘moat’ around the guttering in the hope the slugs won’t swim (this was a tip I learnt at the ECO House Garden Forum a few years ago before the ECO house shut)….

SAM_3109 SAM_3110

…..And this week the seeds have emerged and so far there has been no slug damage:

SAM_3245

 .

I have also continued to sow coriander, for my windowsill,  spring onions and lettuce over the last couple of weeks and I have been surprised at how quickly they have germinated:

SAM_3196 SAM_3198

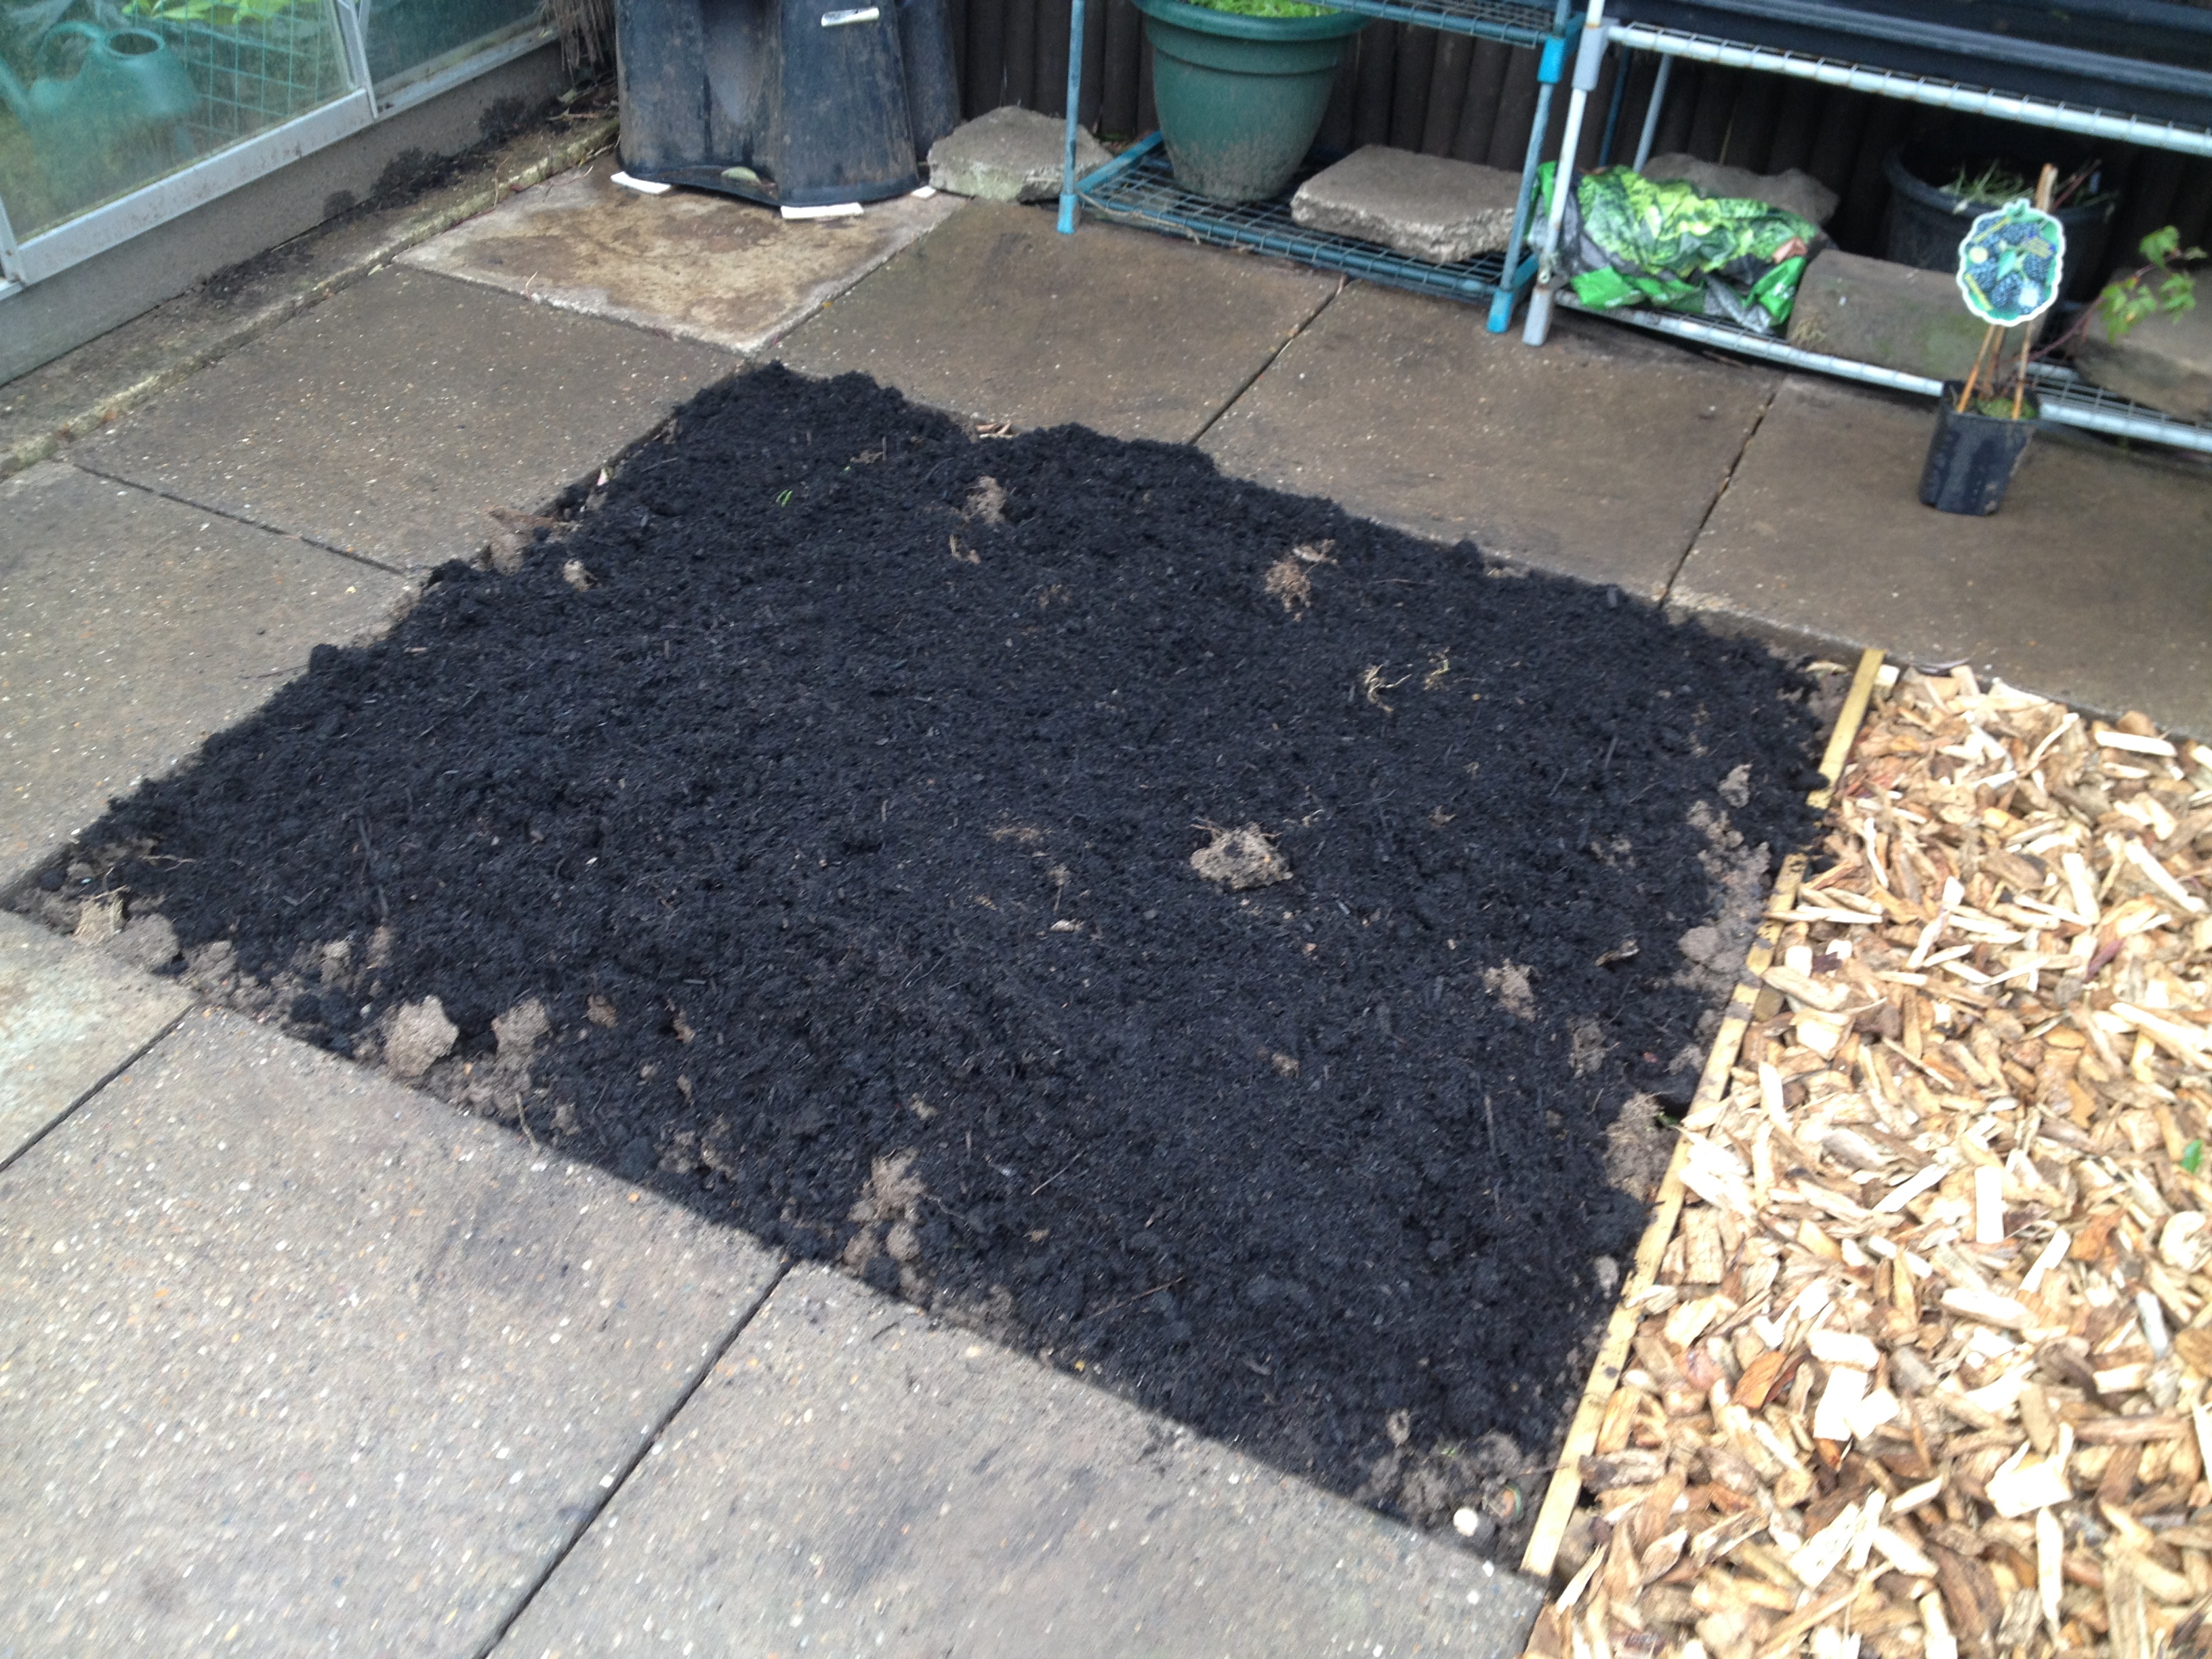
And finally this week in the garden I have finished planting my remaining bedding plants (I couldn’t plant them before in this area as my wall flowers were still flowering):

SAM_3160 SAM_3159

Hopefully they will grow well now and flower soon.

.

.

This week in the home:

.

This week I decided to give the basil on my windowsill a good haircut as it was getting too big.  I placed all the leaves in a paperbag and hung them in a warm place to dry.  In a few weeks I will pass the dried leaves through a seive to remove any stalks and put the dried leaves in a jar to use over the winter:

SAM_3106 SAM_3107 SAM_3108

.

This week I also started some elderflower champagne…. as there are plenty of elderflowers around on our local park.  I have never made it before and I chose to use a recipe they gave on ‘River Cottage Bites‘.  I won’t tell you how I made it yet as I want to make sure it works…..but it smells wonderful at the moment.

SAM_3114 SAM_3115 SAM_3132

.

Over the week I have also been making large batches of food to freeze.  I made pasta / pizza sauces and spaghetti bolognaises and a big pot of soup to freeze in portions:

SAM_3118 SAM_3134

 IMG_3806

.

I have also been trying very hard to use the herbs that I have been growing….

SAM_3010

I have used them in meals such as omelettes etc. and sprinkled them over our roasted vegetables before I cook them.  I have also been chopping a bit of mint to sprinkle over our vegetables when I serve them.

  It is so nice to have fresh herbs to use, especially as the herbs I grew last year in a different place were a disaster due to our local squirrel population digging them up every five minutes at the end of my garden!

SAM_3112 SAM_3111

.

This week I made some sweet potato wedges and they were really nice.  I made them in exactly the same way as I make normal potato wedges, except I only cooked them for 30 minutes on Gas 6 / 200C.

(The normal potato wedges recipe I used can be found here).

SAM_3117 SAM_3123

.

I cooked the sweet potato wedges to accompany a homemade pizza, which I served with homemade coldslaw and salad.  My sister gave me the idea of making the base with half strong wholewheat flour and half strong white flour to make it a bit healthier and she was right as it turned out really, really nice.

I have written the recipe I used in my breadmaker below…..it makes two large pizza’s so I froze half of the dough for another time.

.

Wholemeal Pizza Dough Recipe

.

300mls water

2 tablespoons Olive oil

½ teaspoon salt

340g strong white flour

290g strong wholemeal flour (plus some for rolling out)

2 teaspoons yeast

.

Put all the ingredients into your breadmaker and put it on a ‘pizza dough’ setting:

SAM_3119

Split the dough in half and put half in your freezer for another day:

SAM_3120

Roll out the dough and and place it in a greased pizza pan:

SAM_3121 SAM_3122

Leave to rise for 30 mins in a warm place with a clean tea towel over it.

Spread a pizza sauce over the base.  You can find my pizza sauce recipe here (it’s the same recipe as pasta sauce).

Top the pizza sauce with whatever topping you choose and then mozzerella cheese, either grated or sliced.

Sprinkle with basil and organo to give it an italian pizza taste and cook for 14 minutes on gas mark 6 / 400F / 204C.

SAM_3124 SAM_3126

Enjoy!!

.

Well that’s it for today.

Thank you for reading my blog today.  I will be back next Friday as usual.

Have a great weekend!

XXX

Rhubarb Crumble Muffins, Flowers & Veg

The park has been looking even more wonderful this week on my dog walks and when the sun is shining the beauty of it all sometimes takes my breath away.  How lucky I am to not only have this splendid park on my doorstep, but be able to take the time to stop and stare at the things that change each week:

I have noticed that the hawthorn and cow parsley are putting on a wonderful display:

IMG_3759 IMG_3757 IMG_3755

And so too are the flowers that we so quickly remove from our own gardens, but on mass they look spectacular:

IMG_3771

IMG_3746 IMG_3748 IMG_3732

Also the Horse chestnut trees are really giving a good display this year.  Apparently last year wasn’t a good year for conkers – it certainly looks like the trees are going to be making up for this later on in the year:

IMG_3736

But unfortunately there is always someone who wants to spoil things….it seems like every Monday morning there is lots and lots of rubbish for the park keeper to pick up near the cricket pavillion.  There is food left on the floor like chinese containers and chicken bones, which could quite easily cause dog owners large vet bills if their dogs eat something they shouldn’t.

It’s such a shame as the park keeper has enough to do without picking up rubbish that could quite easily be taken home with them.

IMG_3766 IMG_3767 IMG_3762

.

.

This week in my kitchen garden:

.

After checking the weather forecast I decided that I would plant out my remaining tender crops.

I started by planting my outdoor tomatoes which are an early outdoor variety called ‘Outdoor wonder’…..I usually get a decent crop before blight hits with this variety and I use them to make passatta or soup to freeze for the winter months ahead, or we just eat them as they taste so much better than shop bought tomatoes:

SAM_2922 SAM_2926 SAM_2927

I also planted out my cherry tomatoes…..

SAM_2967 SAM_2966

And my french beans which are a variety called ‘Maxi’ that hold the beans above the plant so they can be easily picked:

SAM_2929

I then began planting my squashes.  I started by planting a couple of pumpkins at the base of the arch I made a couple of months ago.  The variety is called ‘Winter Sweet Dumpling’ (which I have never grown before), but the seed packet says the squashes are small and the plants are highly productive, so I am hoping to train the plants up the side of the arch as they grow.

SAM_2981 SAM_2980

I also planted two courgette plants and one patty pan plant in my new area……last year both these plants didn’t produce as much as usual, so I am hoping this year will be different:

SAM_2977

“I incorporated lots of compost in and around the planting holes before planting my squashes and I also sprinkled some blood, fish and bone around the planting area as squashes are hungry feeders”

.

I have been trying to successionally grow my lettuces carefully this year so we have a constant supply.  Unfortunately my next lot of home sown lettuces are tiny, so I decided to buy some that are ready to plant.  I was very pleased to find some reduced to £1 (I would never pay the original price of £3.99 for lettuces though).  I planted them in a space next to my outdoor tomatoes, again in my new area:

SAM_2982 SAM_2985

.

As all my plants have now been hardened off, I had room in my greenhouse to plant my basil and peppers.  Unfortunately the peppers that I grew from seed myself, just sat and sulked and did not grow…. so I decided to buy in some better plants for £1 each and planted them in my greenhouse this week:

SAM_2979 SAM_2968

.

So that was all of my vegetable planting done for now and then I started to plant the remaining flowers that I had grown from seed.

As my garden is a kitchen garden and not an allotment I decided that I wanted to make it as pretty as possible, so it will be pleasent for my family to sit out in the garden as well as it being productive.  This will also have a knock on effect as it will attract beneficial insects to my garden which will eat pests and pollinate my crops.

So I planted antirhinums, dahlias, marigolds, tegetes, bedding begonias, tuberous begonias and lobelia, wherever I could fit them in:

SAM_2955SAM_2961 SAM_2995 SAM_2989 SAM_2925

.

Things I noticed in my kitchen garden this week:

.

My azalea is showing a dazzling display of flowers and I have also noticed that the self seeded aquiligias are now flowering too and looking beautiful (these are one of my favourite flowers).  The chives that line my path are beginning to flower as well, which is great as all of these flowers will attact the bees:

SAM_2970 SAM_2971 SAM_3012 SAM_3011

I have also noticed my new strawberries all have flowers and one or two have tiny fruit on.  I have always read that you should remove the strawberries that the plants produce the first year to build up the strength in the roots….but I have never done this and I have always had good crops.  Next week I need to cover my strawberries to protect them from the birds:

SAM_3007 SAM_3008

I have noticed that my plum tree that is growing in a pot has three small plums on…whether they develop into full grown plums, I will have to wait and see:

SAM_3020 SAM_3021

The herbs that I planted this year are growing really well too:

SAM_3010

And the grass I sowed a couple of weeks ago has germinated well and is growing strongly:

SAM_3017

.

.

This week in the home:

.

This week we have been eating lots of the lettuces, radish, coriander and chives growing in the garden.

SAM_3023 SAM_2954

  However, what I found brilliant this week was my daughters quite happily nipping out into the garden to pick things to use in their sandwiches or to make a salad for lunch….this is something they couldn’t do when I had my allotment, so it is yet another advantage for me:

SAM_2984 IMG_3751

.

This week I decided to use a little bit of my rhubarb growing in the garden to make some rhubarb crumble muffins.  I transplanted this from my allotment in January last year, so it is only in its second year in my garden.   Last year I didn’t pick any of it and this year I have been picking it sparingly, so it builds up strong roots.  From next year I will be picking it as normal.

SAM_3022

.

Rhubarb Crumble Muffins:

.

The muffin Mix:

200g caster sugar

200g peeled rhubarb diced into small pieces

2 tbsp sunflower oil

1 egg

1 tsp vanilla extract

100mls semi skimmed milk

200g self-raising flour

1 heaped tsp baking powder

.

The crumble mix:

50g light muscovado sugar

50g plain flour

50g margarine (or butter if preferred)

25g porridge oats

1 tsp cinnamon

.

Preheat your oven 200C / 425F / Gas 7

Put the rhubarb and sugar in a bowl and stir well together

SAM_2934 SAM_2935 SAM_2936 SAM_2937

In a separate bowl make the crumble mix.  Put the muscovado sugar, plain flour, margarine, oats and cinnamon together and mix well using your fingers to rub in the margarine. 

SAM_2940 SAM_2941

In another separate bowl put the oil, egg, vanilla and milk and add all of the rhubarb sugar mix (incl. all the liquid).  Mix together well

SAM_2942 SAM_2943

Sieve the flour and baking powder into the rhubarb mix and fold it in gently until all the flour disappears….the mixture should appear lumpy-do not over mix

SAM_2944 SAM_2945 SAM_2946

Spoon the mixture equally into 12 muffin cases and then sprinkle the crumble mix over each of them

SAM_2947 SAM_2948 SAM_2949

Bake for approx. 18 minutes, or until a skewer is inserted and comes out clean.  

SAM_2950 SAM_2951

Enjoy!

SAM_2952

.

Thank you for reading my blog today.  I will be back next Friday as usual.

Have a great week.

XXX

Homemade Christmas Gifts…

This week I have been busy again.  I started the week by making another batch of laundry liquid.  It still amazes me how much I save by making my own liquid and it only takes about fifteen minutes to make approximately three months worth (and I wash a full load every day).

SAM_2461 SAM_2463

I also made some more dishwasher liquid too, using soap nuts:

SAM_2470

And I topped up my homemade multipurpose kitchen spray too, using white vinegar and a few drops of teatree oil.  The vinegar cuts easily through grease and dirt and the teatree oil turns it into an antibacterial spray.

SAM_2465

All of the above things help me to save money around the home and I don’t use any nasty chemicals either.

.

In the garden:

I also managed to buy another bag of woodchip to complete my the paths in the new area in my kitchen garden:

IMG_2869 IMG_2873

I then brought a couple of bags of soil conditioner to spread over two of my beds (I will buy some for the other beds another day):

IMG_2886 IMG_2885

I have left the soil conditioner on the top of the soil so the worms can do the hard work for me over winter.  I have also covered the two beds with weed suppressant to prevent weeds from growing and to also prevent the winter rain from leaching the nutrients out of the soil:

IMG_2889

I am already looking forward to growing crops in this area next Spring.

.

Preparations For Christmas:

.

Well Christmas is nearly here and this week I have been turning my attention to Christmas presents.

On Saturday I talked to BBC Radio Leicester about Christmas presents on a budget:

You can listen to the interview here if anyone is interested.  The interview starts 11 mins into the show.

I love chatting to Radio Leicester and they always make me feel very welcome.  I hope this comes across in the interview.

One of the things I talked about was homemade presents.  I love homemade presents as I always say they are “from the heart and not just the bank account”.  I took in three homemade presents to show (and taste) and explained that they are far cheaper to make than buy and by making them yourself you can have far nicer presents for far less money:

SAM_2457

The present on the right looks like a Christmas pudding and my daughter made these for all her friends and teachers last year and kindly made this one for me to take to the radio show.  It is a chocolate orange with maltesers stuck on with melted chocolate and she melted white chocolate over the top (to look like cream) and she put a little bit of plastic holly on the top.  She wrapped it in cellophane and it looked fantastic.

The box in the middle had homemade truffles in.  I love homemade truffles as they are so easy to make and look and taste really good:

SAM_2455 SAM_2454

.

I also took in a present of which contained cubes of chocolate with cranberries and sultana’s and this is how I made it:

First I melted a bar of my favourite chocolate in a bowl over a pan of gently simmering water stirring all the time…

SAM_2439

When the chocolate had melted I added some cranberries and sultana’s and mixed them until they were fully coated in the chocolate (you can use anything you enjoy e.g. smarties, maltesers etc)…

SAM_2443

I then poured the mixture into a tin / container that was lined with clingfilm (you can use silicone bakeware too if you have it)….

SAM_2444 SAM_2446

I then left the chocolate mixture to set (don’t put it in the fridge).

When it was set I took it out of the mould and removed the clingfilm….

SAM_2448

I drizzle some melted white chocolate over the top and again left it to set…

SAM_2449

When it was set I chopped the chocolate into cubes and wrapped it in cellophane….

IMG_2878

Top chefs will tell you that the chocolate should be ‘tempered’ to keep the shine on the chocolate, but if you slowly melt the chocolate and keep it away from the fridge whilst setting, I don’t think you need to for this.

.

.

This week, as Christmas is near I turned my attention to my Christmas hampers.  I started by covering my homemade jars of jams and chutneys with a pretty pieces of tissue paper, tied with a bow:

SAM_2467 SAM_2466

And then I wrapped a few surprises (including my homemade wine) to also go into my hampers too and then I started to put them altogether:

SAM_2473 SAM_2477

I am very pleased with the result, though I do still have two hampers to do.

.

I also made three mini Christmas cakes this week and a full sized cake too.  The Christmas cake recipe I use is very easy and can be eaten straight away, without having to continually ‘top it up’ with brandy.  The recipe is here.

SAM_2468 SAM_2471

I like to give the mini Christamas cakes to our parents, as they are just the right size for them to enjoy.

I decorated the mini cakes and wrapped them in cellophane and I think they look great and I would be very pleased to receive one….so lets hope they like them:

SAM_2488 SAM_2489

Just incase you are wondering, I brought my roll of cellophane approximately three years ago on-line and I still have loads left.

SAM_2479

  I checked this week and you can buy a 100 meter roll of clear cellophane for about £12 (incl. delivery).

.

mrs-claus[1]

.

Before I finish today I wanted to show you a lovely couple of chocolate logs that my daughter made last week for her friends at school…..apparently they all enjoyed it.   The recipe is here.

Each chocolate log costs approximately £1.50 to make and tastes delicious……to buy a supermarket ‘finest’ chocolate log it costs £3 and I bet it wouldn’t be as nice!

IMG_2871

I also want to show you some wonderful cakes that one of my daughters friends made to take into school too this week:

SAM_2482 SAM_2481

I think the cakes look wonderful and it just shows what you can do with a little bit of imagination!

“Homemade really is from the heart and not just the bank account”

.

Thank you for reading my blog today.  I will be back next Friday as usual.

Have a great week!

Woodchip Paths & Christmas Decorations

Before I start today I wanted to remind anyone that is interested, that my usual monthly blog post of

‘What To Do In The Kitchen Garden In December’ can be found here.

Don’t be fooled into thinking there is nothing you can do this month……..

There is loads of information in this post e.g. weather conditions expected, what to sow / plant / harvest in December, jobs to do and pests and diseases that you may encounter this month.

I hope it helps someone out there.

SAM_5091.

.

This week in the home:

.

This week my youngest daughter turned ‘sweet sixteen’….how on earth did this happen so quickly?

We all had a lovely day together and my eldest daughter made a birthday cake, in the shape of a ‘Dairy Milk’ chocolate bar (my youngest daughter’s favourite food) and it was absolutely delicious!

SAM_2413

.

Unfortunately my step father is still not well, so this is taking up a lot of my time with phone calls, hospital visits and taking my mother shopping.  My mum and dad both remarried and so between Mr Thrift and I, we have three sets of elderly parents (though my father-in-law sadly died last year).  With two teenage daughters this means that myself and Mr Thrift are part of the ‘sandwich’ generation and recently I have felt quite run down from it all, especially as I have also spent the last year trying hard to train Judy, the RSPCA dog that we adopted on top of this (though we all adore her).

However, I have no choice but to carry on with things the way they are at the moment and I can only hope they will get better over time.

SAM_2430

.

So this week in the Thrift household we put our Christmas tree up, as decorations in the house always cheer us up.

As we now have a three piece suite in our front room it was hard to find a place for our trusty old Christmas tree.  After trying different places in the room we finally wedged it in the corner, however it looked very small and hidden by the furniture…..I came up with the idea of standing it on an old plastic box to give it some height, which I covered temporarily with one of the curtains I recently brought from a car boot sale (to cover two old reclining garden chairs that I was given).

SAM_2421

We put on some Christmas music and all four of us decorated the tree with a bit of singing and daft dancing in between.  All in all it was lovely afternoon and we all think the tree looks nice due to the box it stands on and you can actually see the tree lights twinkling outside our front window for the first time:

SAM_2423

We also decorated our stair banister in the hall with our old garland and I fixed our Christmas wreath to the front door.

SAM_2436 SAM_2433

We have used the same ‘artificial’ decorations for many years now and they still look good.

This year I decided to add to our decorations with a cheap garland I brought for the fireplace.  I have decorated it with some cones and I will add the slices of oranges I am drying on my radiator when they are ready too:

SAM_2432 SAM_2424

The room is looking beautiful now (except for the carpet that we still haven’t managed to save up for yet but we are trying to ignore it for the moment).

.

This week in the garden:

.

Last week I brought some primroses for 50p each as I thought it would brighten my garden in the dull December days ahead.  This week I planted three of them in a pot next to my back door and the rest I planted in a hanging basket outside our front door….and I am very pleased with them.

SAM_2403 SAM_2405

I love primroses as they flower each year and look beautiful.

.

This week I also tried very hard to finish my new vegetable patch.  I was going to ask Mr Thrift to help me to lay the final three slabs, but unfortunately I couldn’t complete my final two beds until they were laid…..so I decided to do it myself.  I’ve laid plenty of slabs on my own when I had my allotments so this didn’t bother me too much, though Mr Thrift did tell me off!

This meant I could then continue with the final two beds next to the slabs…

SAM_2425

I then created a very small area for a flower to be planted next year, using the edging stones I have spare:

IMG_2868

And I completed the edging next to the bed in front of the fence:

SAM_2420

I then used old weed suppressant to cover the new paths, using old pins from my allotment to secure it down:

SAM_2428

And then I brought some bags of woodchip from our local timber yard and covered the weed suppressant with it.  Over the years I have found that if you place woodchip on weed suppressant, it doesn’t rot down as quickly as it does if you place it directly on the soil.

Unfortunately I was a bag or two short of woodchip so I will have to make another trip to them before I can complete the paths in my new vegetable area.  However it is looking good so far:

IMG_2870 SAM_2429

After completing the paths next week I will start to concentrate on improving the soil.

But for the moment I am pleased how it is shaping up.

.

Thank you for reading my blog this week.  I will be back next Friday as usual.

Have a great week!

Greenhouse Shading And Banana Recipes

There has been some really miserable weather this week and it’s been hard to get into the garden to do any work.

SAM_1010

However, in between the showers I did manage to plant my mange tout, in front of my strawberries.  I am trying very hard to use every bit of space I have to grow vegetables.

This really is a trial year for my kitchen garden and I’m not sure yet if things will grow well or not.  I was hoping that I will have picked the strawberries before the peas grow taller and take away some of the sunlight….however due to the miserable, cool weather we have been having this may not work, as there are no sign of flowers on my strawberries yet.

SAM_1012 SAM_1014

You can see in the second photo, I have put wire over the peas to stop the birds from eating them and my dog from destroying them (as she still goes mad when my neighbours dog is out).

I grew the monge tout in small lengths of guttering, which I ‘slide out’ into prepared soil when they have germinated.  I find this gives me a better germination rate.

You can read exactly how I grow peas in guttering here.

.

SAM_0986 SAM_0988

I also planted out a few of my outdoor tomatoes that I sowed on the 5th April.  You can see in the photo above that I am leaving some glass over them because the temperature outside is still quite cool for this time of year.

The tomatoes are a variety called ‘Outdoor Girl’ and I have grown them now for many years outside.  One seed company describes them as follows:

“Tomato Outdoor Girl is a really tough outdoor tomato, very easy to grow and tolerant to low temperatures. Early to fruit producing medium sized fruits of good flavour and colour

I think they are spot on with this description, as they really do give a good supply of tomatoes early on, so I get a good harvest before blight hits.

SAM_0989

In between my tomatoes I have planted some Tegetes as they look lovely when they are in flower and they also confuse the white fly with their smell, so this will stop them from attacking my plants.

.

SAM_0994 SAM_0995

In my greenhouse this week I took the bubble wrap down that provided a layer in insulation over winter, (before it actually fell down on its own).  I have left it in place over the last few years and it was now brittle and tore very easily.

I replaced it with shading netting that will help my plants on hot sunny days.  I bought my shade netting from Wilkinsons as I found it cheapest from there:

SAM_0997

Last week I planted my basil in bags in my greenhouse and this week I sowed a catch crop of radish in between them and amazingly the radish germinated in just five days.  I also sowed a row of radish outside on the same day and they are nowhere to be seen yet.

SAM_0991 SAM_1015

.

This week I harvested my first radish from the garden.  These were sowed on the 10th April:

SAM_0981

 I also picked a few of my everlasting onions:

SAM_0982

And I had my third cut of mixed salad leaves that I sowed in a pot in March:

SAM_0977 SAM_0976

.

(Next year I am hoping to be havesting more things at this time of year, now my kitchen garden is up and running).

The aim of my kitchen garden is to harvest as much as possible from a small space.

.

.

At home this week:

I made a big batch of tomato and basil soup from tomatoes I grew at my allotment last year and froze (I just chop the fresh tomatoes in half and place in a freezer bag and then into the freezer).

SAM_0975

When the soup was ready I then froze it in portions, so I can defrost a bowl full for lunch when I want to:

.

Top Tip:

This week my daughter brought some plastic cups from the ‘pound shop’ and she couldn’t get the sticky labels off:

IMG_2392

So I put a drop of olive oil on the sticky labels and then I used a scrubber to easily remove the sticky label and residue remaining:

IMG_2393 IMG_2394 IMG_2396

This also works for removing the sticky residue on jam jars when most of the label has been removed.

.

And finally I made some banana lollies and some super quick and easy ‘breadmaker’ banana bread from the ‘whoopsied’ bananas that I bought at the end of last week and I have written bothe of these recipies below for anyone that is intersted:

SAM_0944

.

Super Quick And Easy Banana Bread In A Breadmaker:

.

3 over ripe bananas mashed

200 grams granulated sugar

3 tablespoons sunflower oil

2 eggs

270g self raising flour

1 teaspoon of baking powder

.

Put all the above ingredients into your breadmaker pan and put it on a ‘pizza dough’ setting for 5 minutes.

Stop the breadmaker half way through and scrape down the sides of your pan with a spatula to ensure all the flour is mixed in well,

SAM_0966

When there is no trace of flour left, set your breadmaker on a ‘bake’ setting for 55 minutes:

SAM_0969SAM_0970

The result is lovely banana bread

(which incidentally can be sliced and frozen for another time):

SAM_0971 SAM_0973

.

.

Banana Ice Lollies:

.

2 Ripe banana’s

3 tablespoons natural yoghurt

1 teaspoon vanilla extract

60 grams chocolate

2 tablepoons of milk

.

Use a hand blender to combine the banana, yoghurt and vanilla until they are smooth:

SAM_0956 SAM_0957

Pour the resulting mixture into four lolly moulds, leaving a slight gap at the top for the chocolate:

SAM_0960

Put the chocolate and milk in a microwaveable jug and microwave on full power until the chocolate has melted (this only takes a couple of minutes so keep checking it).

SAM_0959

Let the chocolate mix cool down for a few minutes and then pour it over the banana mixture:

SAM_0962 SAM_0963 SAM_0964

Put the lollies in the freezer overnight:

SAM_0965

And then enjoy:

SAM_0974

.

Thank you for reading my blog today, I will be back next Friday at my usual time.

Have a good weekend!

My First Crops And ‘Pricking Out’ Seedlings

My life has changed so much over the last year for one reason or another and at times I have found the changes very hard to come to terms with, especially having to give my four allotments up.  But my family mean the world to me and this is the way it has to be for the moment.

I have tried very hard not to think about my old allotment plots and make the best of what I do have, which is why I created my new kitchen garden:

(Below are my ‘before’ and ‘after’ photos):

SAM_0234 SAM_0767

In the beginning I think Mr Thrift thought I was mad digging up the back garden, especially as it looked like such a small area.  However, I knew it was bigger than it looked because I had crawled under the bushes at the back of the garden to see where the boundary fence actually was.

The soil was awful too….a very heavy clay which I could easily have made a few ‘clay pots’ out of, but I forked in lots of council ‘green waste’ compost (£2 for a very large bag) and a few bags of organic manure, I can already see how much the soil has improved.

SAM_0755 SAM_0714 SAM_0715

I have started to put some flowers into my new plot to attract some beneficial insects to it.  It is beginning to look pretty in places now and I have already noticed some bees buzzing around.

The Forget-me-nots and Aubrietia that I brought back from my allotment

The Forget-me-nots and Aubrietia that I brought back from my allotment

.

The weather here has been lovely over the last week or so and I have started to see some benefits to have a vegetable plot in my back garden.  I have found that I can pop out and pull up a few weeds when I want to, or just check my plants over when I have just a few minutes to spare and I can also go out very early in the morning or at dusk to finish off a few jobs…..I have even walked around it sometimes in my dressing gown and slippers (I hope my neighbours didn’t see me, as I do look a sight in the morning).

I have found it is also lovely to be able to go inside to warm up with a hot drink if it’s cold or to cool down in the middle of the day when it’s hot (like it has been this week).  And I mustn’t forget to say that it is really nice to go to the toilet when I want to as well.

I couldn’t do these things at my allotment.

SAM_0731 SAM_0732

I am having to learn how to cram as much as possible in a small space and use every bit of space that is available in my garden and my greenhouse.

The photographs above show the cut and come again salad mix that I sowed at the beginning of March in old containers from the supermarket.  They have been growing in my greenhouse and this week we had some for tea.

We have also been eating a few of the chives that I brought back from my allotment in January and planted along my new path.

SAM_0768

It really is nice to nip out and pick something when I feel like it, rather than planning what I must pick each day and bringing back it home from my allotment.

.

So even though I am still sad to have given my allotment plots up, I am seeing some lovely benefits for having a small kitchen garden at home.

.

.

In My Kitchen Garden This week…..

This week my new compost bins were delivered.  I ordered two galvanised metal bins to replace the plastic ones I used before in my garden as compost bins.

SAM_0734

Unfortunately my neighbours recently had a rat set up home in their shed and this made me worry that the compost in my new kitchen garden (that is close to our house) would attract the rats too.

  For years at my allotment I had problems with rats in my black darlek compost bins (even though I never put anything into them that I shouldn’t have).  At one stage I purchased rodent proof bottoms for the darlek bins and the rats just bit a hole through them to get in!

The only way I managed to deter them from going into my darlek compost bins at the allotment was by taking the lids off all winter and making sure the contents were wet (as rats don’t like the wet and cold).  However at home, I didn’t want to attract the rats at all, which is why I have bought the metal bins, which hopefully they won’t be able to bite into.

I have already started to fill them and I can see I will need to buy more in the future:

SAM_0741

.

This week I have started to ‘harden off’ some of my plants, ready to plant out soon.  The cabbages, spring onions and peas are now sitting in my cold ‘mini’ greenhouse which I leave open in the day and shut at night:

SAM_0760 SAM_0758

I have sown some seeds directly into my soil outside this week too….kohl rabi, turnip, radish and beetroot.  I always had problems sowing seeds directly in my heavy clay soil at my allotment as the germination rate was so low – so this is really a trial and i’m not sure what will happen.  I have covered the seeds with wire to protect them from the birds (I brought the wire back from my allotment in January):

SAM_0761 SAM_0762

I have also planted my potatoes.  If you have been reading my blog for a long time you will know I usually plant three varieties at my allotment- Marfona (2nd early), piccasso (early main crop) and Desiree (a late main crop).  Obviously this year I don’t have the luxury of space and I can only plant a very small amount of seed potatoes, so I chose to grow twelve Desiree potatoes (as these are the least suseptable to slug and eel worm) and six Marfona seed potatoes, as I do love the taste of these new potatoes.

As usual I pulled a trench out of the soil with my draw hoe and then used a bulb planter to make the hole deeper:

SAM_0735 SAM_0736

I also had four Marfona seed potatoes spare, so I put them in one of my old plastic compost bins:

SAM_0743 SAM_0742

I covered the potatoes with compost and I will add more to the bin each time the foliage grows.

.

I also planted some sweet peas this week.  I put some pea netting up for them to climb and I covered them with bottles to stop the slugs while they are establishing themselves:

SAM_0757

I also sowed some wildflower seeds around them – this is earlier than I normally sow these seeds, but the wall should bring the temperature in the area up a degree or two.

.

One of the other things I did this week was to make up my hanging baskets.  I must confess, I did buy the small plants from our local nursery (as I have been so disorganised this year), but it is still alot cheaper than buying a ready made basket.

Hopefully  next year I will grow the plants myself from seed.

SAM_0766 SAM_0744 SAM_0763

As you can see, I use an empty compost bag turned inside out for my baskets.  I like to reuse things when I can and the trailing plants I have used will hopefully cover the bags anyway.

I have already started to harden the baskets and pots, by leaving them outside for a few hours each day.  Even when they are fully hardened off I will continue to bring them back inside my greenhouse if a low temperature or frost is forecast.

.

I have also been ‘pricking out’ the seeds that have germinated this week.

SAM_0745

I now have cherry tomatoes (which will eventually go into a hanging basket), outdoor tomatoes which I will grow in pots, some basil to grow in my greenhouse and finally some more lettuce.  All of these will stay in my greenhouse until they are bigger and the risk of frost has past, except for the lettuce that will be hardened off a lot sooner than the others:

SAM_0771SAM_0770SAM_0769

I have also ‘potted on’ my greenhouse cucumbers into large pots….I can’t wait for these to produce fruit as we eat a lot of cucumbers in our house:

SAM_0751

.

So it’s been another busy week in the ‘Thrift’ garden.

.

I hope you have enjoyed reading my blog today.  I will be back as normal next Friday.

Have a good weekend!

Seed Sowing & General Garden Jobs

I hope you all had a lovely Easter.  The weather here was beautiful on Easter Monday and we even dug out our BBQ, which is something we haven’t done for an awful long time…..maybe giving up my allotments will bring nice advantages like this.

My Easter Cake

My Easter Cake

.

This week I have been seed sowing again.  However I had to make some plant labels first.

I make plant lables by cutting up empty plastic milk bottles and they work a treat:

SAM_0693

I then sowed some spring onions, butternut squash, outdoor tomatoes, melon, basil, coriander, lettuce and parsley.

I keep some of my seeds in the greenhouse which is heated to 10C and some of them inside our house to germinate:

SAM_0696

I also sowed some climbing peas in toilet roll inners.  These are a variety called ‘peashooter’ which are quite expensive to buy, so each year I save some of my own seeds – these are seeds I saved last autumn.  The pea pods grow lovely and big and the peas are beautiful:

SAM_0697 SAM_7049

I also sowed my parsnip seeds in kitchen roll tubes.  I sow them this way so I get a good germination rate and lovely straight parsnips…I have tried lots of different ways to grow parsnips and this way is definately the best.

You can read all about growing parsnips this way here if you are interested.

SAM_0695IMG_2296

.

This week I decided to cover my onions and garlic to avoid the allium leaf miner, which is a relatively new pest in the Midlands.  It attacks all alliums and over the last couple of years it did quite a bit of damage to my onions at my allotment.  The alliums in my back garden may be protected as it’s pretty sheltered here away from the allotment, but as I have lots of enviromesh I thought I may as well cover my onions to protect them, just in case.

You can read all about the allium leaf miner here.

I made the cage for the environmesh exactly the way I used to at the allotment, using canes and bottles:

SAM_0698 SAM_0705

.

This week I also planted some lettuces.  I will keep them under glass until they are a little bit bigger as the nights are still cold at the moment.

SAM_0722 SAM_0726

I also planted out the spring onions that I sowed on the 18th March.  I always had problems getting my spring onions to germinate in my heavy clay soil and I found that by putting a few seeds in modules really helps.  I don’t bother to thin the onions out as the bunch will grow happily together until you are ready to pull them up:

SAM_0723

It’s lovely to see more and more things growing in my new kitchen garden.

.

.

Last week I tried to set up my first water butt, but I found it has a leak around the tap.  I fixed the leak last week and now it is finally set up and waiting for rain:

SAM_0710

This week I set up a second water butt next to my shed.  I spotted an old grey piece of guttering hanging from the back of my shed and so I hooked this up to some guttering to make a ‘makeshift’ channel to my waterbutt.  It looks a bit daft, but it will do the job for now:

SAM_0711 SAM_0712

.

Another job I finally got around to doing this week was to sort out the nets I brought back from my allotment.  I measured them and labeled them, so I would know at a glace which one I should use in the future.

SAM_0708SAM_0718

I also washed some of my environmesh and folded it up ready for use:

SAM_0707 SAM_0709

I managed to store them all in my storage boxes where I would normally store all my potatoes during the winter:

SAM_0719 SAM_0720

.

Now that my nets had been put away neatly, I was able to start to fill the large containers that I brought home from my old allotment plots.  I put as much rubble as I could in find in the bottom of each pot together with a bit of polystyrene that I found.  This will help with drainage and also reduce the amount of compost that I will need to use to fill each deep pot too.

I used the council green waste compost to half fill the pots (as this is only £2 for a large bag) and I will then buy some compost to top the pots up as this will have more nutrients in than the council green waste compost:

SAM_0721 SAM_0727

.

This week I also thinned the leeks that I sowed last month.  I don’t need too many this year so I will thin them out a bit more in a couple of weeks so I get nice, strong healthy plants.  The leeks are still very small as I only sowed them last month, which is later than I usually do, but I’m sure they will catch up:

IMG_2334

And finally this week I planted some Primroses in my new kitchen garden.  I love these plants as they look so beautiful in Spring with the daffodils, they are good for the bees and the plants grow year after year…..so I think they are a good plant to have in my kitchen garden:

SAM_0700 SAM_0716

.

Thank you for reading my blog today.  I will be back at my usual time next Friday.

I hope you have a good week.

King Richard III & A Quick Microwave Syrup Sponge Recipe

Because I live in Leicester, I couldn’t start my blog today without mentioning King Richard III.

For those that haven’t seen the news over the last week, the bones of Richard III were found buried deep under a car park in Leicester some time ago, and on Sunday a cortege carried King Richard III’s mortal remains from Market Bosworth (where he died in the battle of Bosworth) across Leicestershire into Leicester city centre.

We were all very excited as the A47 at the bottom of our road was closed for an hour as the cortege was to pass by.  So we all walked down to see a part of history, as Richard III was the last King to actually die in battle.  There were hundreds of people lining the road waiting when we got there.

SAM_0629SAM_0631

Well I can only say it was very dissapointing for everyone, as the cortege sped by so fast that if you blinked you would have missed it.  I had my camera ready in my hand and I still only managed to take the back of it as it shot by.

It was such a shame for everyone, especially as some people has white roses to throw, but there wasn’t time.

SAM_0632

There had been so much news coverage over the week leading up to the day, which is why so many people turned up to see him being driven past and everyone was under the same impression it would drive past at least a little bit slower.

However, it did all look amazing in the city centre when they showed the coverage on the news…it’s a shame we weren’t in town to see it.

.

.

This week at home I realised that my butternut squashes were beginning to go over and I didn’t want to waste them.  We love butternut squash in our house and I grew loads last year at the allotment.

My last butternut squashes from 2014

My last butternut squashes from 2014

 I really didn’t want to waste the squashes, so I chopped them up ready for roasting and then popped them into the freezer on a tray and then bagged them up when they were frozen.

When they were frozen I tried roasting a few of them straight from the freezer, by just increasing the roasting time and I’m very pleased to say they were as good as they normally are.

SAM_0628

So I now have butternut squash, celeriac, jeruselum artichokes and parsnips, that I just take out of my freezer and roast from frozen (it makes Sunday dinner much easier).

.

This week I decided to buy some trellis for my back fence.  The fence was looking very bare, as my cordon fruit trees haven’t grown any leaves yet.

I have been looking for trellis for a while, but what I wanted was always over £10 and I needed four pieces which would make it expensive.  However, I managed to find an expandable trellis in Wilkinsons this week for just £2 each and it matches my fence colour quite well so I won’t even have to paint it:

SAM_0633

It easily screwed onto the fence and I am very pleased with it:

SAM_0636 SAM_0673

I shall be planting sweet peas up three of them, but I’m not sure what I will grow up the fourth one yet as this one is in the shade….I will let you know when I decide.

.

I had a quick wander around my local nursery last weekend and I found a pot of Tegete seedlings for 60p.  I had already decided to grow some of these plants for my new kitchen garden as they are great to attract beneficial insects to the plot, but as yet I hadn’t managed to find the seeds in the shops.  I’m sure a packet of seeds would have cost me more than 60p.

So I brought the seedlings home and pricked them out.  There were enough for me to grow on and give to my family too.

(You can read how to prick out seedlings here).

SAM_0642 SAM_0644

I also bought a tomato plant that was also 60p, but it was a lot further forward that the ones I am growing.  I have potted it up, by planting it deep in the pot, as new roots will then form from the stem and make the plant stronger:

SAM_0645 SAM_0650

It will be interesting to see how much sooner I will have tomatoes ready to eat.

My tomatoes sown on the 3rd March

My tomatoes sown on the 3rd March

  .

This week my broad beans were ready to plant out. They are a variety called ‘Aquadulce’ that I sowed on the 11th February, which was really a bit late as they are an overwintering variety.

I do have a few spare plants that I can pass on, as I am not yet used to sowing seeds in such small amounts.

SAM_0639 SAM_0641

It felt very nice to finally be planting something in my new kitchen garden at last.

.

I noticed that the ground must be beginning to warm up as weeds are starting to grow, so I hoed for the first time this year.  It was very nice as it only took just a few minutes to hoe the whole plot – this job would have took a whole morning at my old allotments due to the size of them.

SAM_0663 SAM_0664

.

I also decided to tidy up my strawberry patch, that was already in a mess from fallen leaves.  This is the only raised bed I have because this area is full of roots from the Viburnum tinus and Photinia bushes behind it.  The raised bed has been placed over weed suppressant as it was impossible to plant directly into the soil.

I used my homemade compost from my allotment compost bins and the small amount of compost I had made at home to fill the raised bed, so I could plant the strawberries in January that I also brought home from my allotment.  It was the wrong time really to plant them, but they seem to have survived.

SAM_0668 SAM_0671

I also removed any of the dead leaves on the plants and gave them a good watering as the ground was fairly dry – I suppose this is one of the drawbacks with raised beds, especially ones that are situated under bushes as well.

(Incidentally, the raised bed will have plenty of sunshire as it faces south, so the bushes are not a problem as far as light is concerned).

Another thing I did was to cut the bushes back a little bit, so it was easier to walk around the raised bed.  I need to give some thought on how to stop the leaves from falling onto the bed and also more importantly, how to stop the bird muck falling onto my strawberries from the birds that sit in the bushes above….I’ll let you know when I’ve thought of something.

SAM_0672

.

Around my new kitchen garden my daffodils are flowering nicely and I had a nice surprise when I saw an aquilegia was growing next to one of them too.  These are one of my favourite flowers and I can’t quite understand how I missed it when I was digging my plot over.  It obviously is determined to stay and it’s ok for it to grow in the spot it is in, so I’m going to leave it there.

I like nice surprises like this.

SAM_0660

.

The rhubarb is growing nicely now and the comfrey is just starting to poke it’s head up from under the ground.

SAM_0661 SAM_0662

Some of my raspberries are showing growth, but some aren’t yet, so I am keeping my fingers crossed that they show soon and they have survived the move from my allotment.

.

So the kitchen garden is coming along nicely.

.

.

Finally I though I would share another pudding recipe that I cooked for my family on Sunday.  It is really quick to cook, taking just eight minutes in my 700W microwave and tastes absolutely lovely (no one ever knows it has been cooked in a microwave either):

.

Syrup Sponge Pudding Recipe:

.

100g margarine, plus some for greasing the bowl

100g granulated sugar

2 eggs beaten

100g self-raising flour

2-3 tablespoons of milk

2 tablespoons of golden syrup

.

Beat the margarine and sugar together.

Mix in the beaten egg then fold in the flour.

Then add enough milk to achieve dropping consistency (so it falls off the spoon easily).

Grease a microwave bowl with margarine and then put the golden syrup in the bottom.

IMG_2299

Pour the sponge mixture on top of the syrup.

IMG_2300

Cover the bowl with a plate and microwave on high for 8 minutes (based on a 700w microwave).

IMG_2301

Leave it to stand for a couple of minutes before turning in onto a plate. 

Serve with custard, cream or ice cream – or on it’s own if you prefer.

IMG_2302 IMG_2303

Enjoy!

.

Thank you for reading my blog today.  I will be back as usual next Friday.

Have a good week!

Time For Change – Giving Up My Allotment Plots

If you have been following my blog over the last few weeks, you will know that I have been having some family problems that now take up a lot of my time.   On top of this we have a very anxious rescue dog that we brought home in October called ‘Judy’.

Right from the start it was apparent that she was not an ‘allotment dog’ as she is scared of most things and quite often just stands and shakes with her tail between her legs when we are outside our front door.  However we have all become very attached to Judy as she is such a loving dog and we refuse to give up on her, especially as she is responding to training with me.

This week

So all of this forced myself and Mr Thrift into making a very hard decision…..

On Saturday we handed back the keys to my four beautiful allotments.  It was such a hard thing to do as not only have I spent the last ten years working them and producing most of our fruit and vegetables, but as I stood and looked at the plots for the last time I realised I also have so many fond memories ….  my daughters planting and picking crops, playing on their bikes or on their swing and I remember them collecting ladybirds and making mud pies.  We also had lots of lovely family picnics there too.

However as my youngest daughter pointed out to me, these memories will stay with me forever.

SAM_2570 SAM_6730 OLYMPUS DIGITAL CAMERA

.

So what about my blog?

I’m still going to carry on writing my blog as it’s one of the things I love to do and I will still be talking about cooking from scratch, cleaning the old fashioned way, etc. but instead of allotment gardening I will be talking about my ‘kitchen garden‘.

I’m sure that you already know how much I love growing organic fruit and vegetables and I certainly couldn’t give up growing them completely.  So my blog is going to be focusing now on how much I can possibly grow in my small garden.

.

So over the last few weeks I have started to transform my garden.

The photographs below show my back garden in November, before we had made the decision to give the allotment plots up.

SAM_0233 SAM_0234

After much consideration, I decided that the top half of the garden would be my new vegetable patch and the grassed area near my greenhouse would remain, for my dog to run around.

My main aim is to grow as many fruit and vegetables in the garden as possible, but this will be a challenge as it’s a very small area with shade in some parts.

I began by cutting shrubs back and digging out their roots….and I must say it took far more trips to our ‘green waste’ tip than I thought it would.  I cut back the large shrubs we had (the choisya, lavatera, elaeagnus and the rosa rugosas) and then started to dig out the roots, but no matter how I tried I just was not strong enough to dig out the three remaining roots of photinia, the elaeagnus and a self seeded root of a pussy willow (which incidentally I didn’t even know was there).

SAM_0307 SAM_0306 SAM_0305

After cutting everything back this is what it looked like:

SAM_0249

  I was actually amazed how much bigger the area was than I realised.

I found lots of rubble and large stones which I piled up around the left hand edge of the garden.  The garden slopes down to the left so these stones will help to hold the soil in:

SAM_0253 SAM_0288

I also found two slabs buried under the soil too:

SAM_0304

Unfortunately everytime my dog ran around the new vegetable patch she would end up absolutely filthy, covered in mud.  I decided to use some of the chicken wire from my allotment to make a fence to keep her out and I also made a little gate for easy access.

SAM_0286

After I cleared all the shrubs from the garden I then hit another problem….the fence at the end of our garden that was previously covered in the shrubs, was completely rotten and part of it was holding onto the support post with a piece of wire.  At first I thought we could just use screening to cover it, but if I wanted to use the fence as a support for plants then it just wouldn’t be possible.  So after much discussion we decided to go ahead and replace the fence….it was an expense that we hadn’t bargained for, but it looked much better afterwards and they dug out the three remaining roots for me too:

SAM_0309 SAM_0310 SAM_0401

.

Over the last couple of weeks I started to bring home things from my allotment that I wanted to make use of and some of my remaining crops.  I have been busy freezing leeks, carrots, brussells and some parsnips (I still have my celeriac and remaining parsnips yet to freeze).

SAM_0384IMG_2243SAM_0365SAM_0385

Unfortunately as the rent for the plots was due I had to leave some of the crops still growing e.g. curly kale, spring broccolli, spring cauliflowers, etc., but hopefully someone will have a nice crop from them.

I also brought home some autumn raspberries,  the currant bushes and the gooseberry bush that I only bought and planted in early October at the allotment and some chives and a few strawberry plants.  I also brought home a couple of globe artichoke and some of the wall flowers that I grew from seed too, and a hand full of jeruselum artichokes, a comfrey plant and a few overwintering onions.

I ‘heeled’ the bushes into the ground and planted the wall flowers at the front of my new wire fence and planted the globe artichokes, but I’m not really not sure if any of these plants will grow, as it really is the wrong time of year to move them….but I will keep my fingers crossed.

SAM_0373 SAM_0375 SAM_0378IMG_2239

One last thing I bought home was a few snowdrops from my lovely woodland area, as these remind me of my friend who passed away two years ago this month.

SAM_0389 SAM_0390

Though time was short I managed to bring home my tools, nets, some woodchip (that I still  had bagged up ready to use), some large pots and some willow canes (to edge my new path).  I also managed to bring home my two bug boxes, some glass and some of the weed suppressant paths that I stitched up last year on my sowing machine, so I could use them again.  And finally I bought home the raised bed that I made for sowing my carrots into each year, the bird bath that I brought on ebay for £5 last year and the chair my dad used to sit on when he came to my allotment:

SAM_0383 SAM_0376 SAM_0370 SAM_0391

I have an area in front of my greenhouse at home where nothing really grew due to the roots of the bushes that line our fence.  I already had weed suppressant in this area to screen off my neighbours garden from ours (unfortuanely they also had a new dog a month ago so our behaviourist advised us to do this while we are having problems with Judy), so I put the raised bed on the weed suppressant and filled it up with all my remaining homemade compost from home and topped it up with some of my allotment compost too.  I then planted the strawberries that I brought home from my allotment plot (again I’ve got to keep my fingers crossed that they will survive, due to transplanting at the wrong time of year).  Again I fenced this area off with chicken wire so my dog doesn’t jump all over it and made a little gate:

IMG_2240

.

So that is how things are looking this week in my new kitchen garden.  I have come a long way in a just a few short weeks but there is still alot to do before I am ready for planting.

I know I will miss my allotment plots, but I can’t change the circumstances that brought me to the decision to give them up.  By growing vegetables at home I will have more time for my family and our anxious dog.

My old allotment plots

My old allotment plots

I hope you enjoyed reading my blog today.