I am very lucky as there is a very large park within five minutes walk of our house. When my daughters were small I would take them to the play area and watch them on the swings and slides and we would have picnics there in the summer too.
However it wasn’t until we had Judy (our rescue dog) sixteen months ago, that I fully realised how large an area the park covers and how much work the park keepers do to make it a wonderful place for us all to enjoy.
Each week there are different things to see….last week I saw the snowdrops and crocus begin to flower and this week there is beautiful blossom on one of the trees:


I am really not very good at identifying trees so if anyone knows what it is then please let me know….but it really is pretty and brightens the damp and wet days when I walk Judy.
Judy is continuing to do very well and I now only take her to training classes once every two weeks. She now has little doggie friends that we regularly walk with on the park and she has even started to play a little bit with other dogs……nine months ago I would never have believed this would ever happen as she was so reactive to dogs (and lots of other things).
For a while now I have been walking Judy on a very long training lead and for the last two months when there are no dogs about I have been dropping the lead and let it trail behind her (so I can stamp on it and pick it up quickly if need be). This week as her recall has improved significantly, I finally dared myself to take her off the lead completely….and she loves it, running around much more freely.

So this is another major breakthrough and I am really pleased.
.
In My Garden This Week:
.
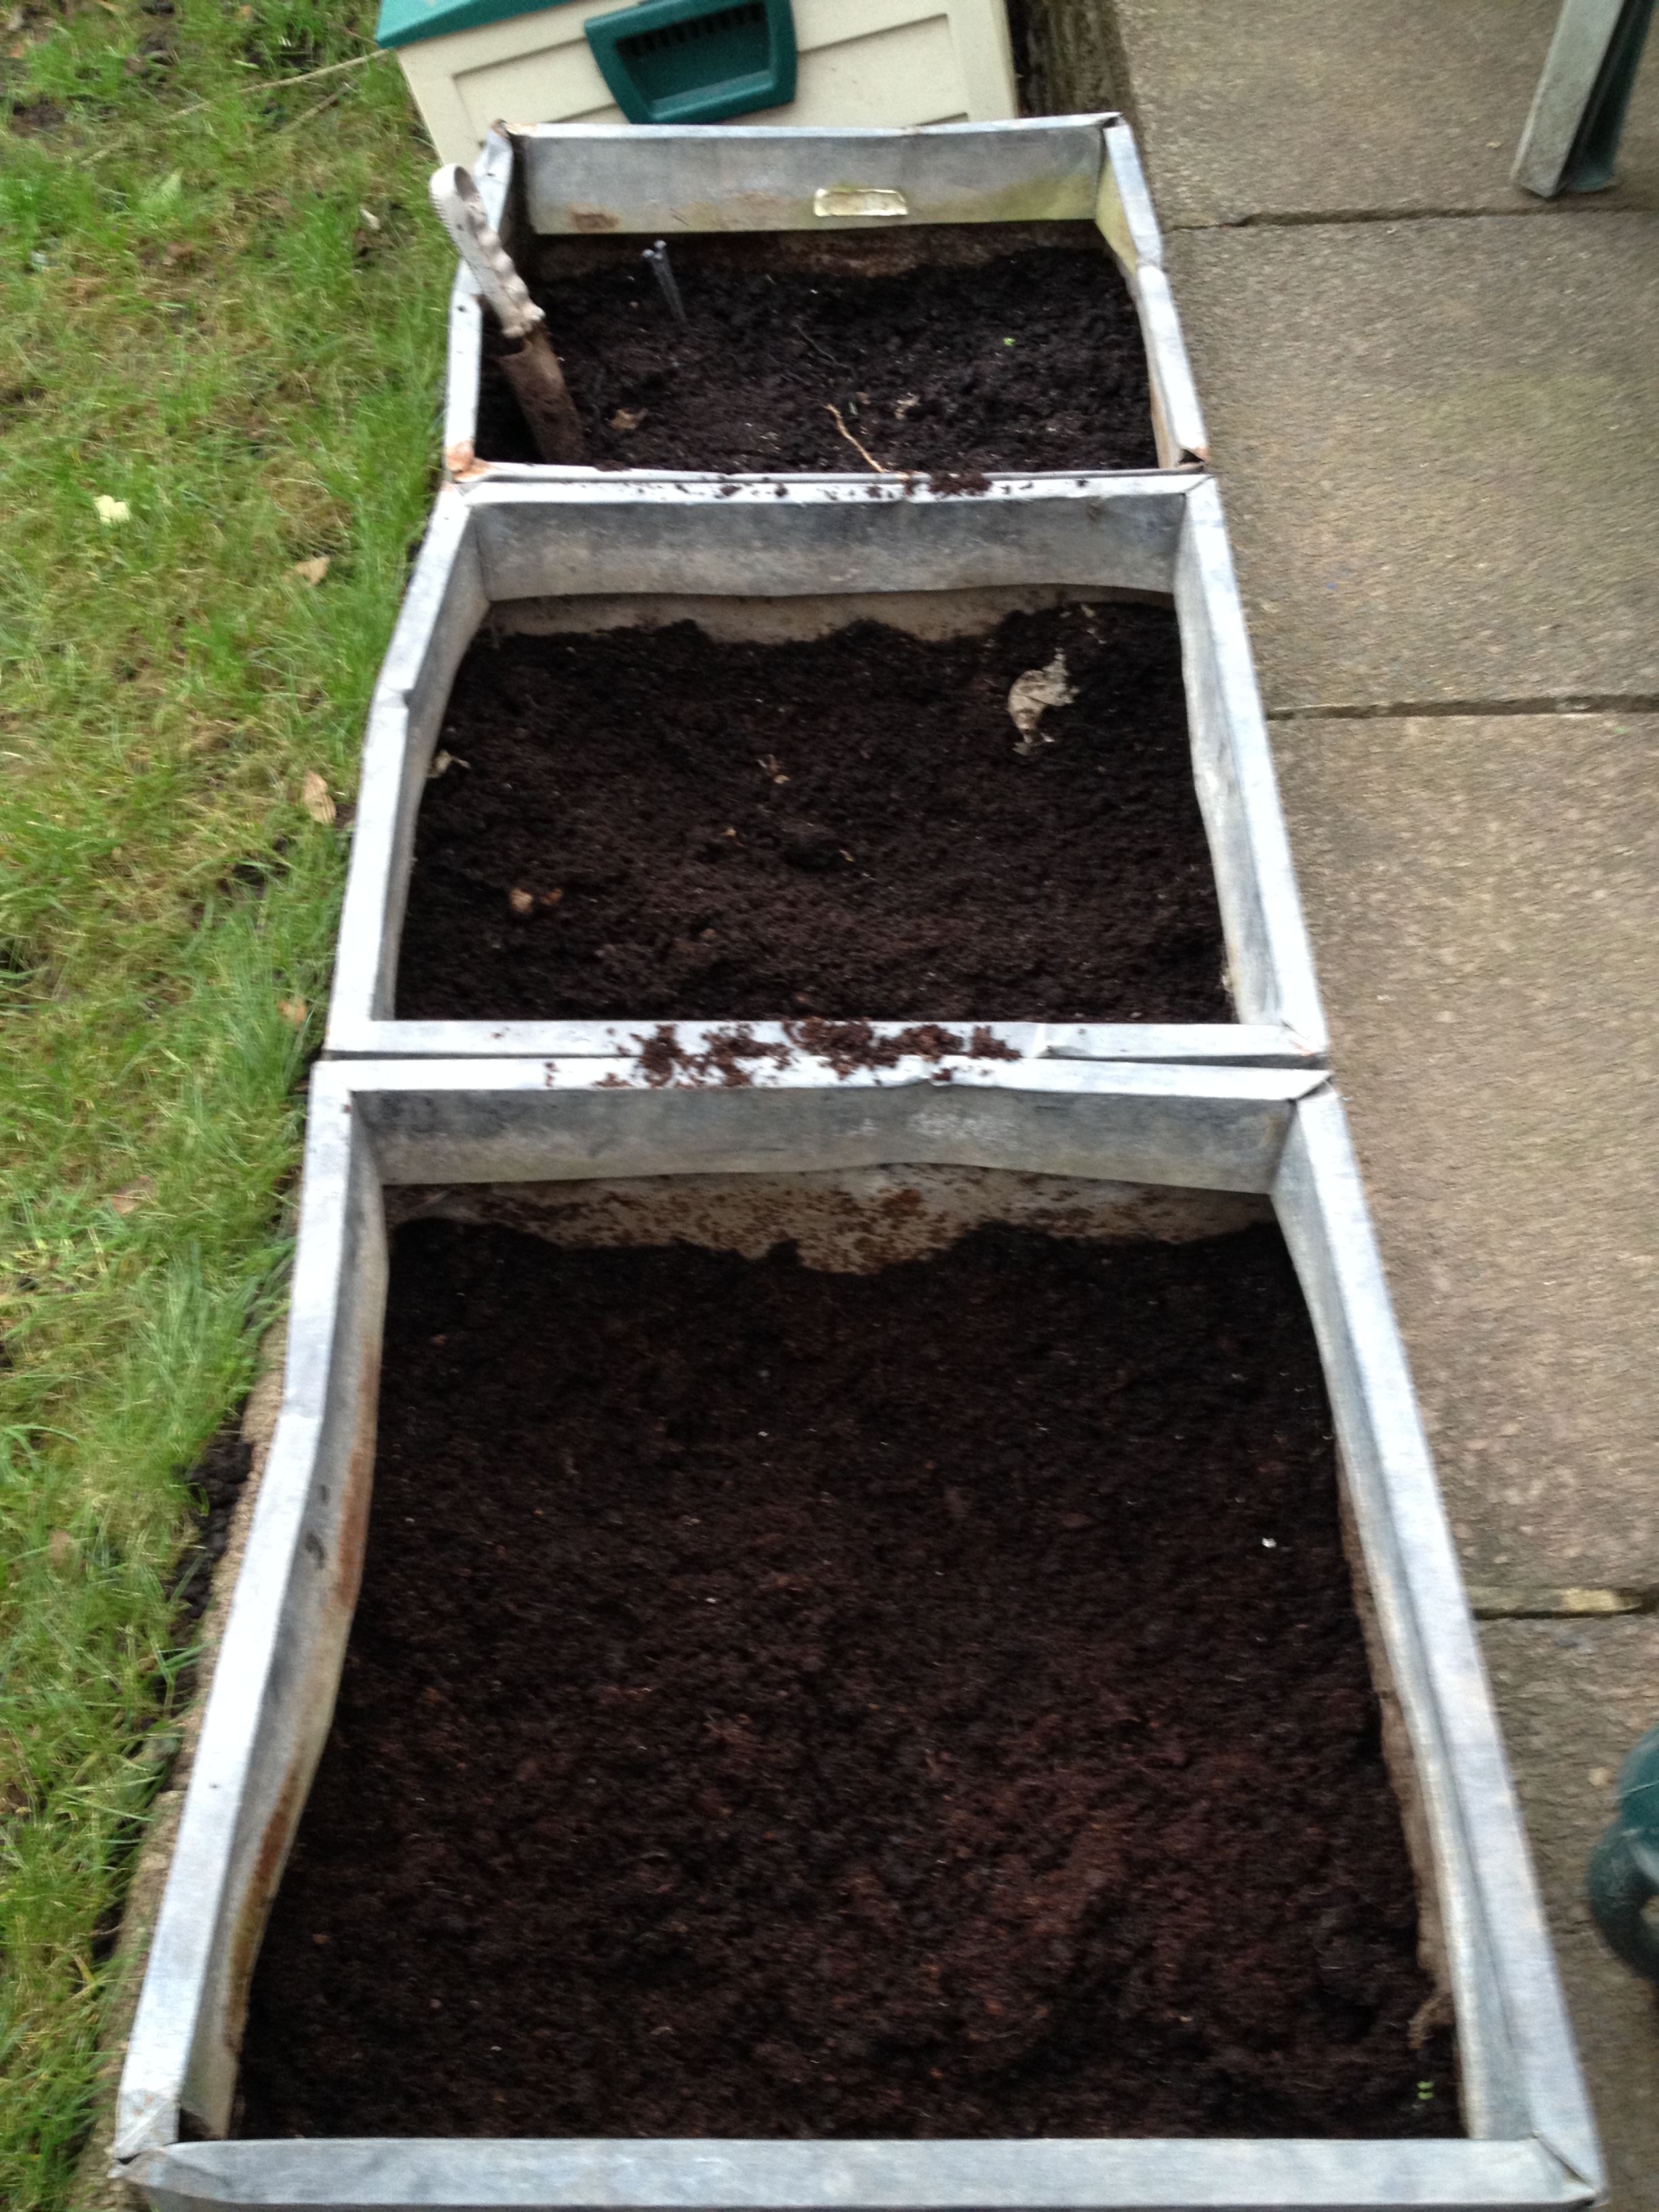
It’s been a busy week in the garden this week. It started when my new strawberries arrived in the post. They are an old variety called ‘Cambridge favourite’.
I soaked the roots for a couple of hours and then planted them in one of my five new beds:


I found that some of the roots were ridiculously long so I gave them a little trim before planting them. I also added a handful of compost to the holes as I planted them, to give them a good start:


.
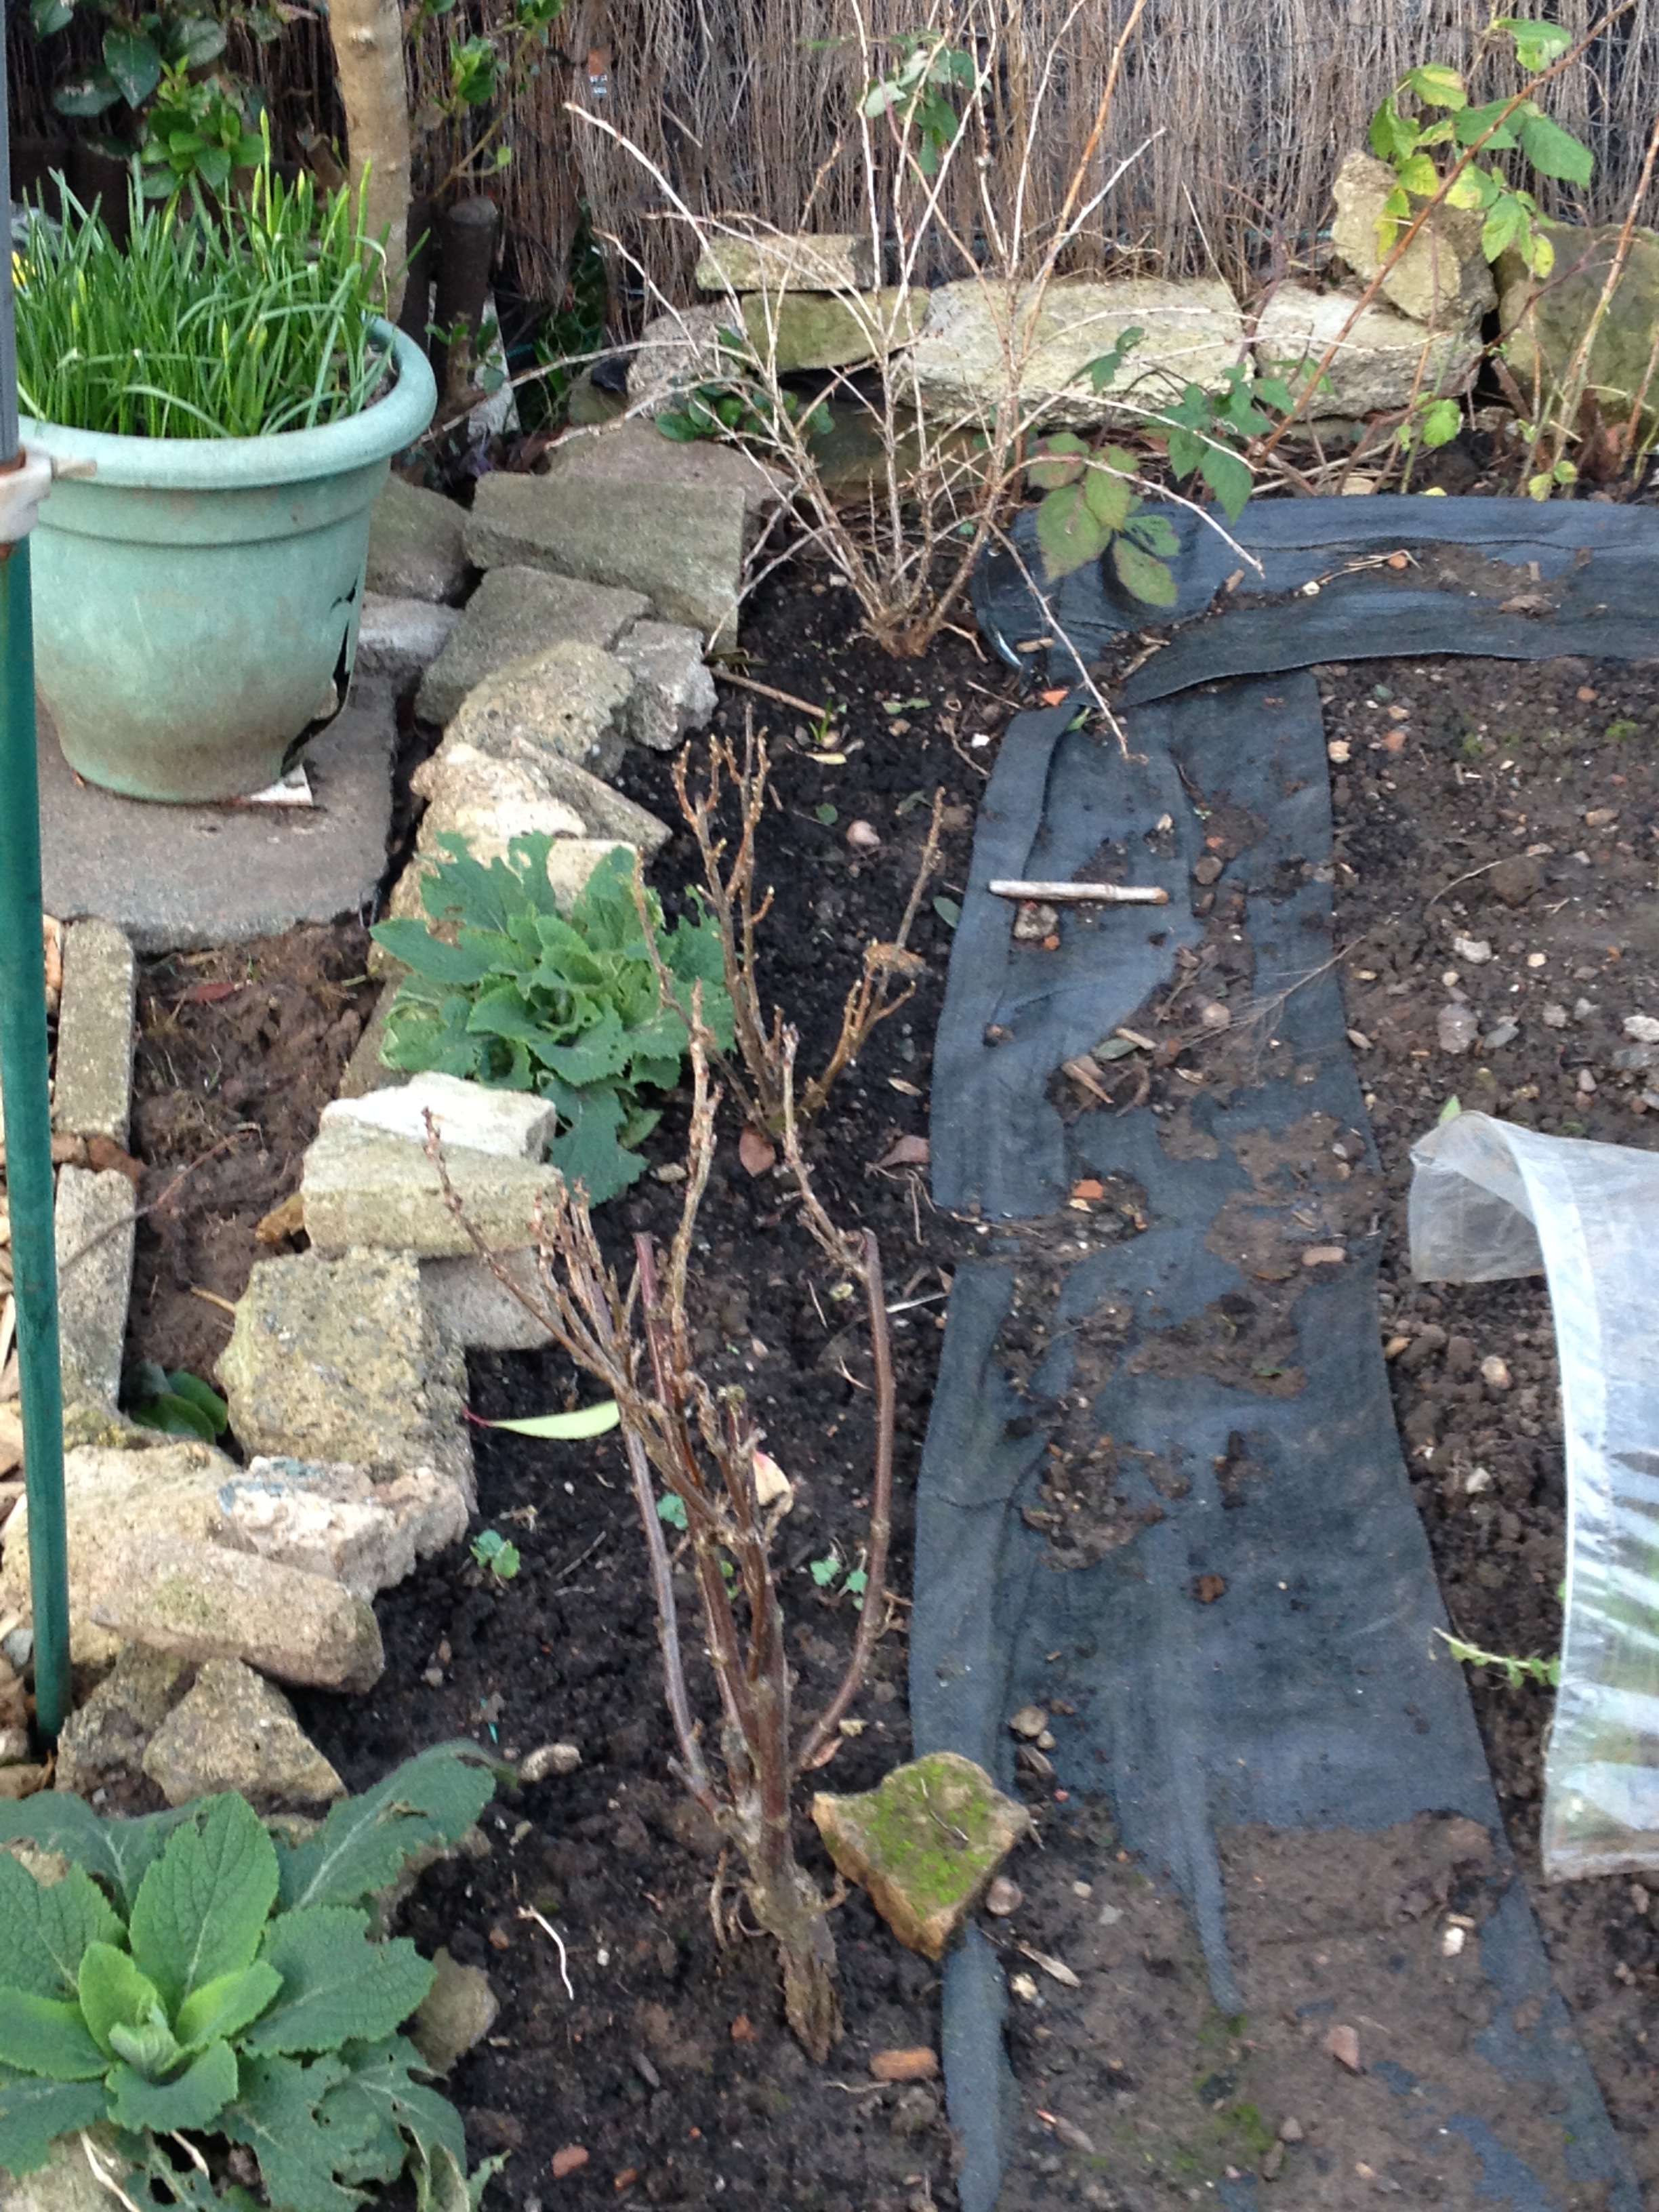
My daughters and Mr Thrift gave me money for Christmas so I could buy some more fruit bushes, so last month I bought a normal gooseberry bush, a dessert gooseberry bush, a red currant bush a white currant bush, a blackcurrant bush and a thornless blackberry plant:

And this week I planted them.
I have read that all of these bushes will produce a decent harvest in partial shade, which many websites (incl. the RHS) define this as ‘three to four hours of sunlight per day in the summer’. So I thought I would plant them near to my fence which gets this amount of sun in the summer and see what happens. You can just see them in the photo below:

I incorporated lots of compost in each planting hole and afterwards I gave them a light watering to settle the soil.
I then decided to move the two currant bushes and one gooseberry that I brought back from allotment last year, from the sunnyside of my garden to another edge that has ‘partial shade’ in the summer next to my new beds:

If the fruit bushes do produce fruit when they are established, it will be great….but if they don’t I will have to find another place for them all.
.
Last week I also bought five summer raspberry canes to replace the fruit bushes that I had moved. I once again incorporated lots of compost into the soil:


I then turned my attention to my autumn fruiting raspberries that I transplanted from my allotment at the beginning of last year. They did fairly well considering they were newly transplanted. However I realised last year that I needed to provide them with some support when they grow large, to stop them blocking the narrow path next to them….so I banged some of my unused posts into the ground, ready to attach some wire (when I get around to buying some).
I then cut the autumn raspberries down to just above ground level and gave the area a good weed.


Note:
“Autumn raspberries produce fruit on their current years growth, which is different to summer fruiting raspberries which produce fruit on the previous years growth…this is why you prune summer and autumn raspberries differently”
.
Unfortunately my brushwood fence is a bit worse for ware now in the middle after the winds we have had, so I tied it up a bit and hopefully this will last another year:


.
By the way, just in case you are wondering the compost that I having been using was made in a black plastic dustbin. This time last year I filled the dustbin with some of the grass that I dug up when I first started my new kitchen garden and lots of vegetable peelings and then I put the lid on and left it (without turning it)….and this is the result:

It just goes to prove you don’t need to buy expensive compost bins to make beautiful compost!
.
Another job I did this week was to repot my blueberry plants. I also bought these back from the allotment as they were in pots, but they desparately needed repotting as I have paid them no attention at all for the last two years.
“Blueberries are an acid loving plant that need acid soil to thrive. If you have an alkaline soil it is best to plant them in pots with Ericaceous compost and water them with rain water if possible, as this is usually more acidic than tap water”
I decided to plant them in my big silver tubs outside our back door as they will be easier to water here. But unfortunately it meant I had to empty the majority of the old compost in the pots first.
I spread the compost over my beds and this will act as a soil conditioner….which my soil desparately needs. I then filled my tubs with ericaceous soil (leaving the large stones and rubble at the bottom for drainage) and replanted my blueberries.

As there is a lot of compost visable, I am going to have to think of something to spread over the top to act as a mulch so they don’t dry out so quickly in the summer.
.
Finally outside in my garden this week I covered an area with plastic to warm the soil up ready to plant my onion sets next month:

.
Seed Sowing And Progress:
.
I noticed this week that the leeks, garlic and broadbeans (aquadulce) that I sowed on the 18th January, are all just beginning to poke their heads above the compost in my unheated greenhouse (though you need to look very closely at the photo’s to see the leeks and broadbeans):


And the sweet peppers that I also sowed on the 18th January in newspaper pots have germinated too. These have been kept in a propagator on my windowsill inside my house:

And the cress that I sowed last week is ready for eating:

This week I turned my attention to flowers for my kitchen garden and I sowed antirrhiums, dwarf dahlia’s, lobelia and french marigolds. These seeds will be kept in a propagator until they germinate and kept inside until all frosts have passed (usually the end of May here in the Midlands). I try really hard to keep as many seeds and plants on windowsills or on my staging next to our french doors for as long as possible, as it’s expensive to heat my greenhouse:

.
I also I realised I was running out of seed labels so I made some more. I use an old plastic milk bottle to make them:


I also cut the bottom off the plasic bottle and it makes a little container to hold them together:

.
.
This Week In The Home:
.
I managed to get another ridiculously low priced ‘whoopsie’ this week….five bags of diced carrot and swede for 4p each!!!!


So I made some lovely carrot, swede and coriander soup (the recipe was very similar to the one here only I didn’t use chilli in it this time).
I managed to make nine portions, some of which we had straight away and some of them have been frozen for another day:


All in all it has been another busy week.
.
Thank you for reading my blog today. I will be back next Friday as usual.


